
Configuring and Managing Conversation Flow Builder
Steps to Create Conversation Flow Use Case
-
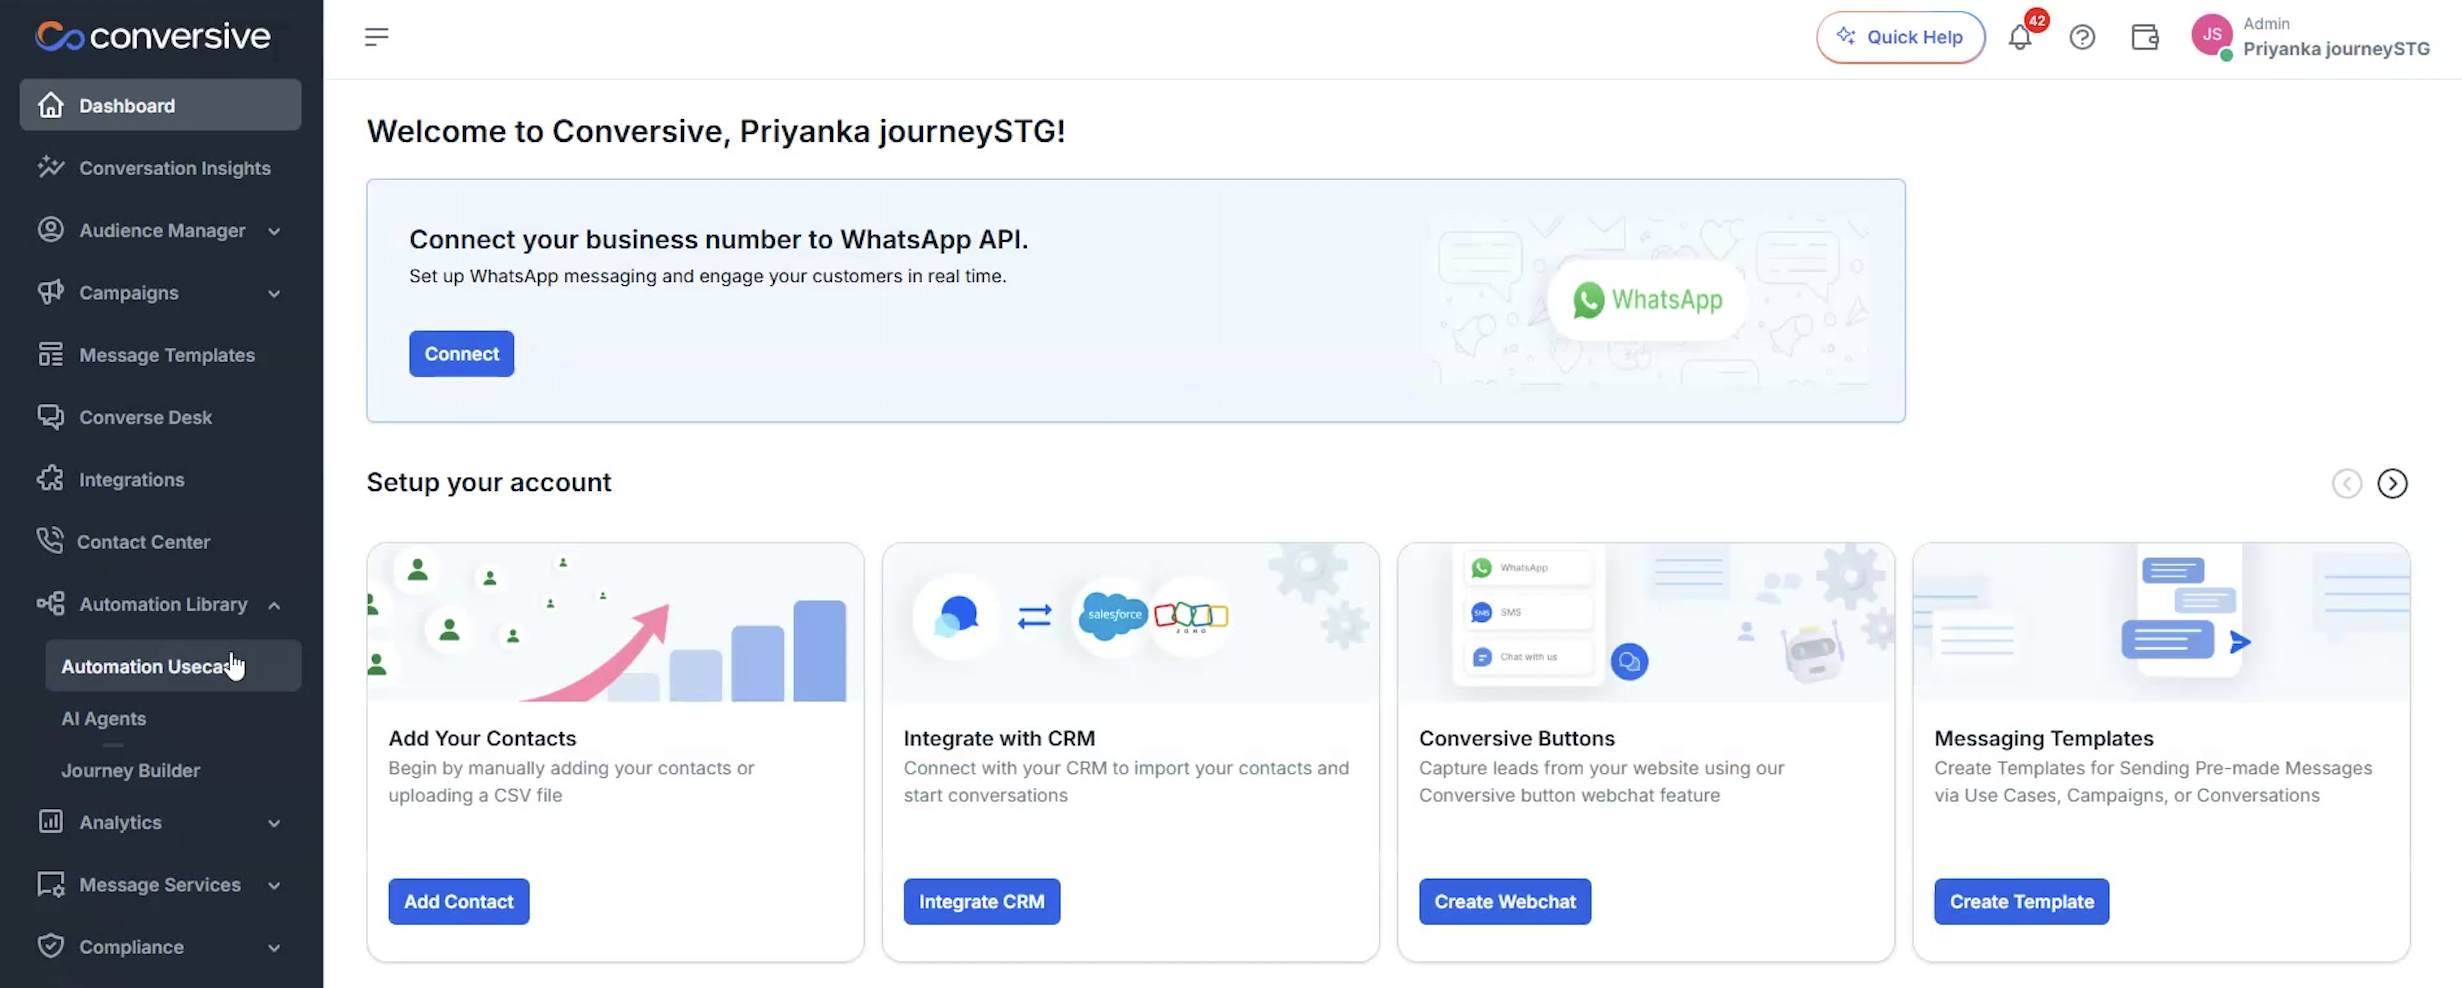
In the navigation bar, click on Automation Use Case.
-
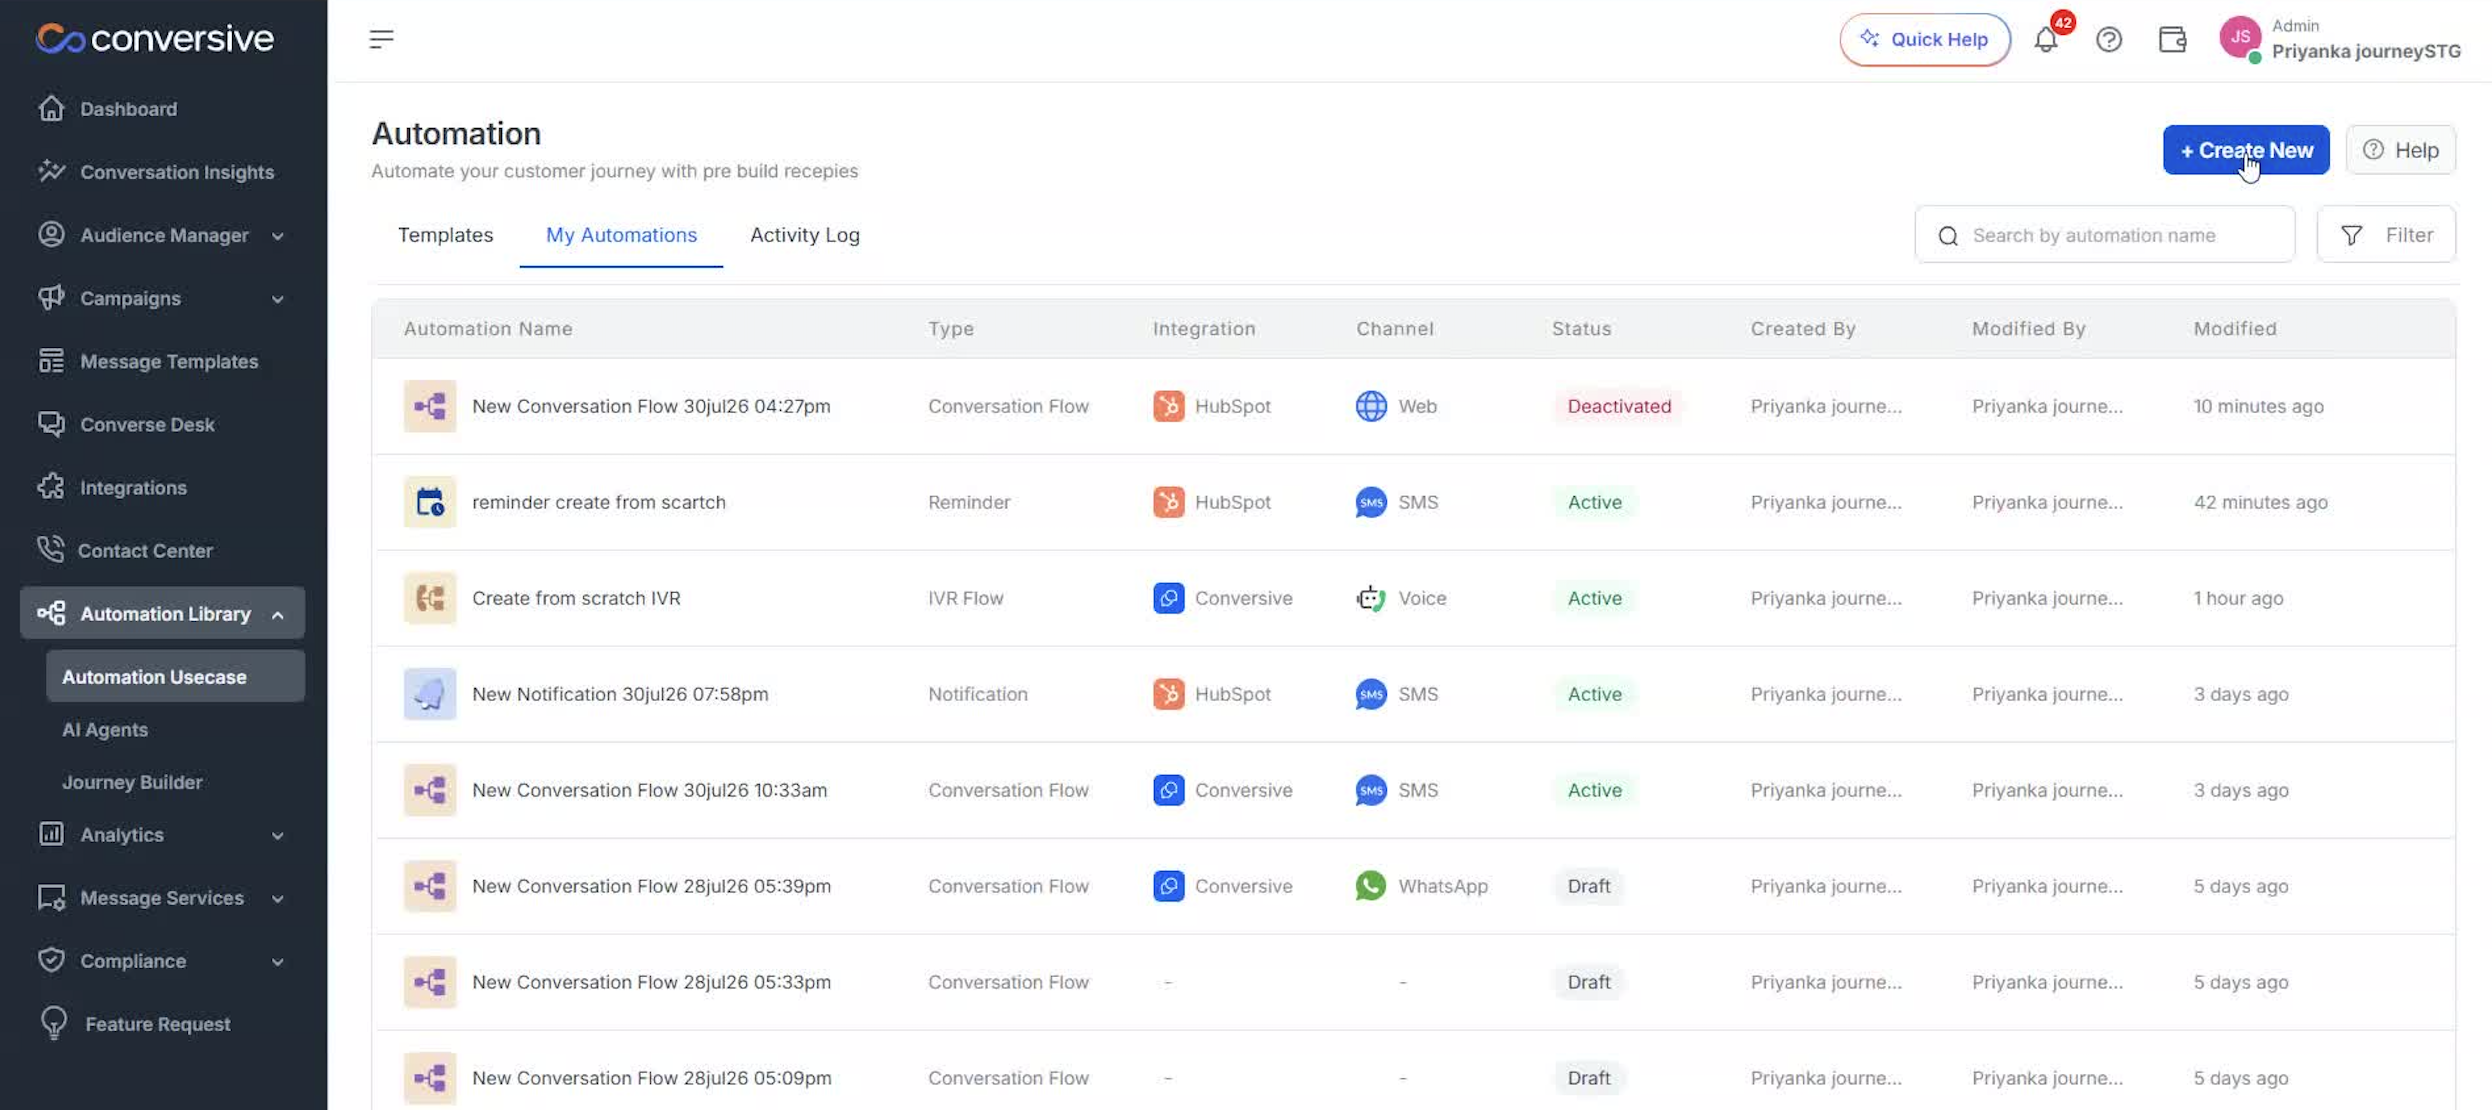
Click the Create New button on the Automation page.
-
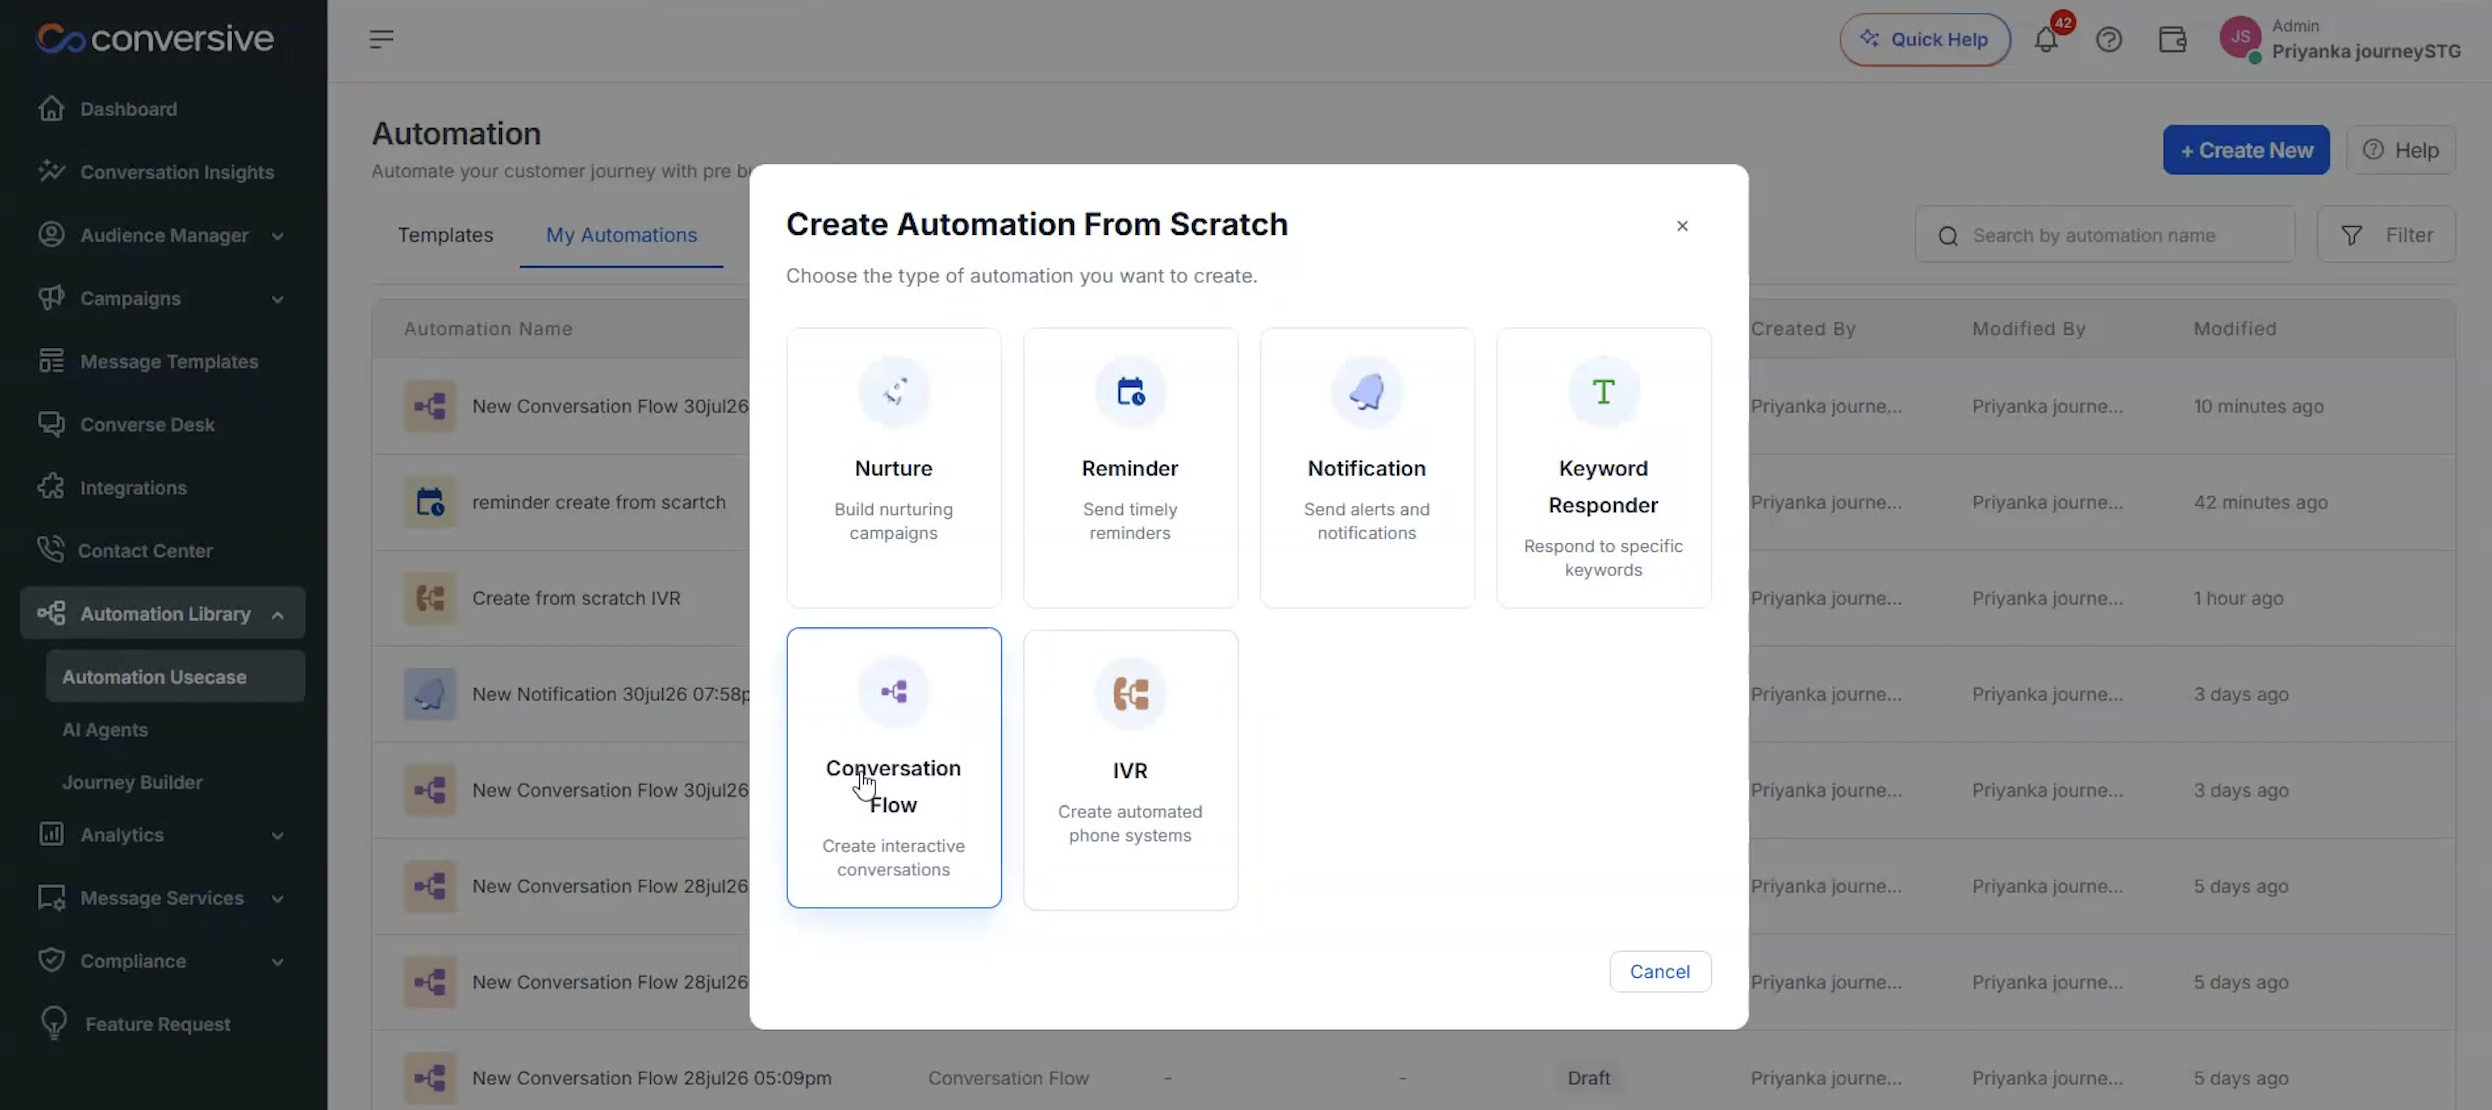
In the modal, select Conversation Flow.
-
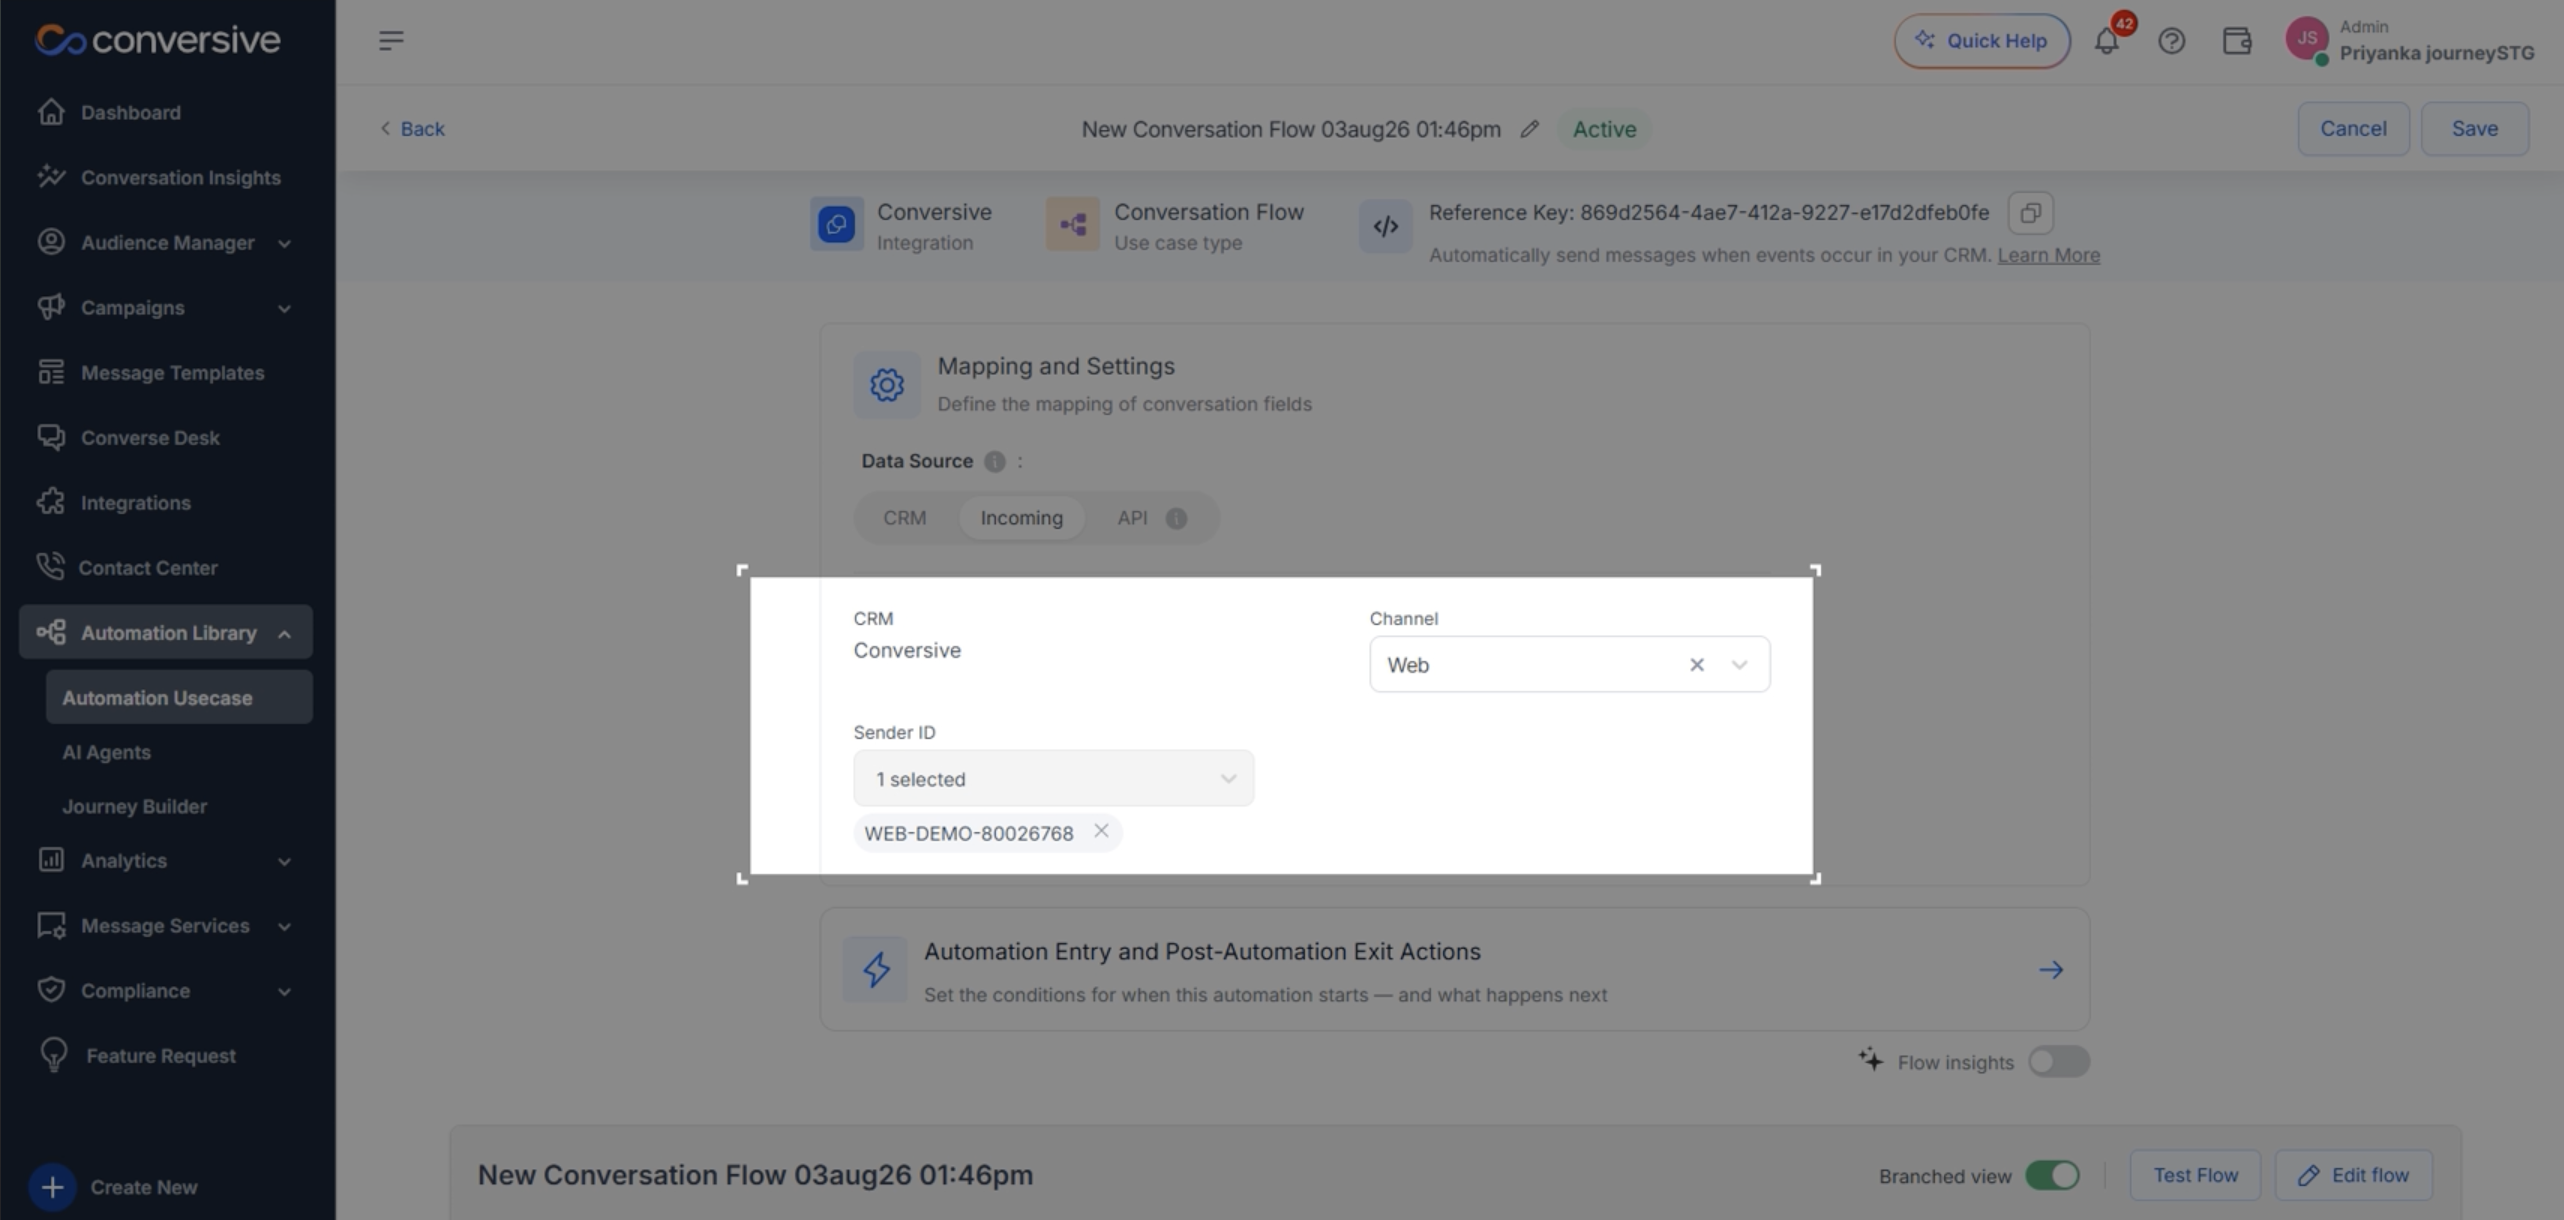
Select the CRM, channel, and sender ID where you want to capture the leads.
-
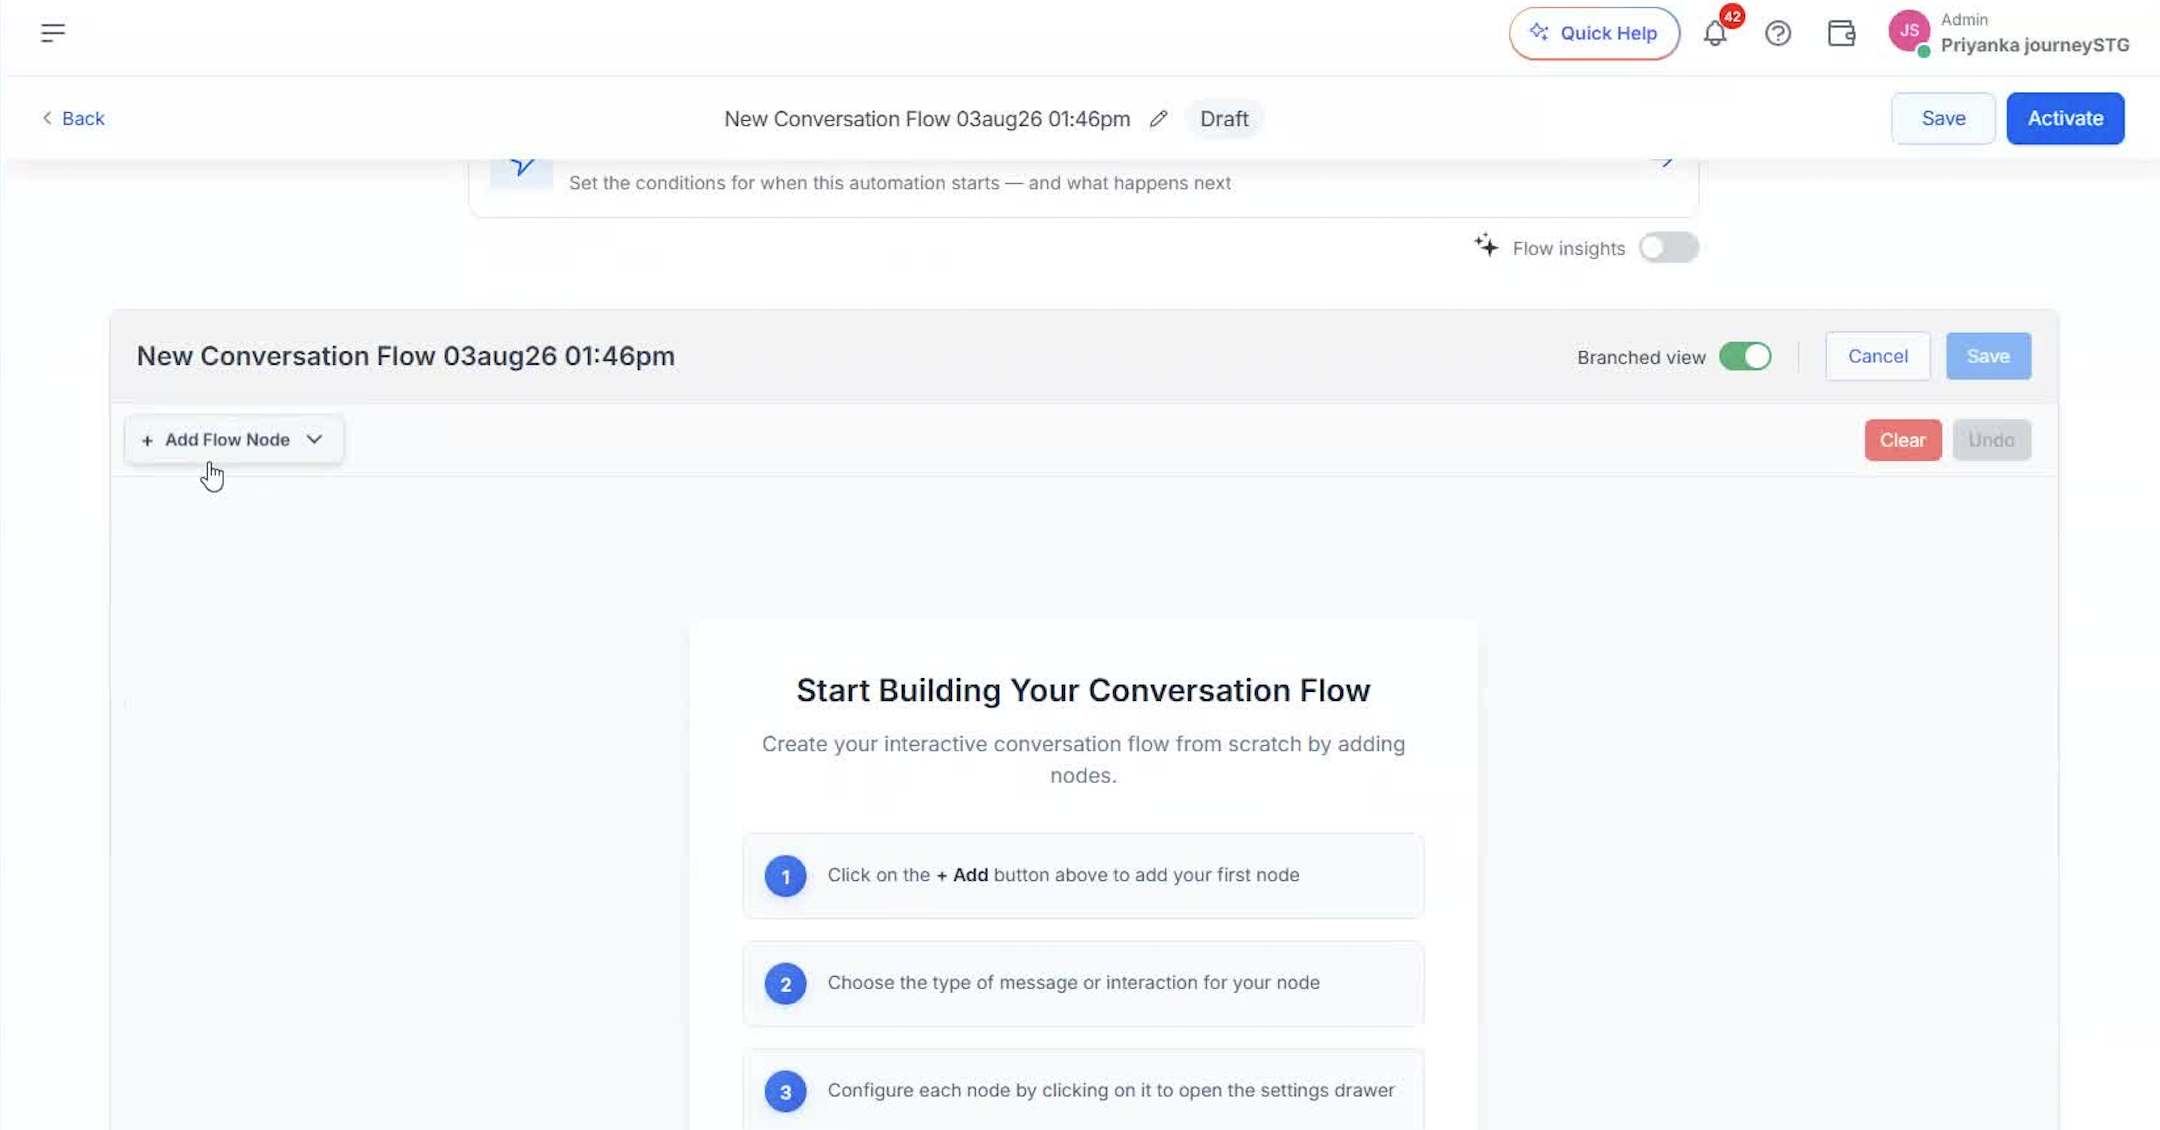
We are creating a flow to capture a lead. On the canvas, click the Add Flow Node button to create a lead capture flow.
-
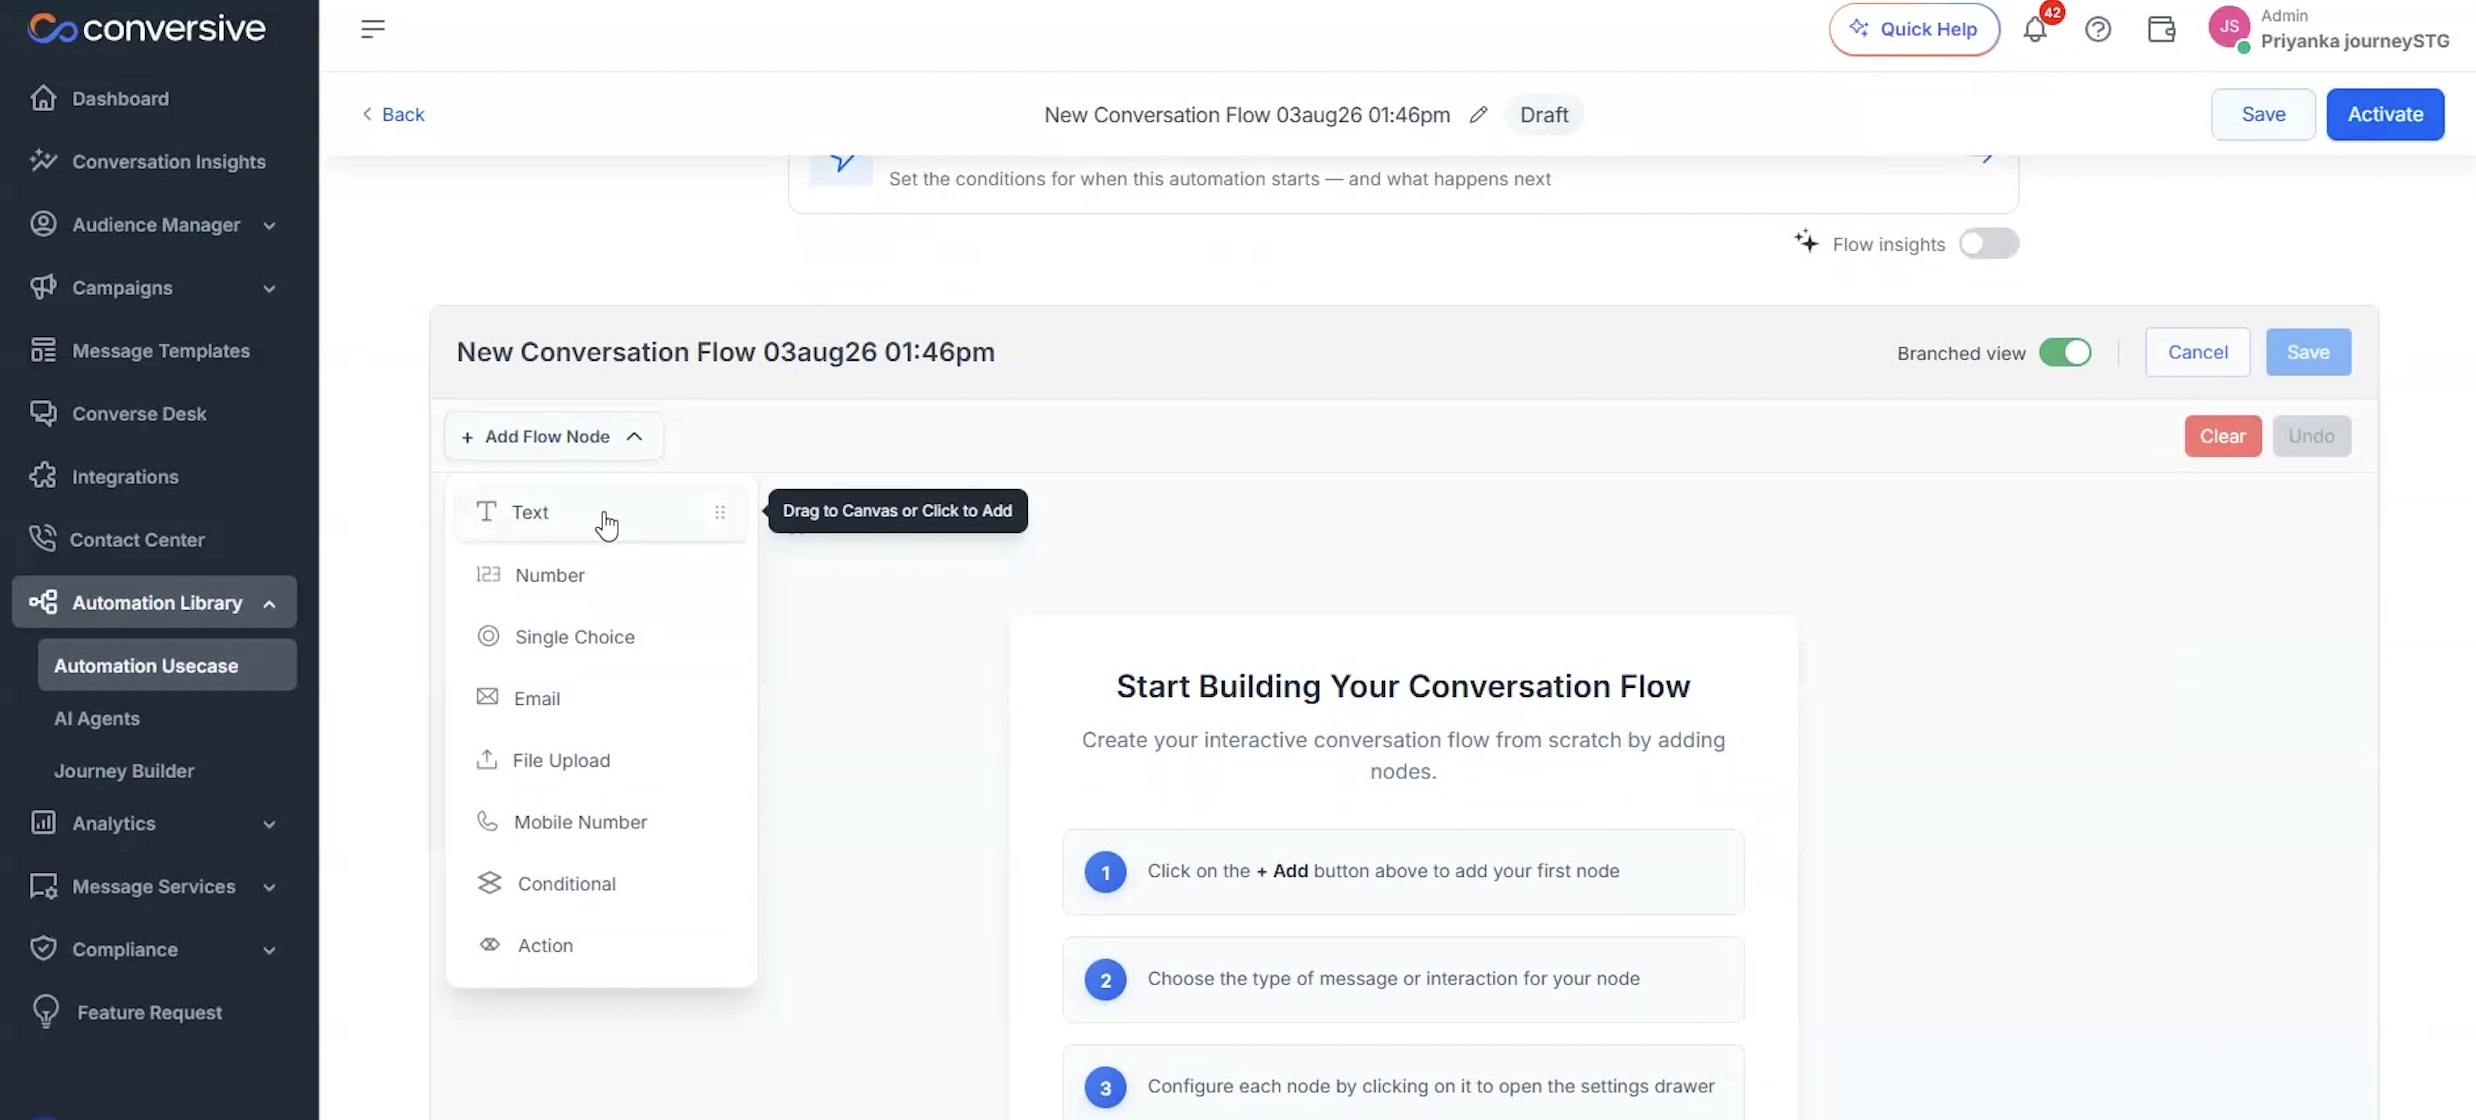
Select text from the drop-down menu that appears.
-
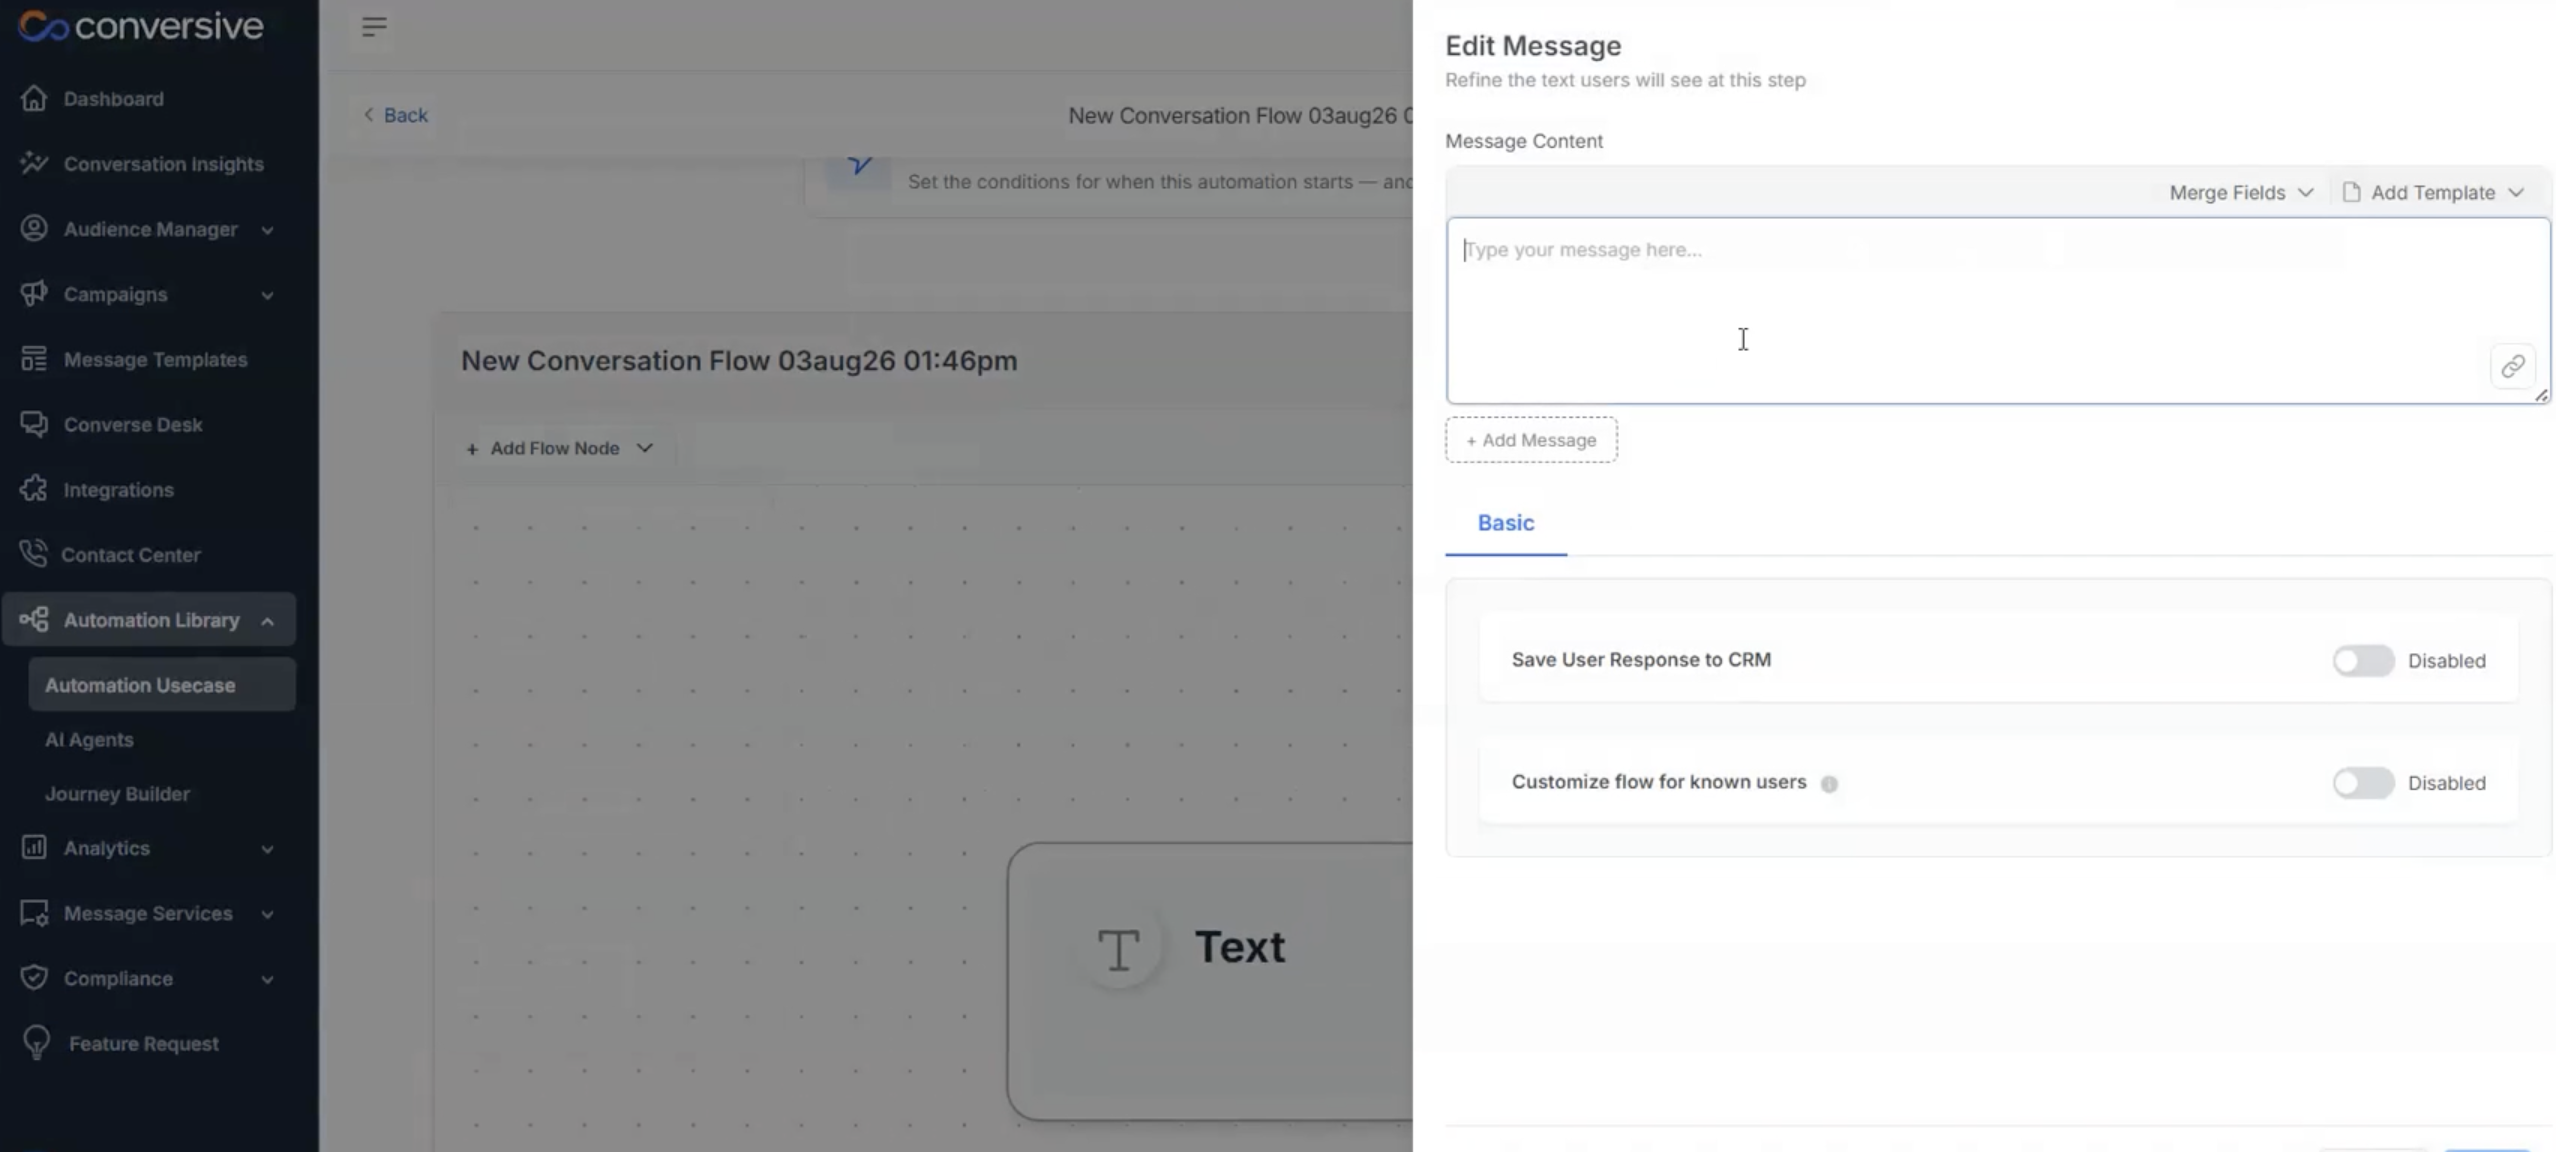
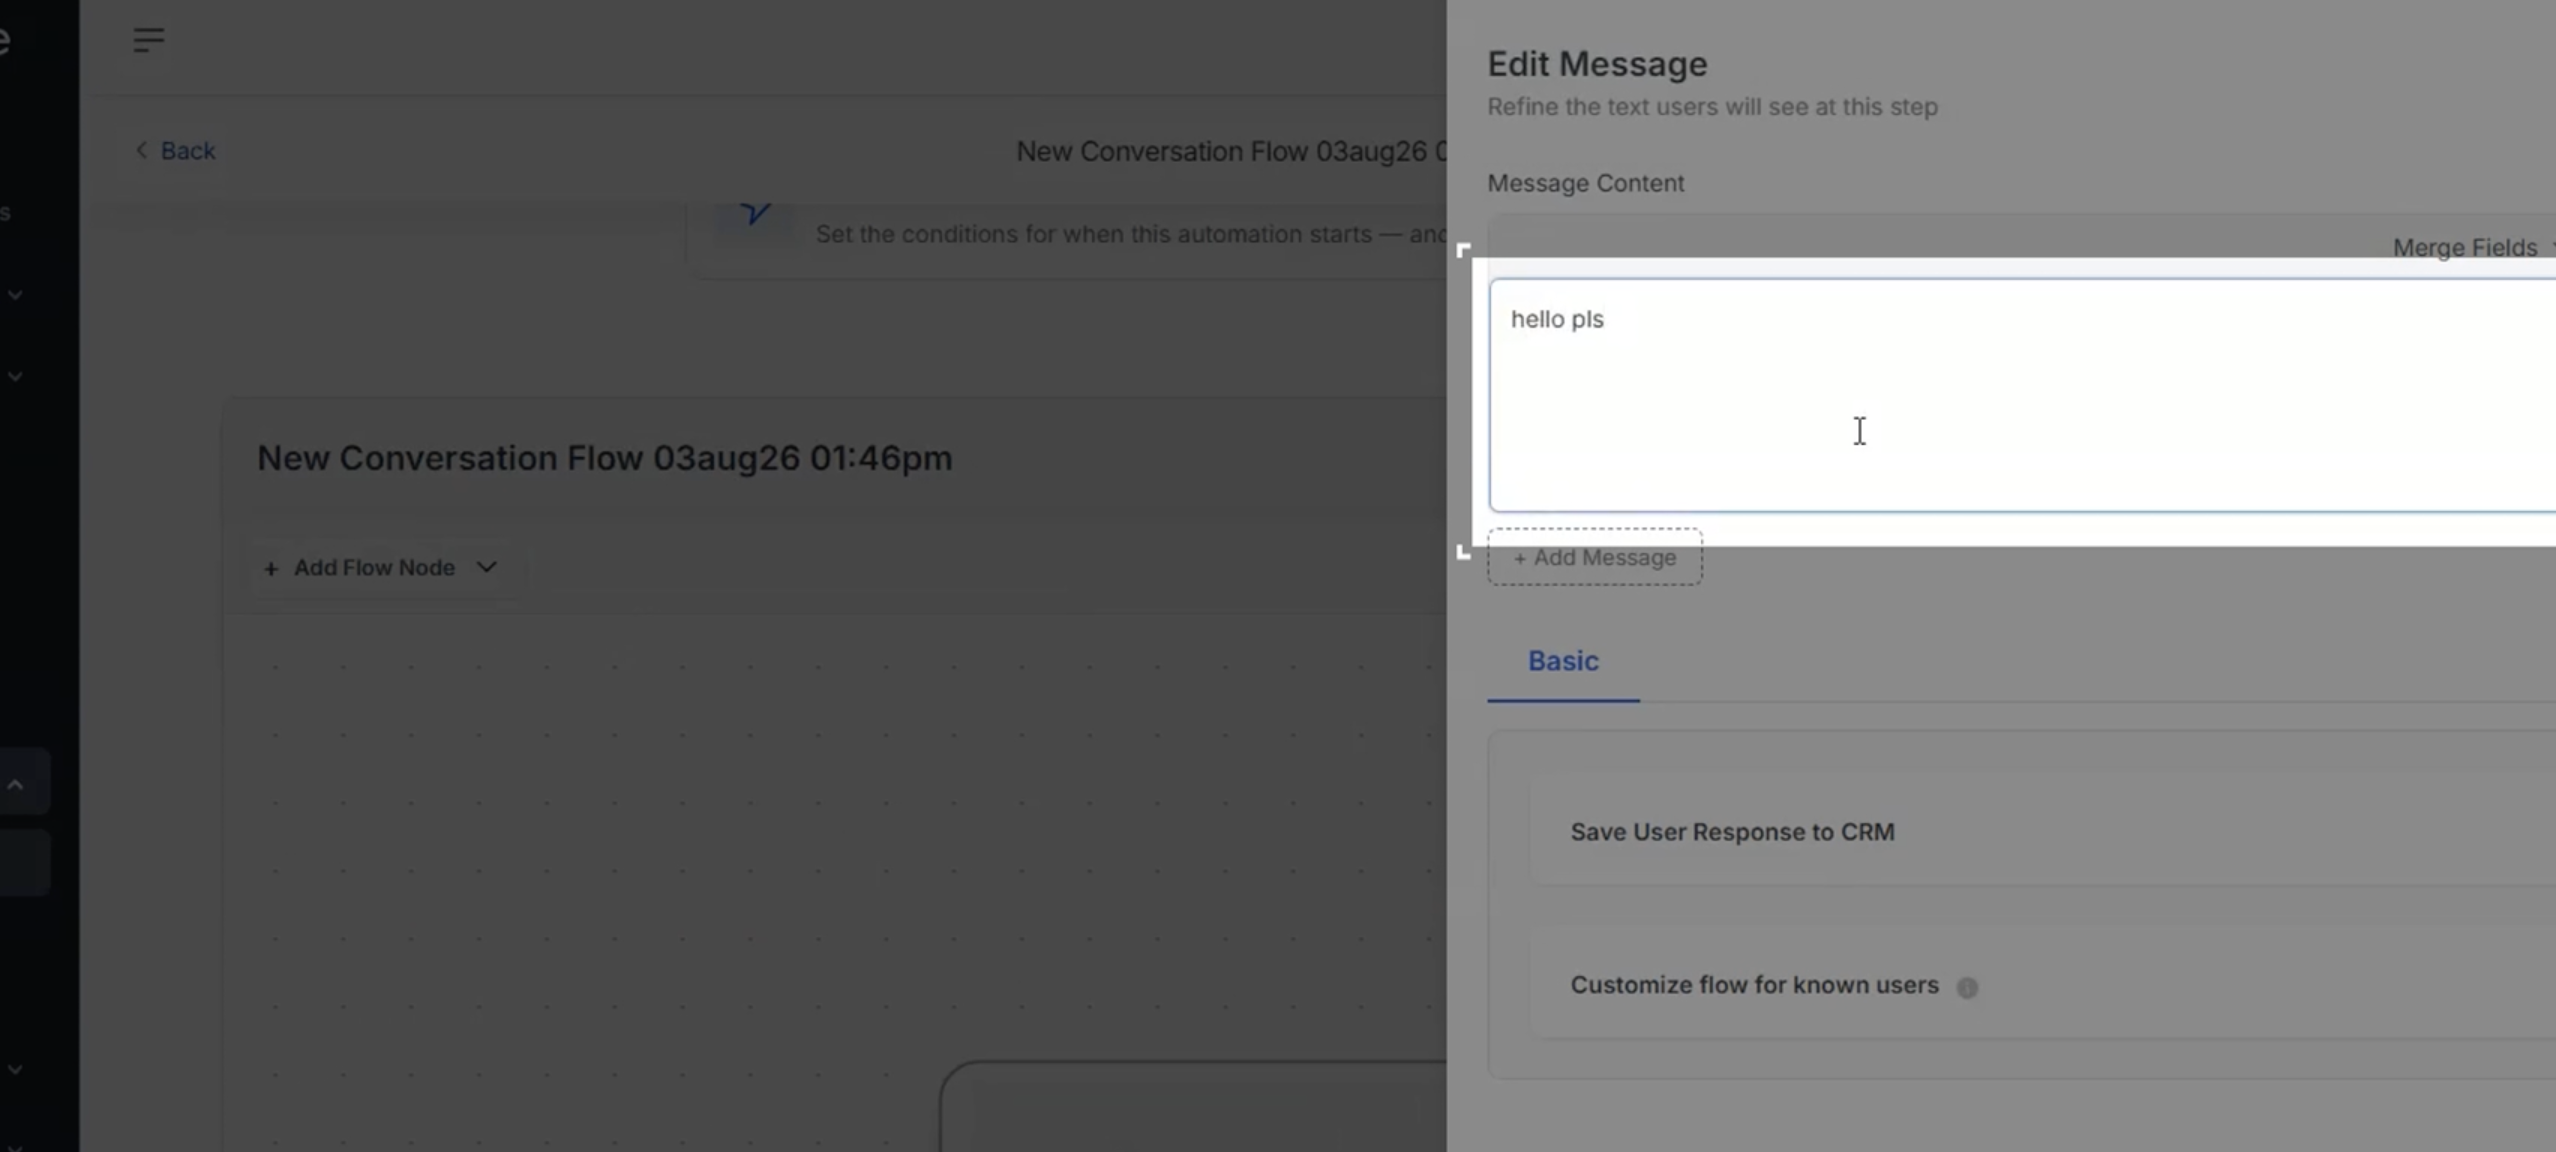
In the modal, type your message in the Message Content section.
-
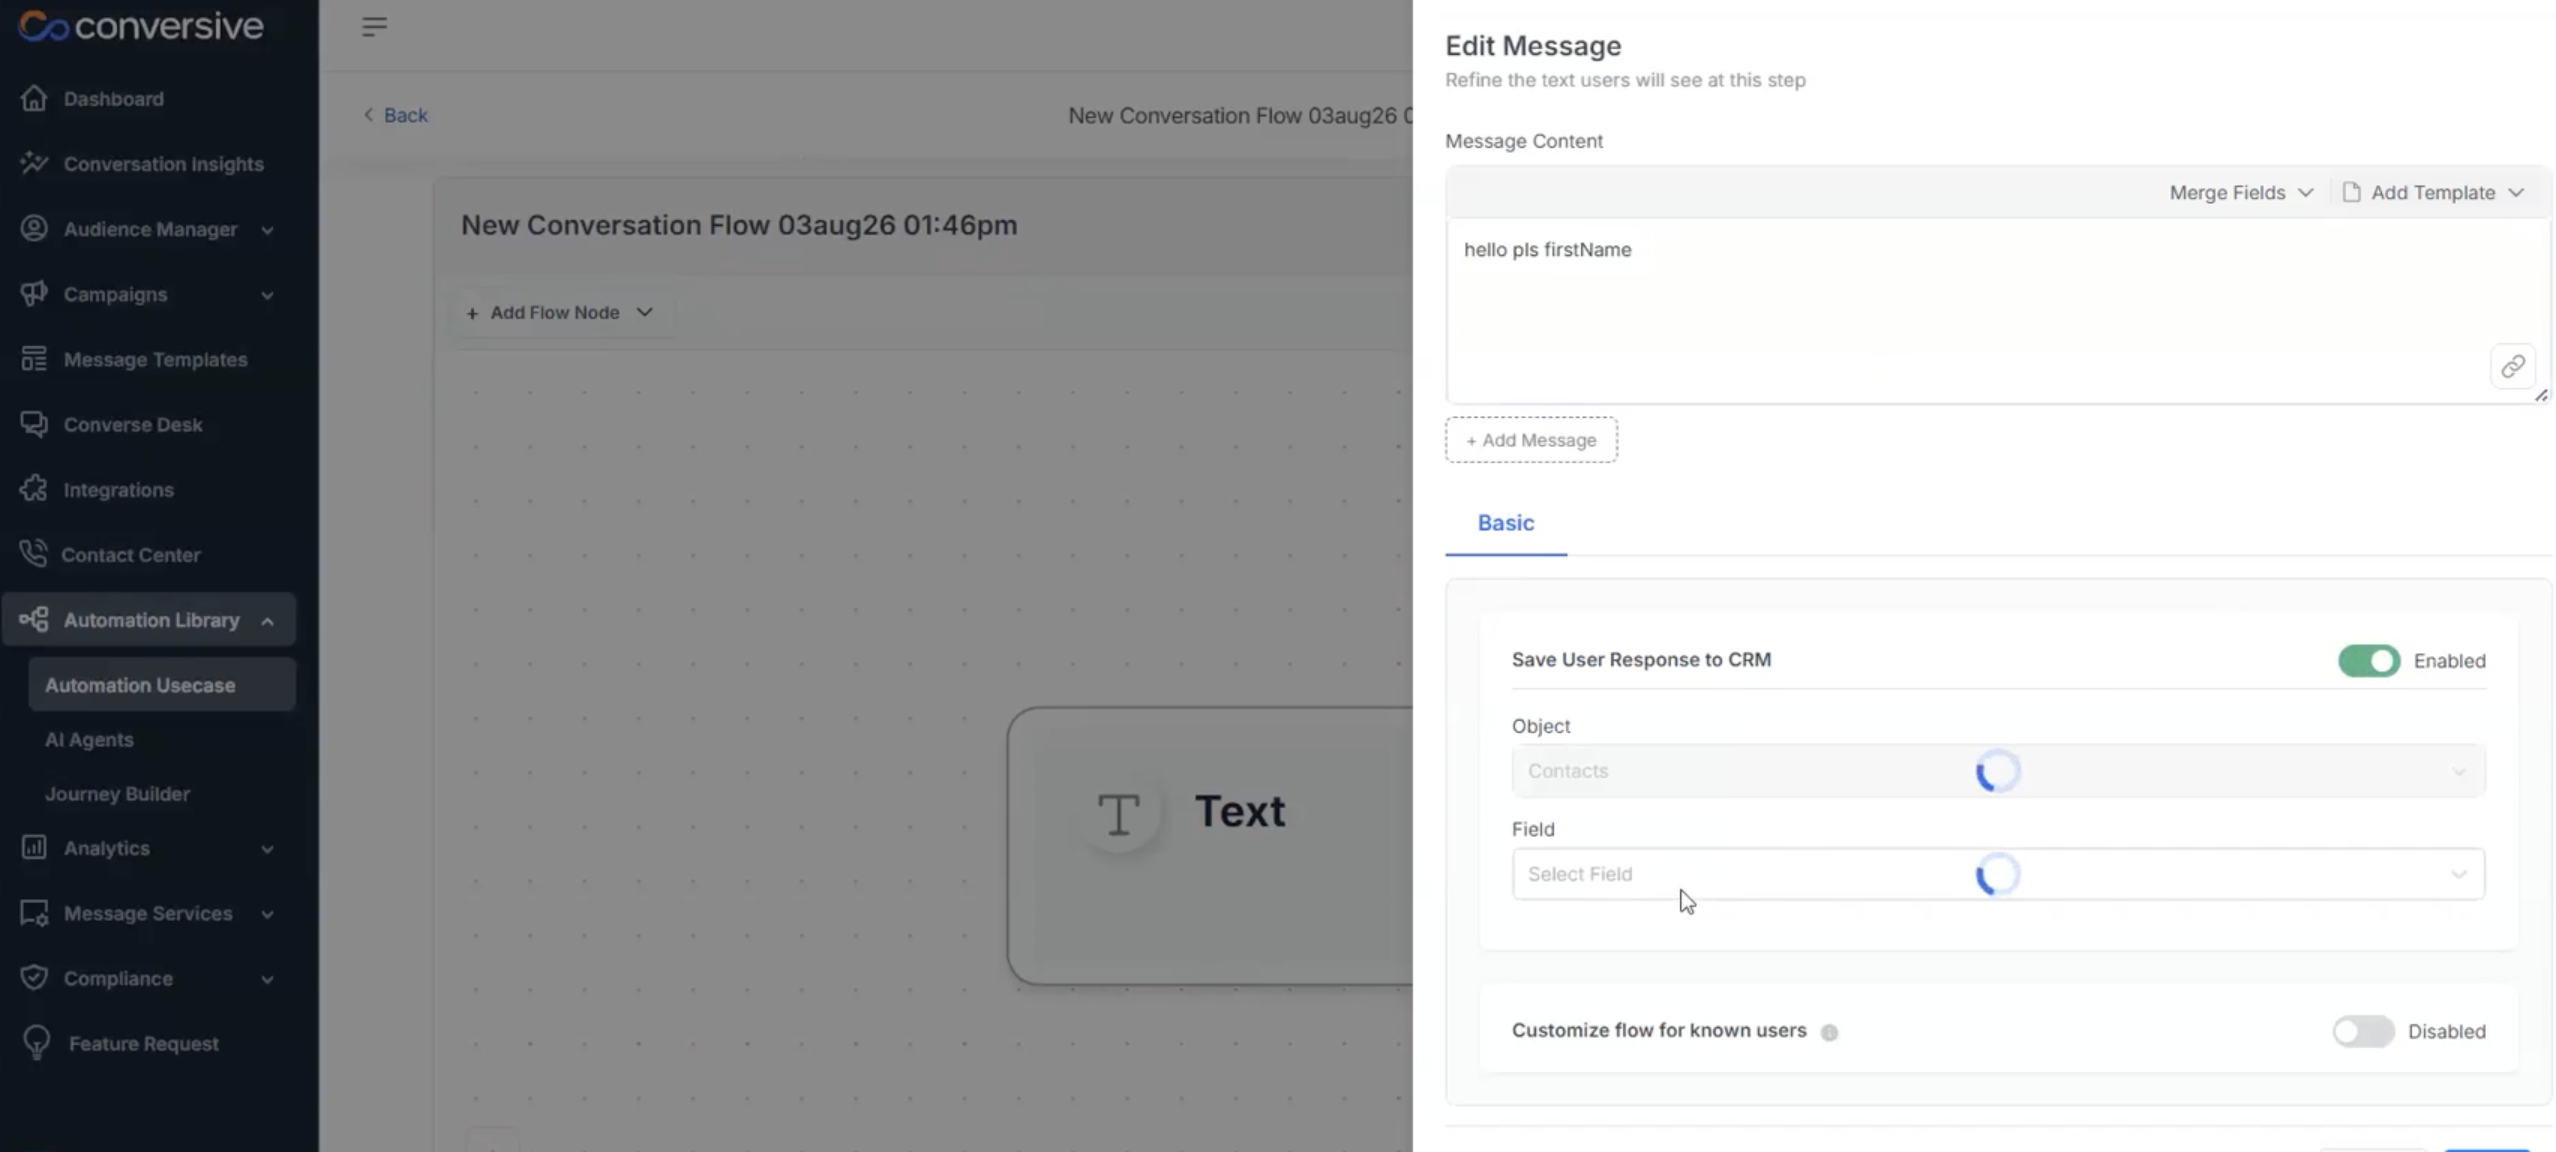
Toggle the switch to enable Save User Response to CRM.
-
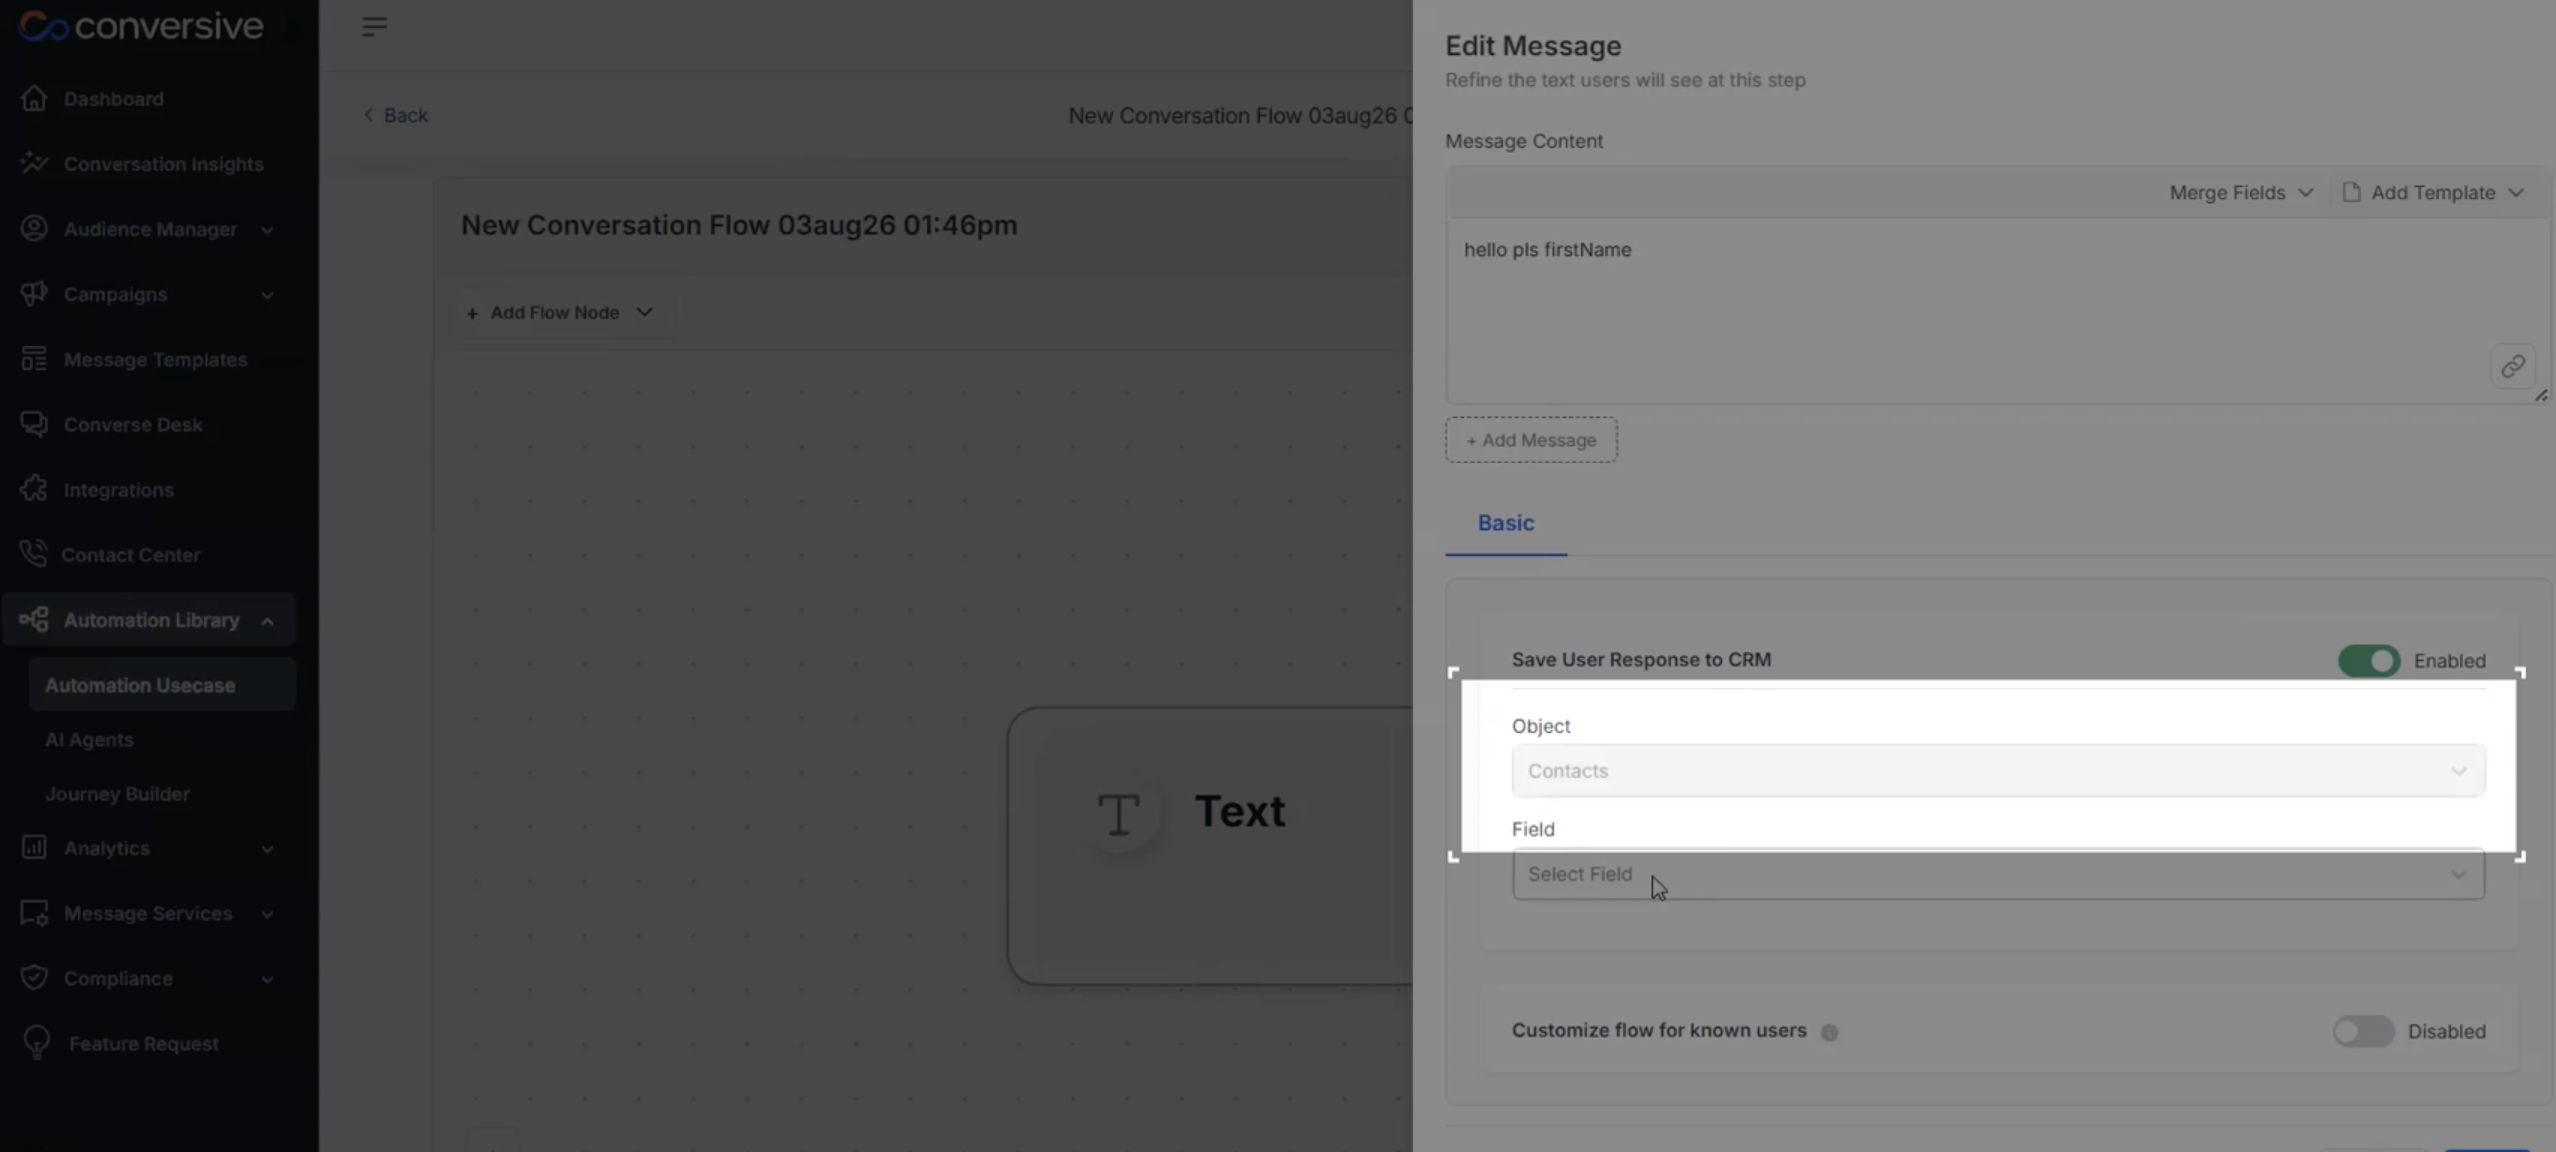
Choose Contacts from the drop-down under the Object field.
-
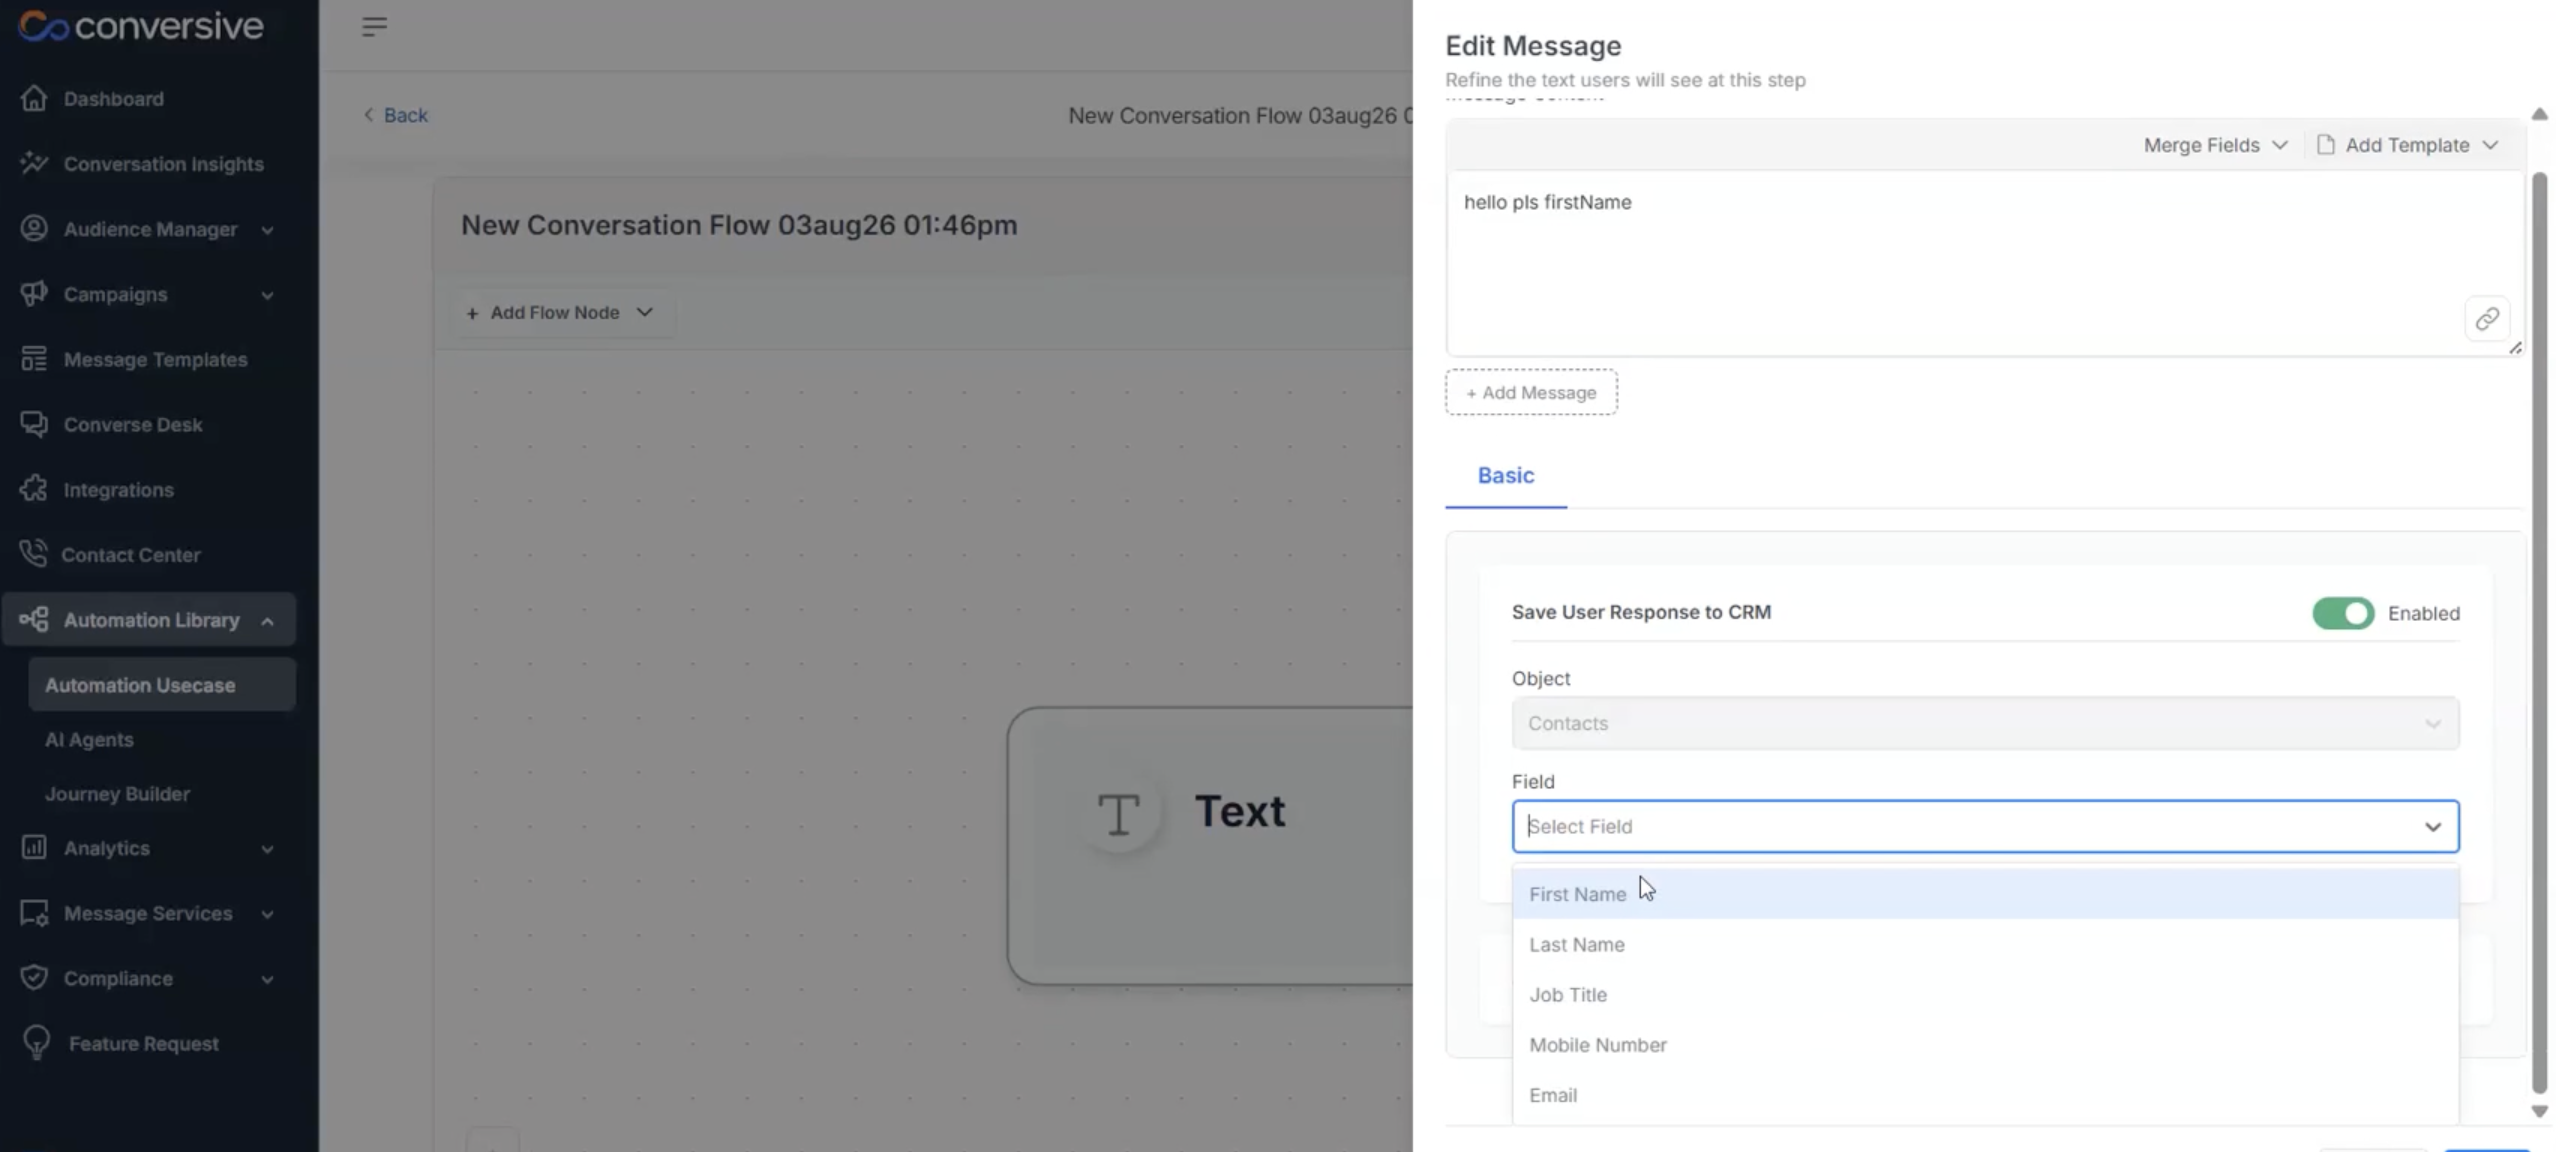
Select the field name from the field drop-down where you want to save the response provided by the user.
-
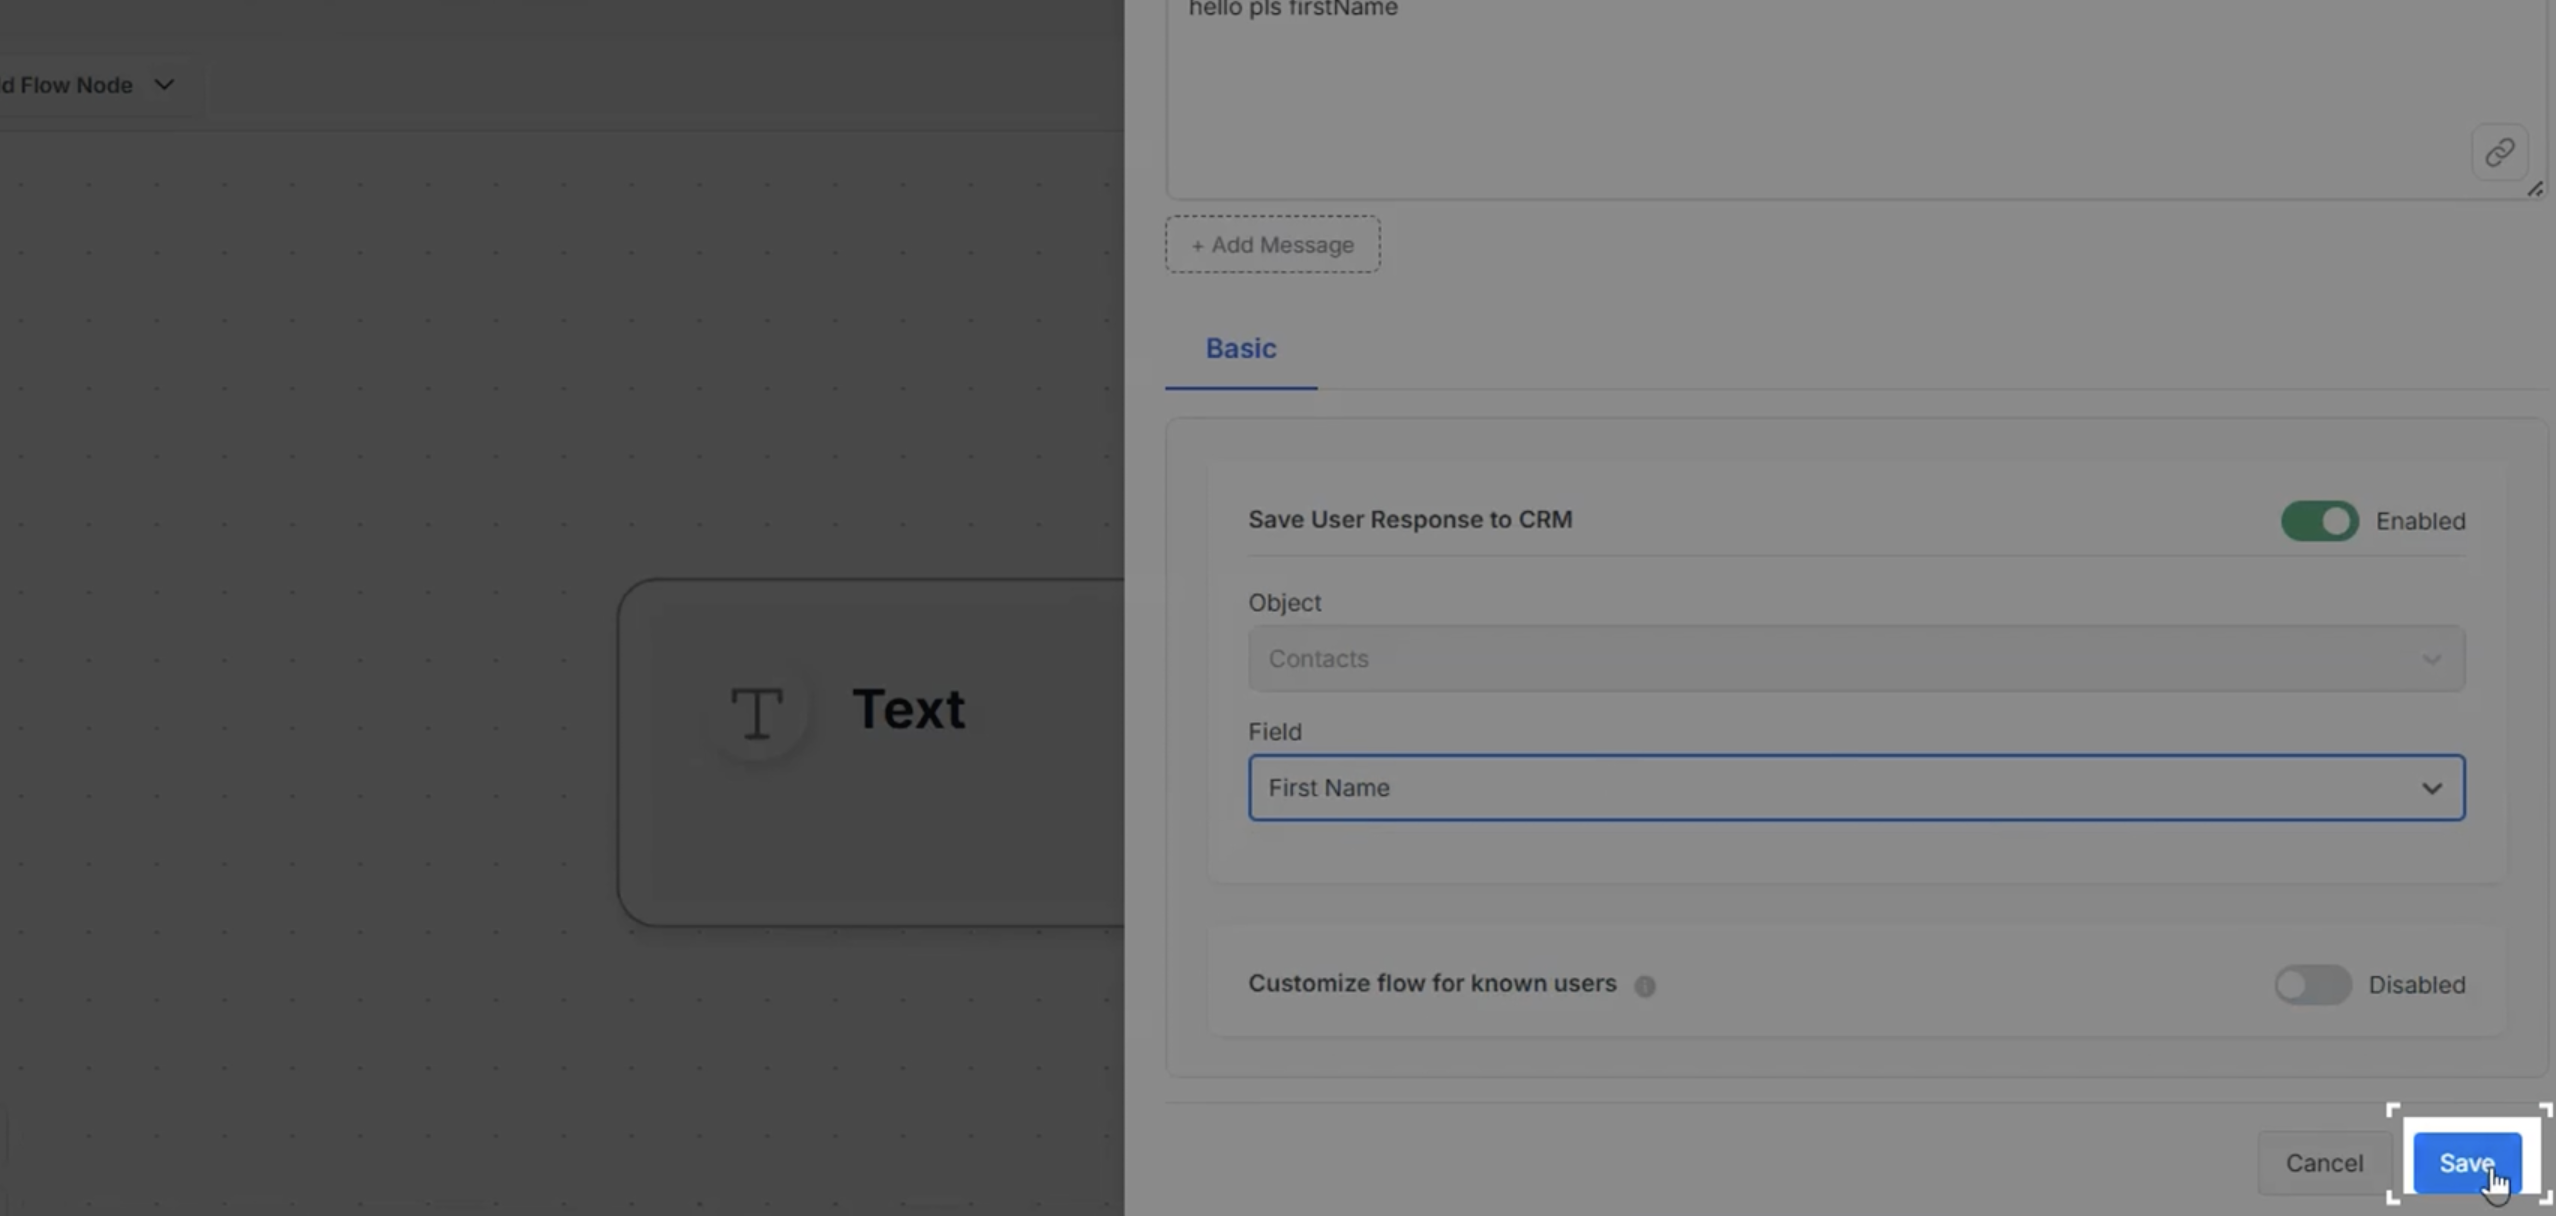
Click the Save button in the modal to save your changes.
-
Configure fields such as first name, last name, and mobile number in the node for lead capture.
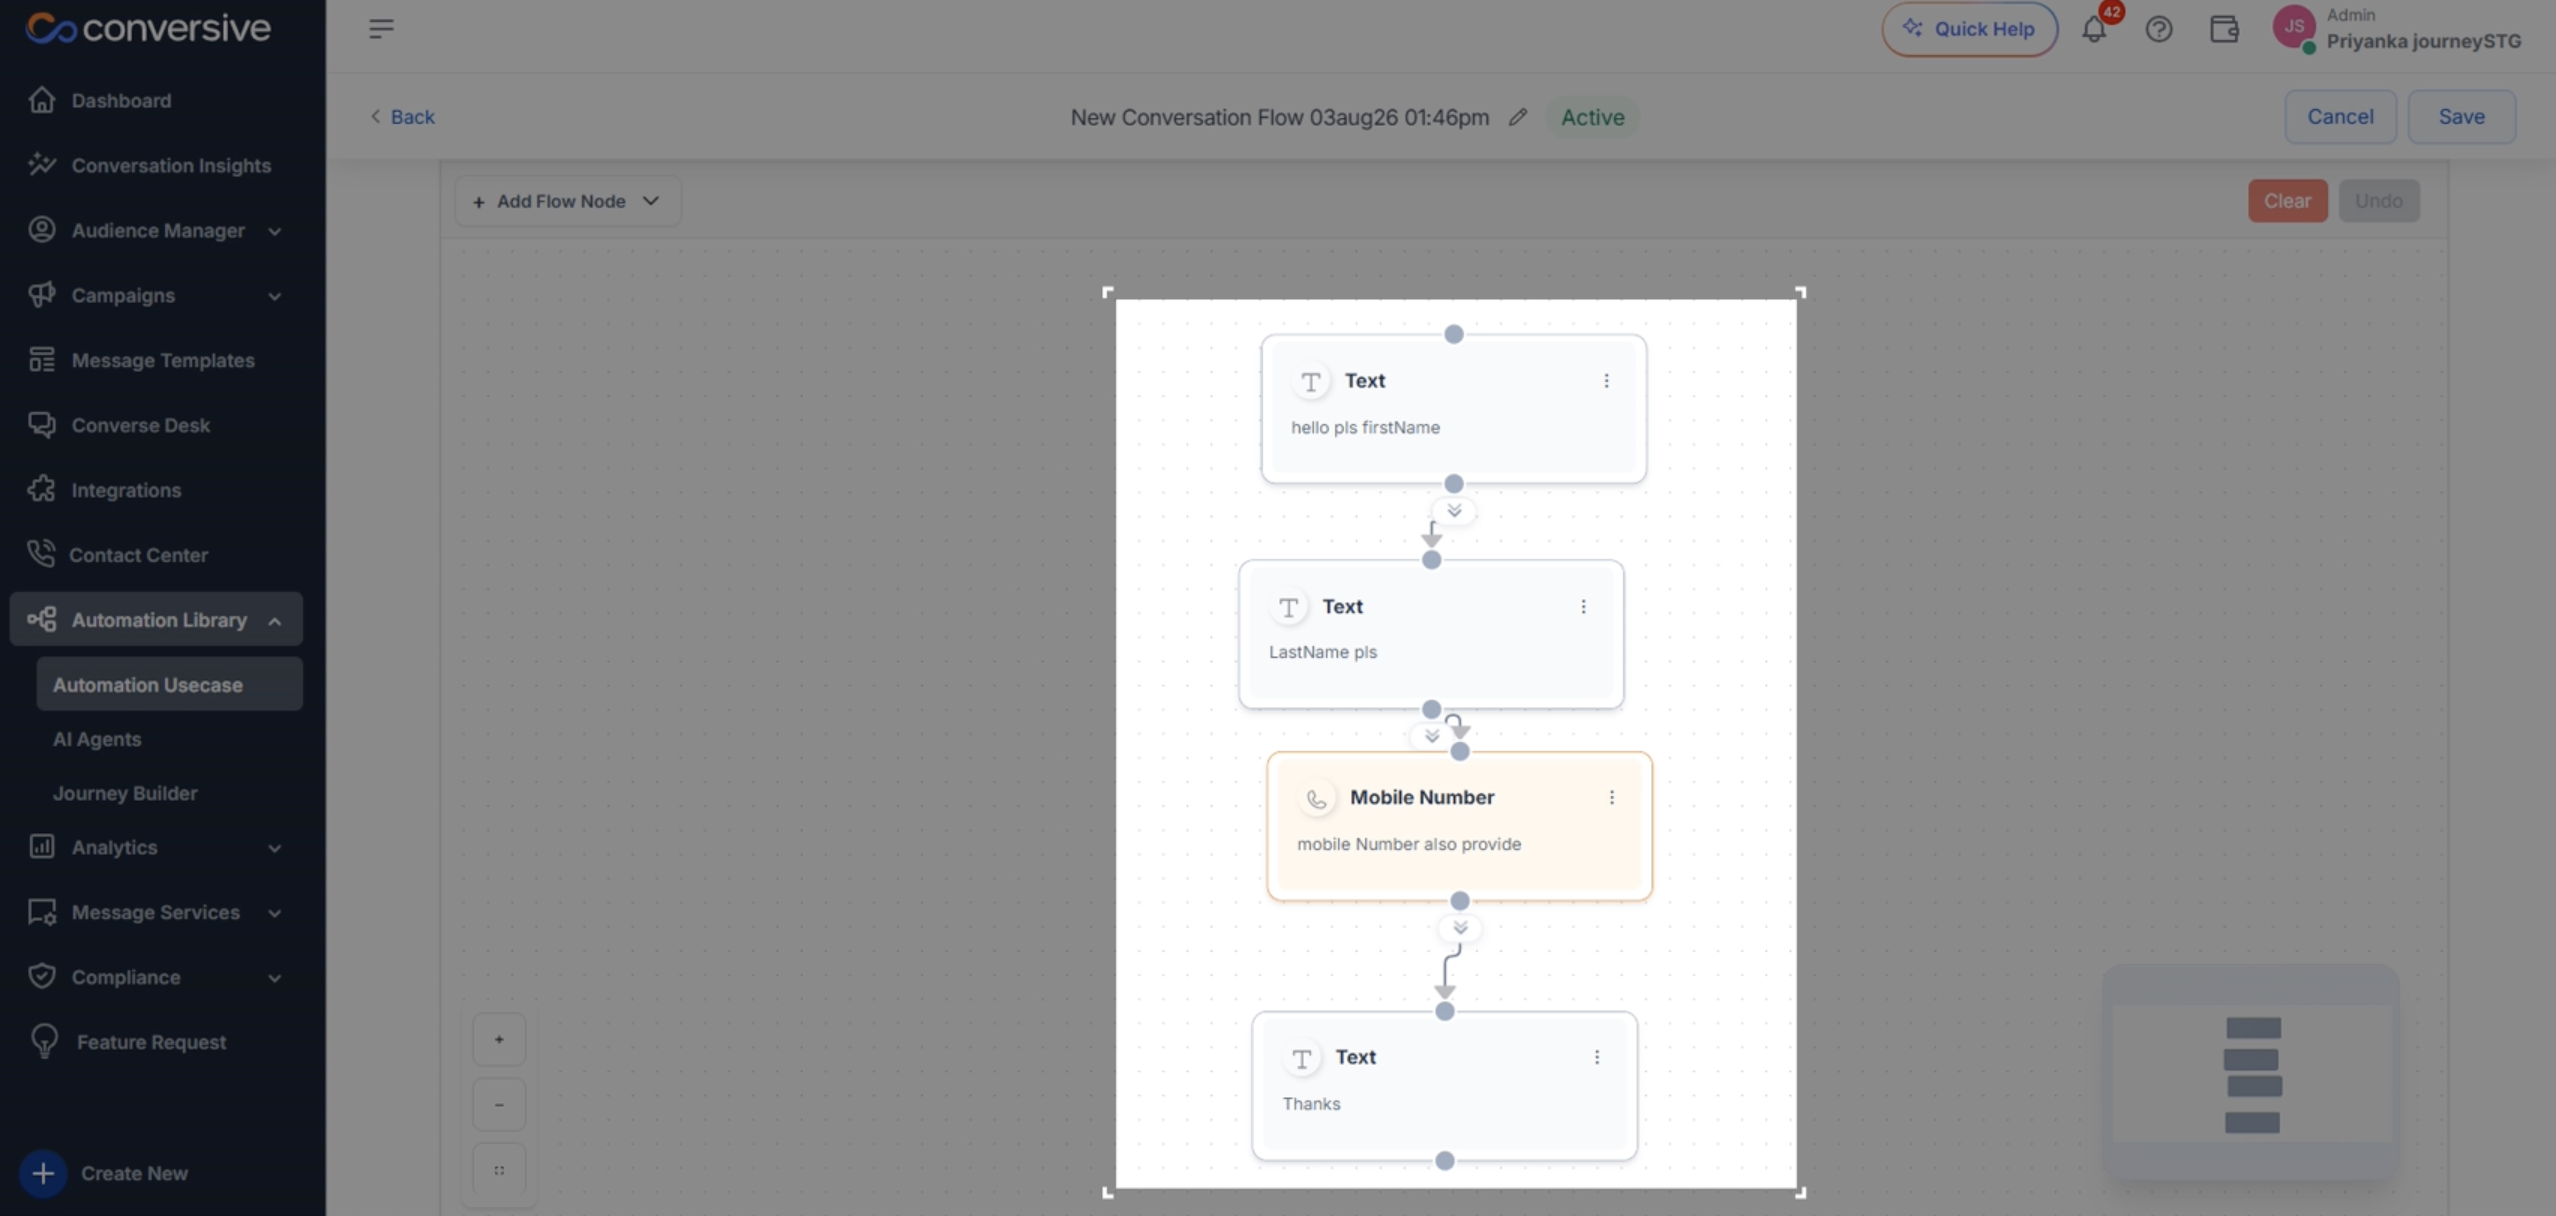
-
Click the Save button in the top-right corner of the page.
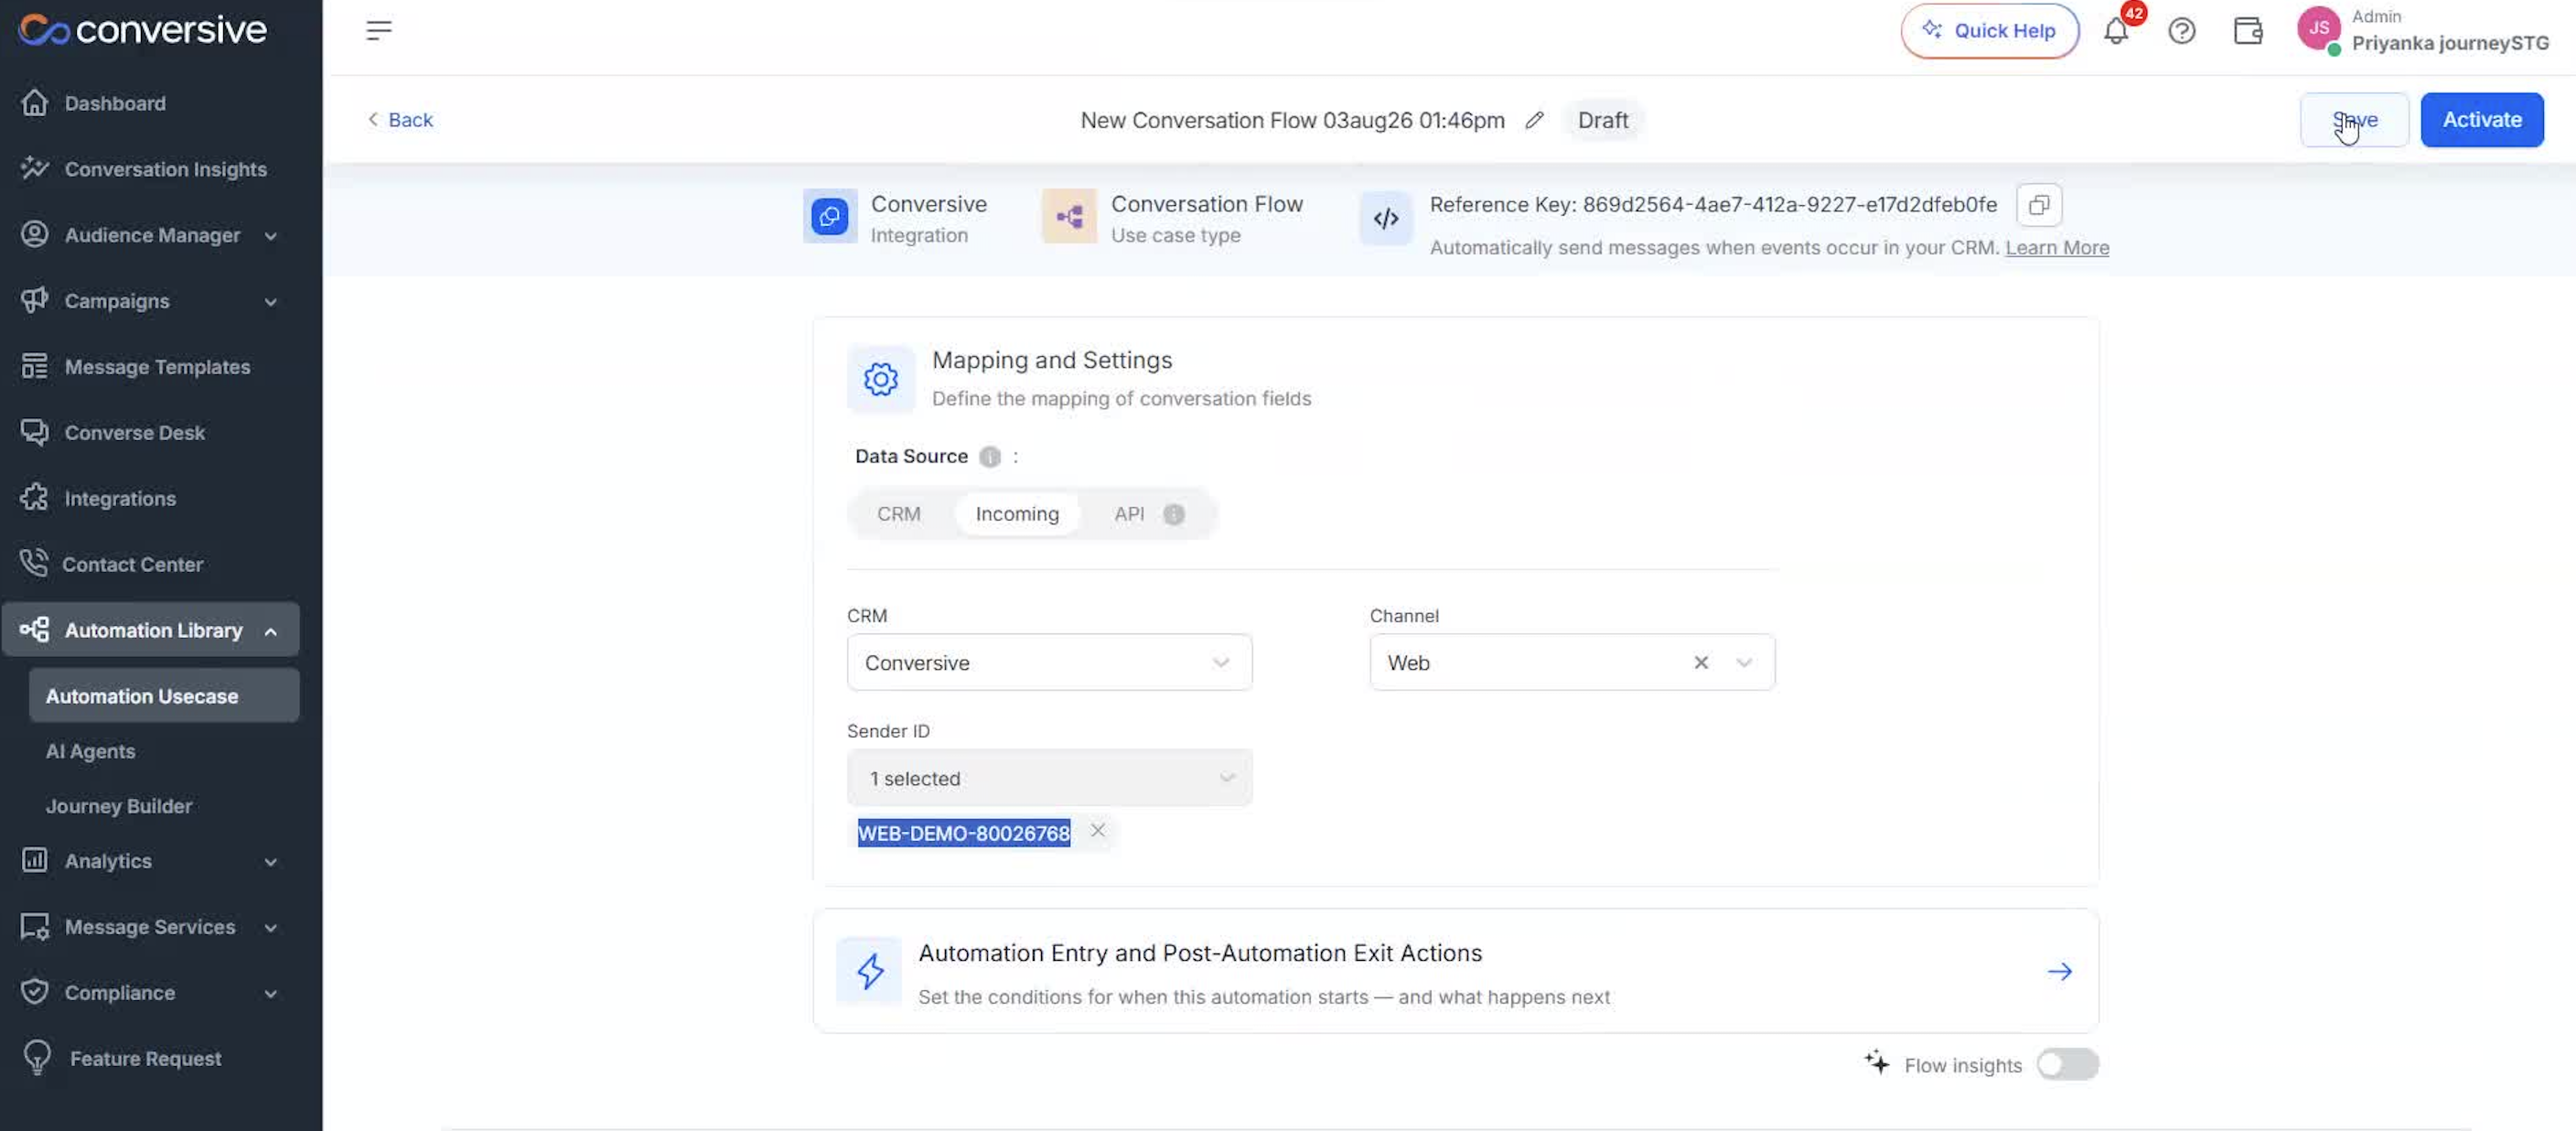
-
In the confirmation modal, click the Save button to confirm your changes.
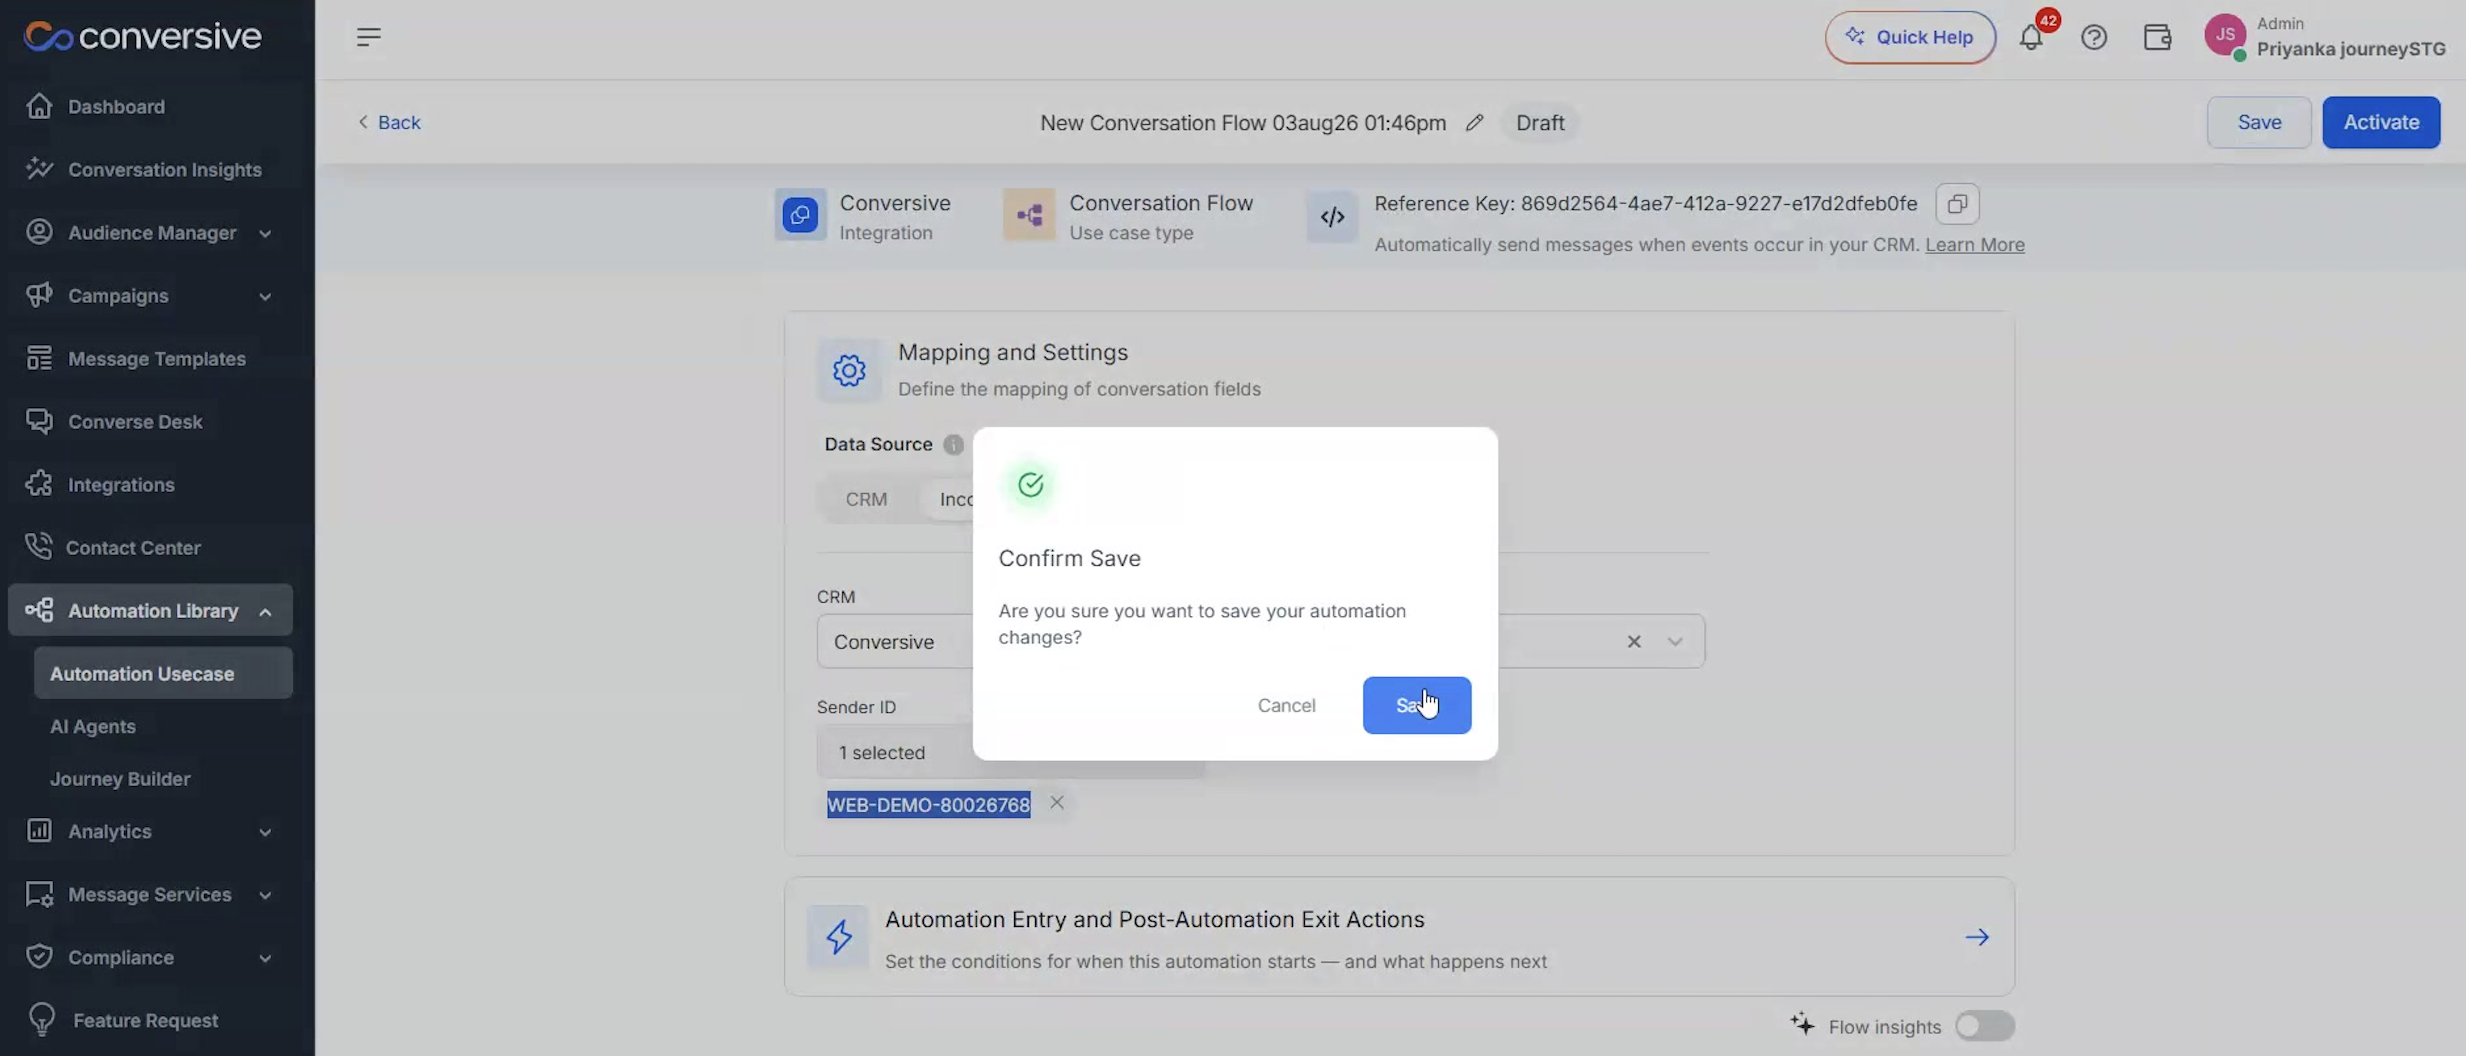
-
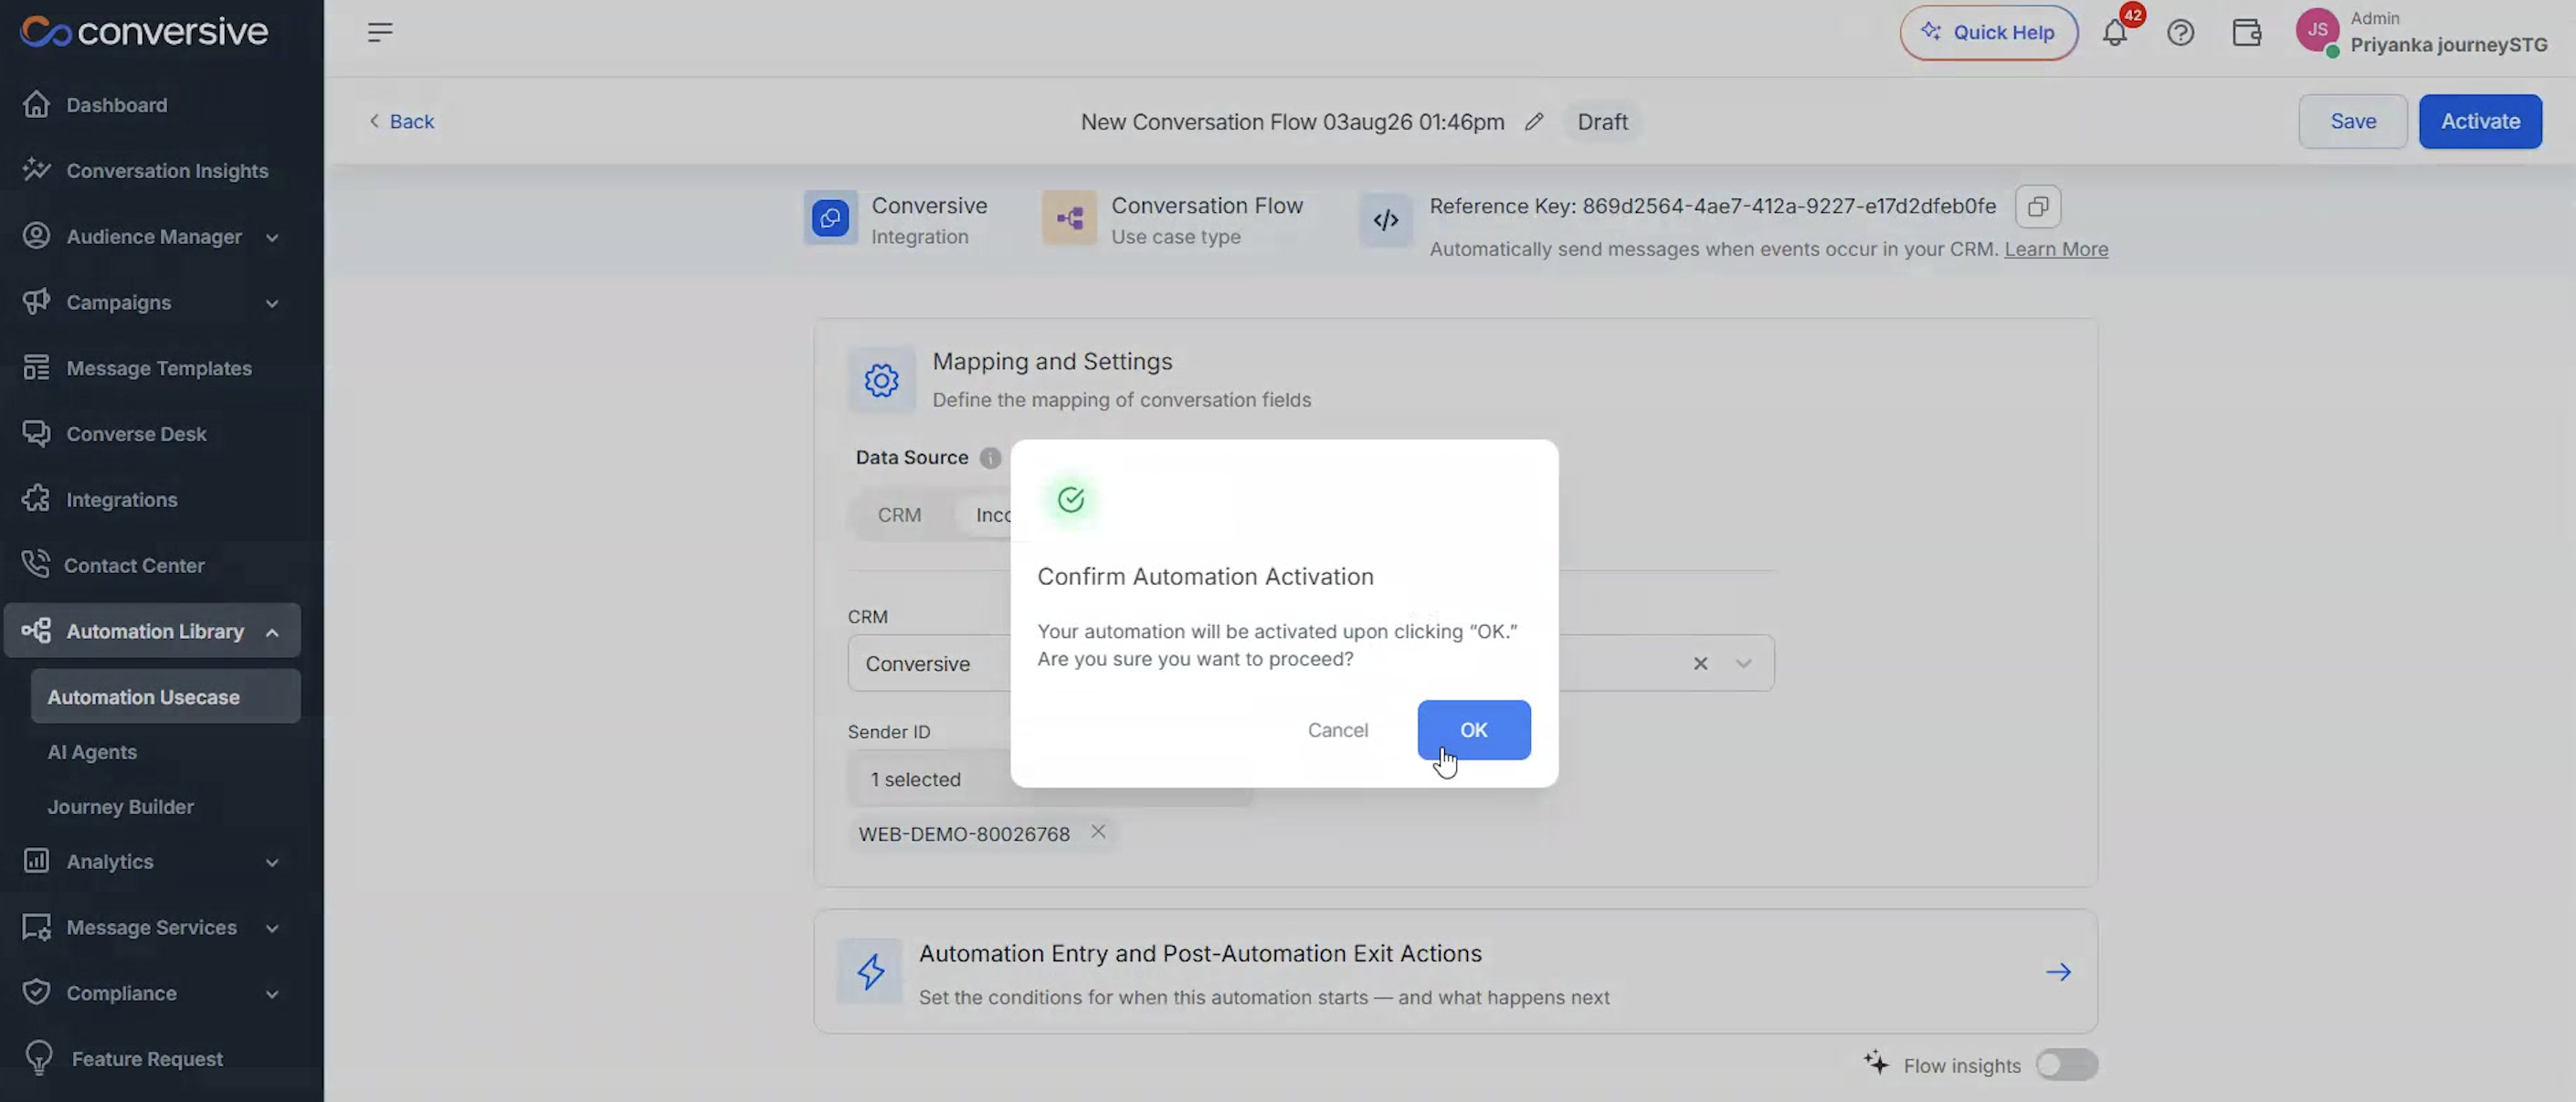
After saving, click the Activate button in the top-right corner.
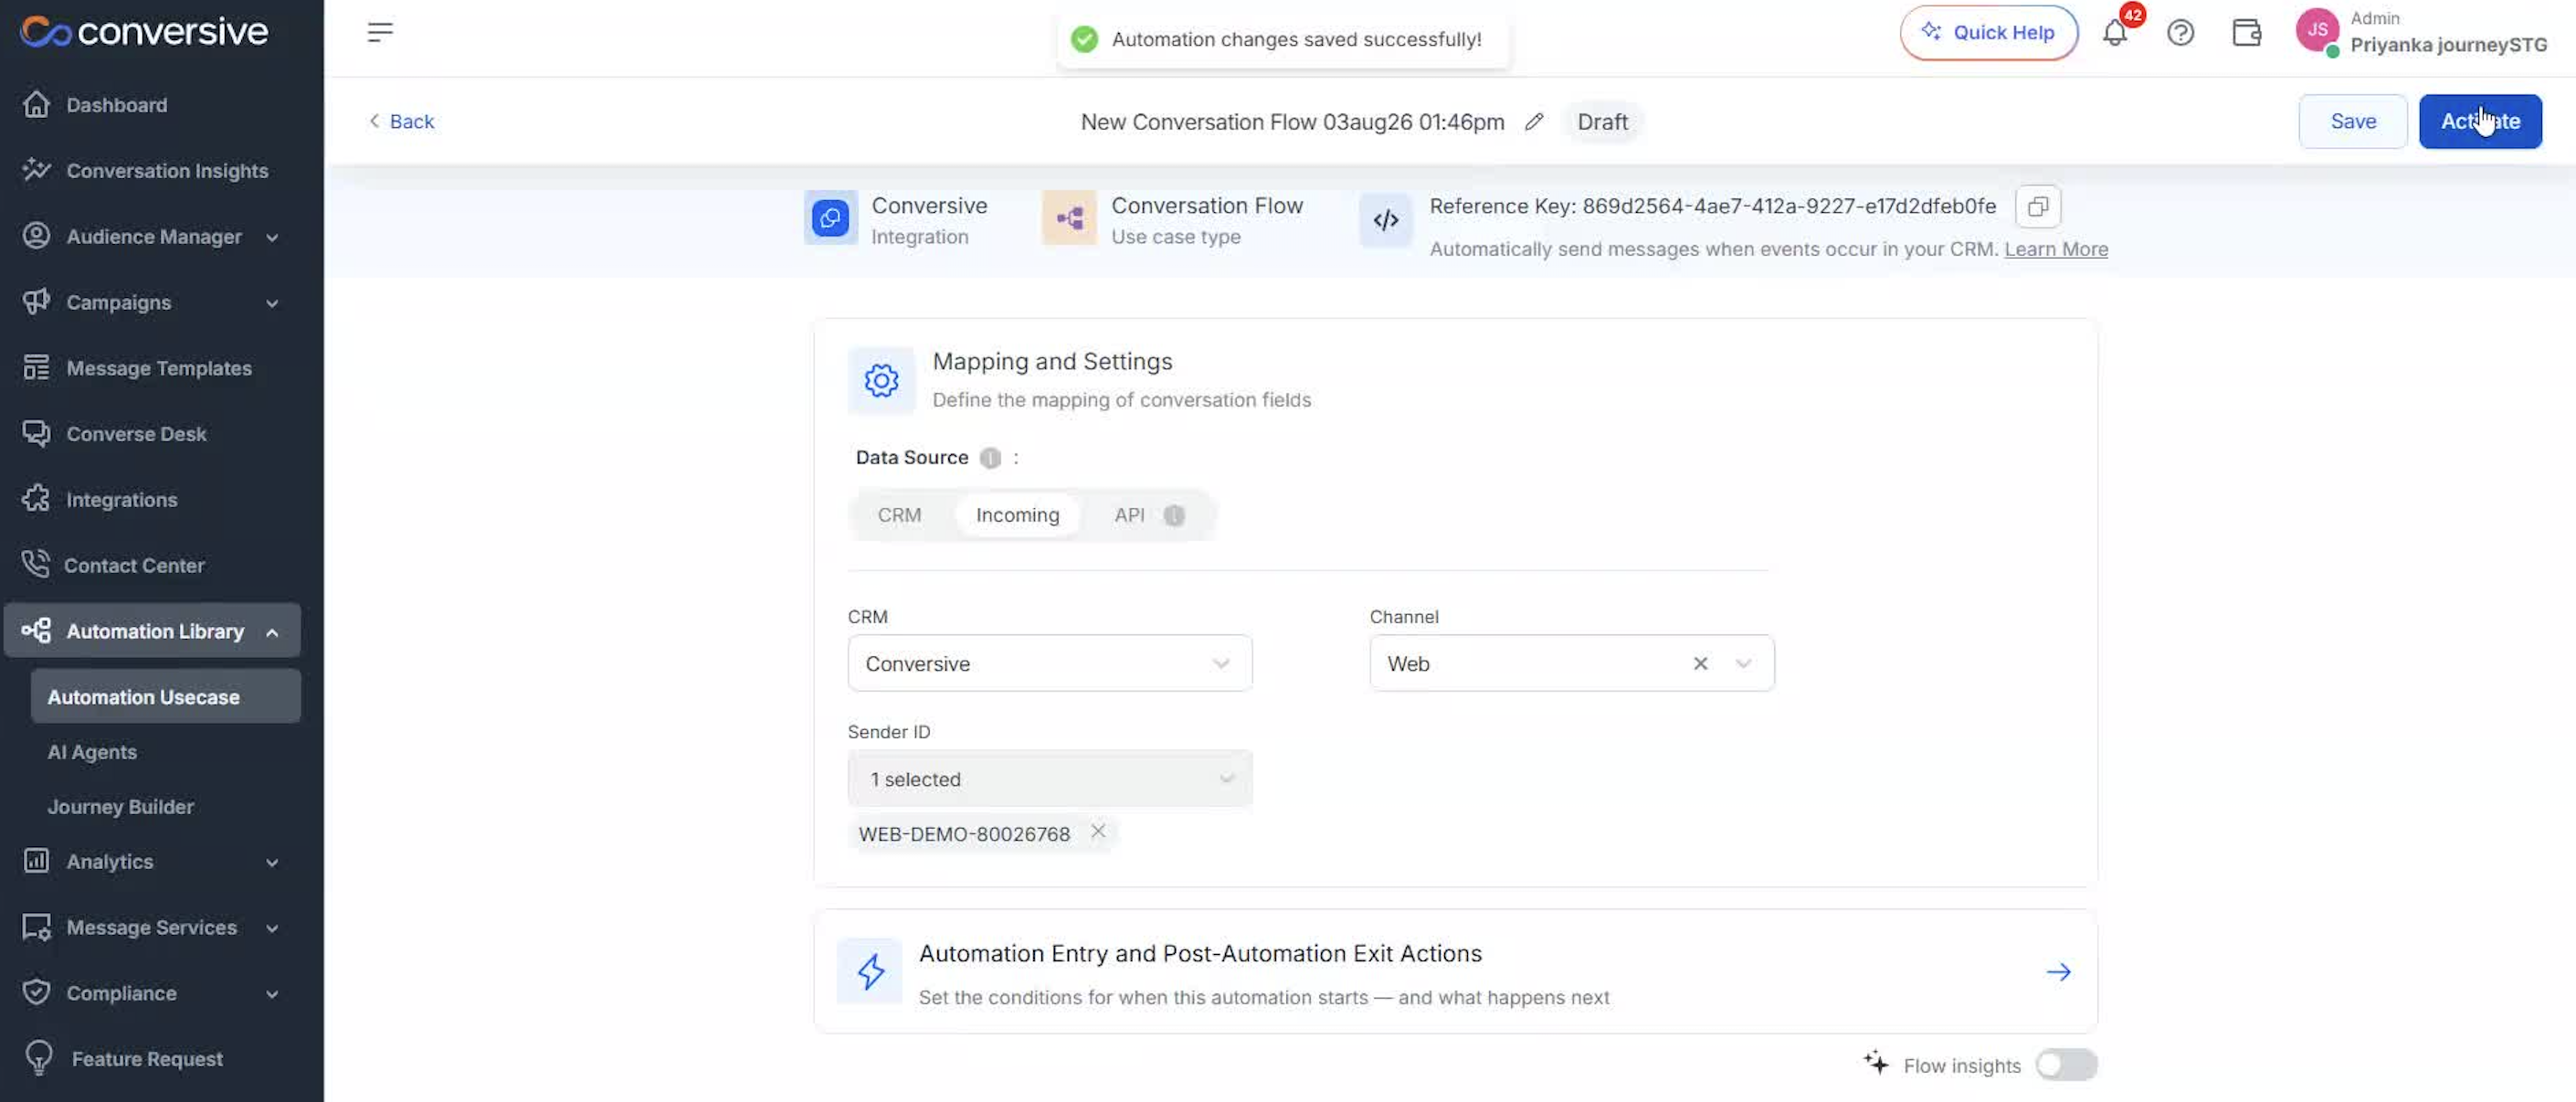
-
In the confirmation modal, click OK to proceed with activation.
-
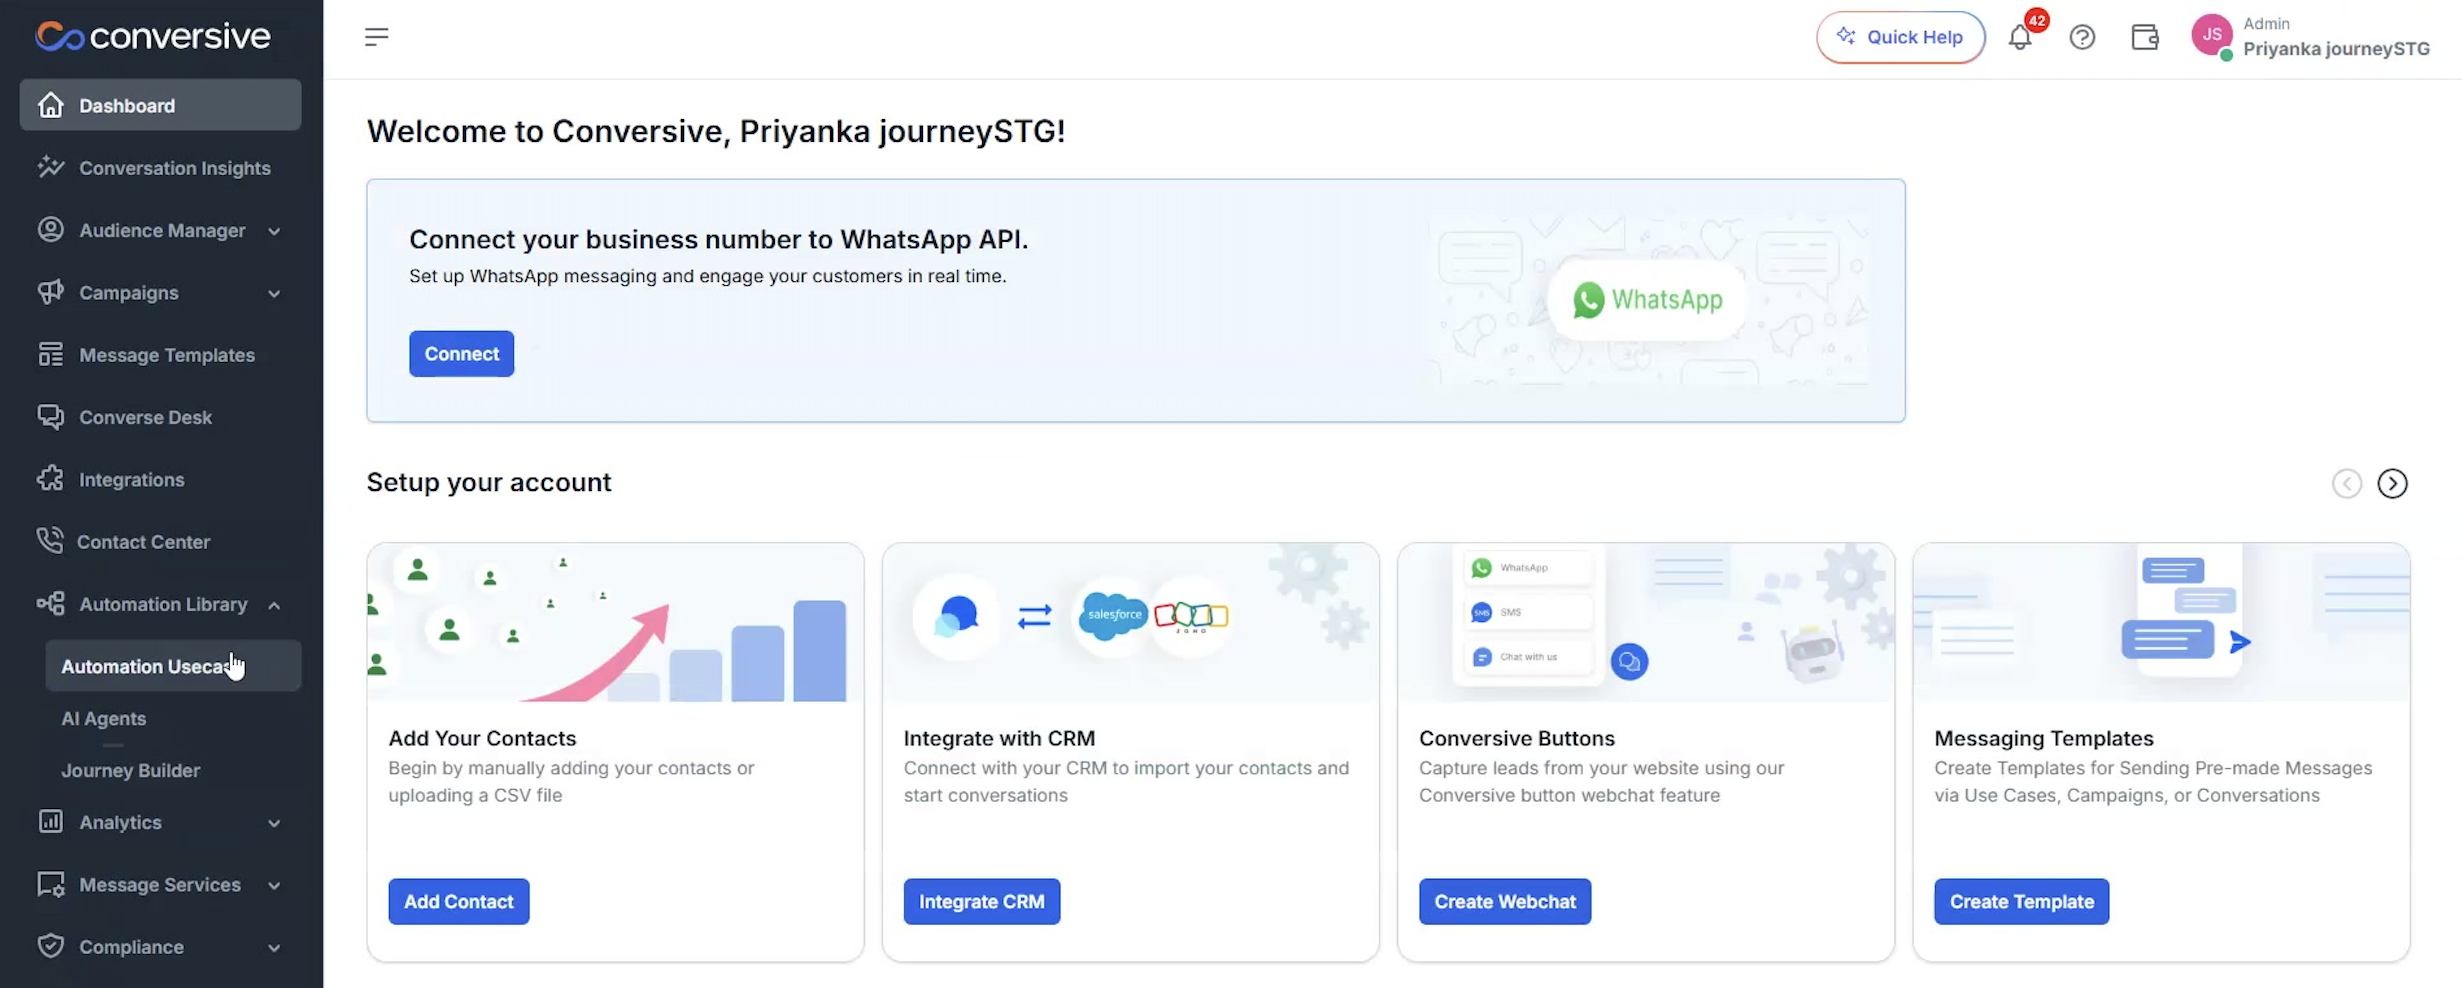
In the Automation Use Case section, click the Back button in the navigation bar.
-
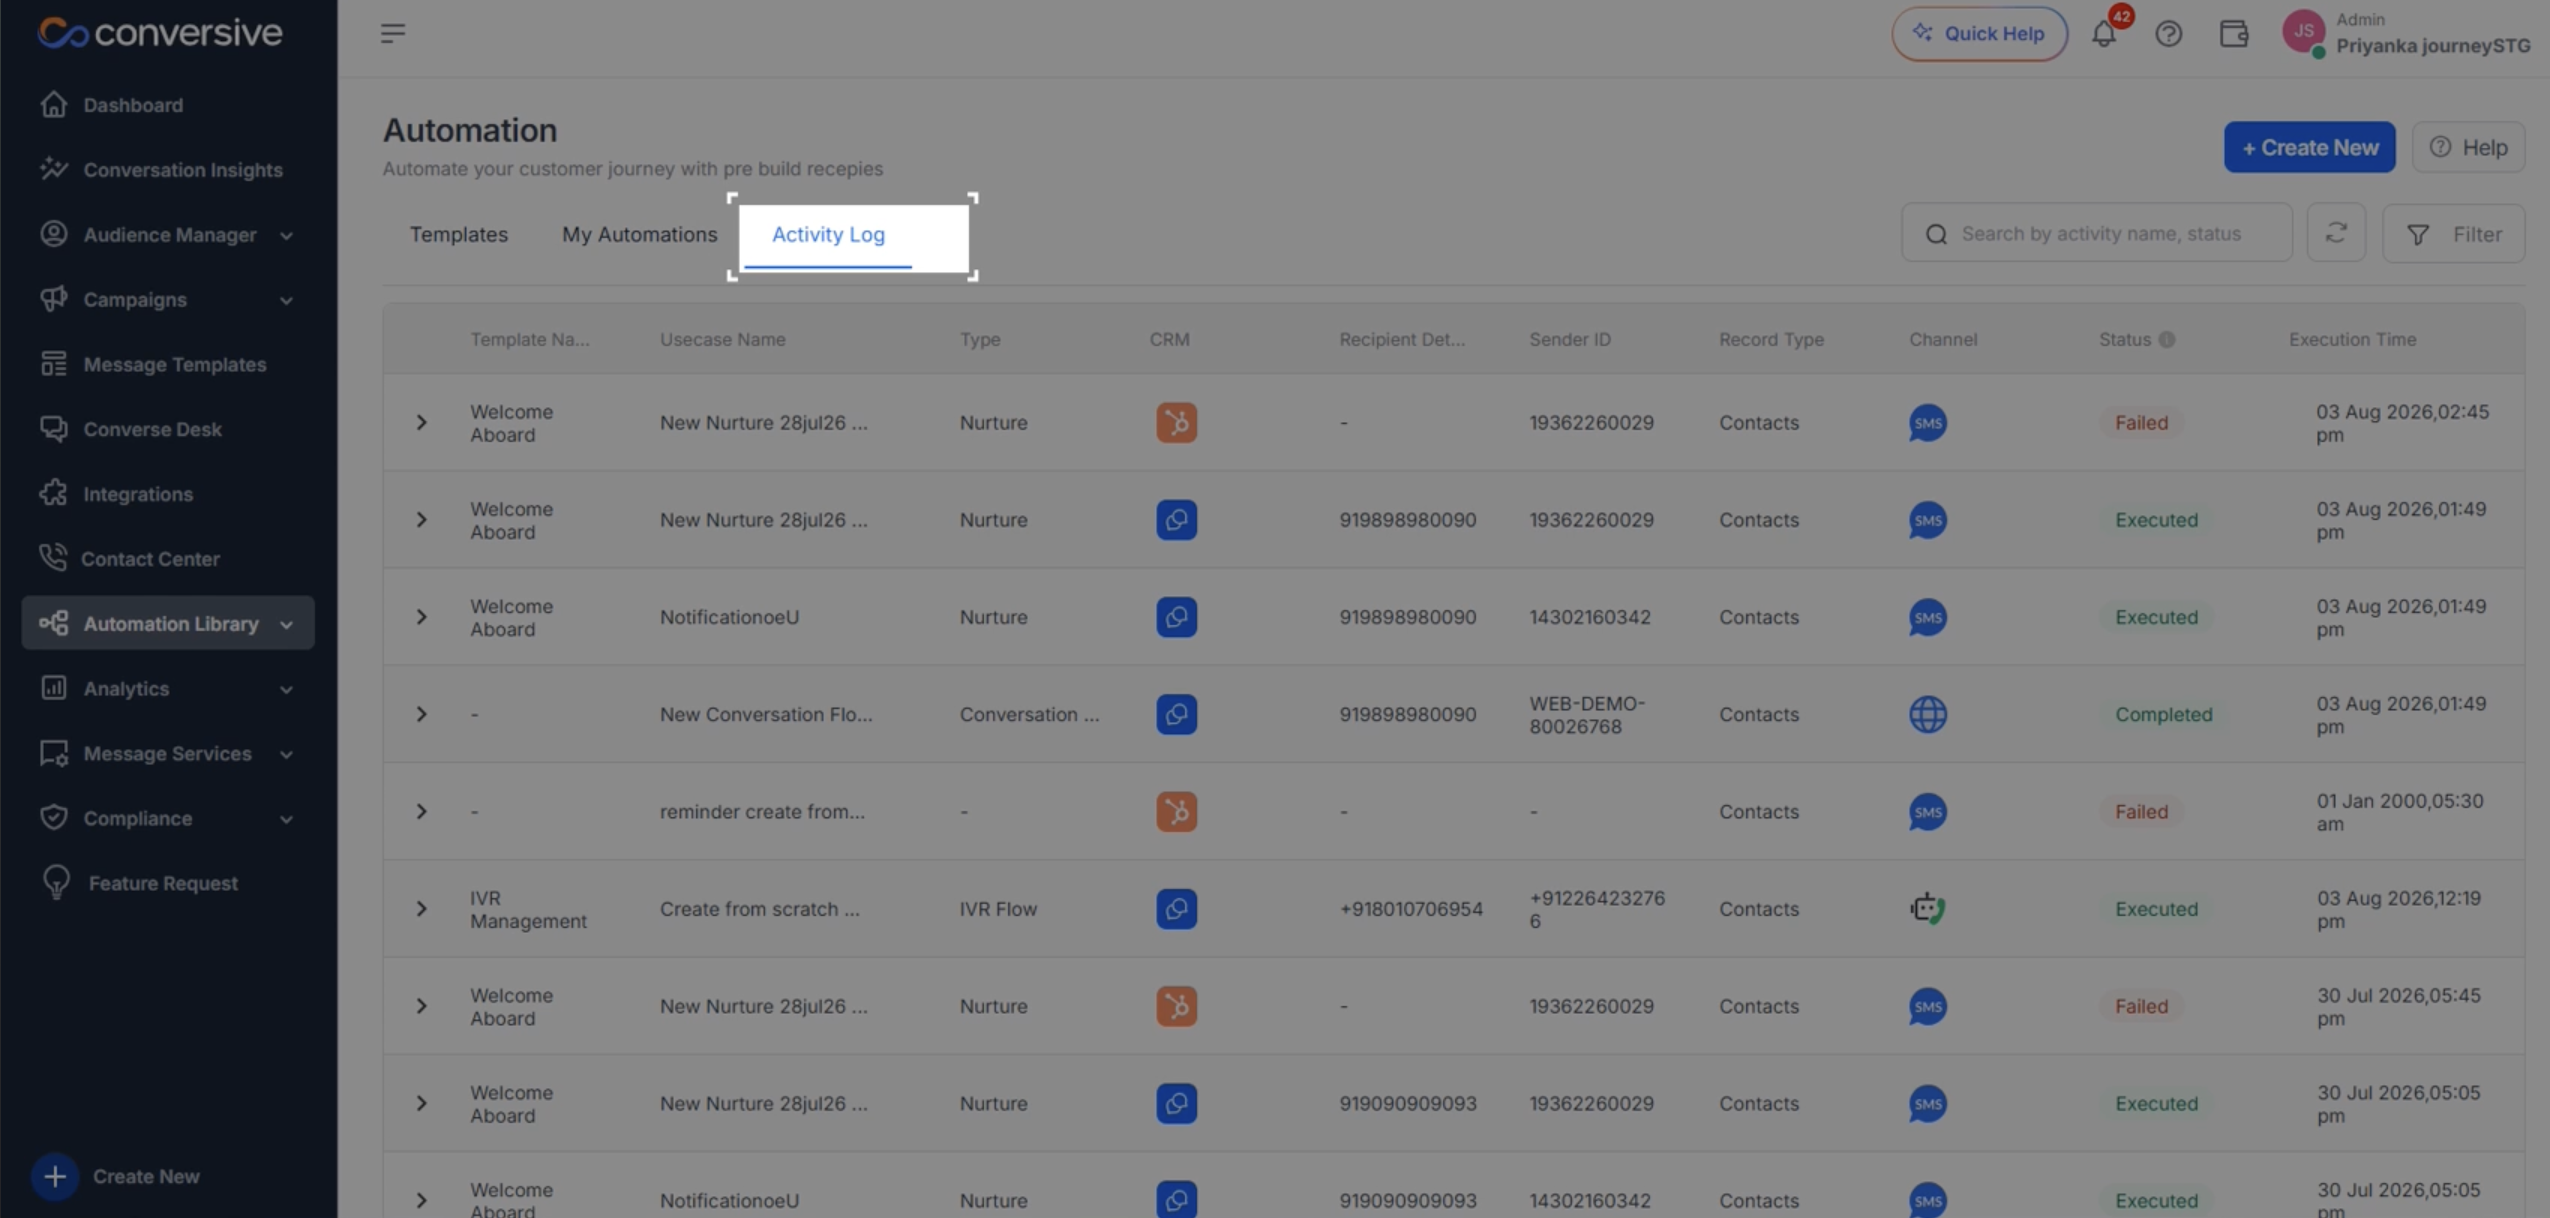
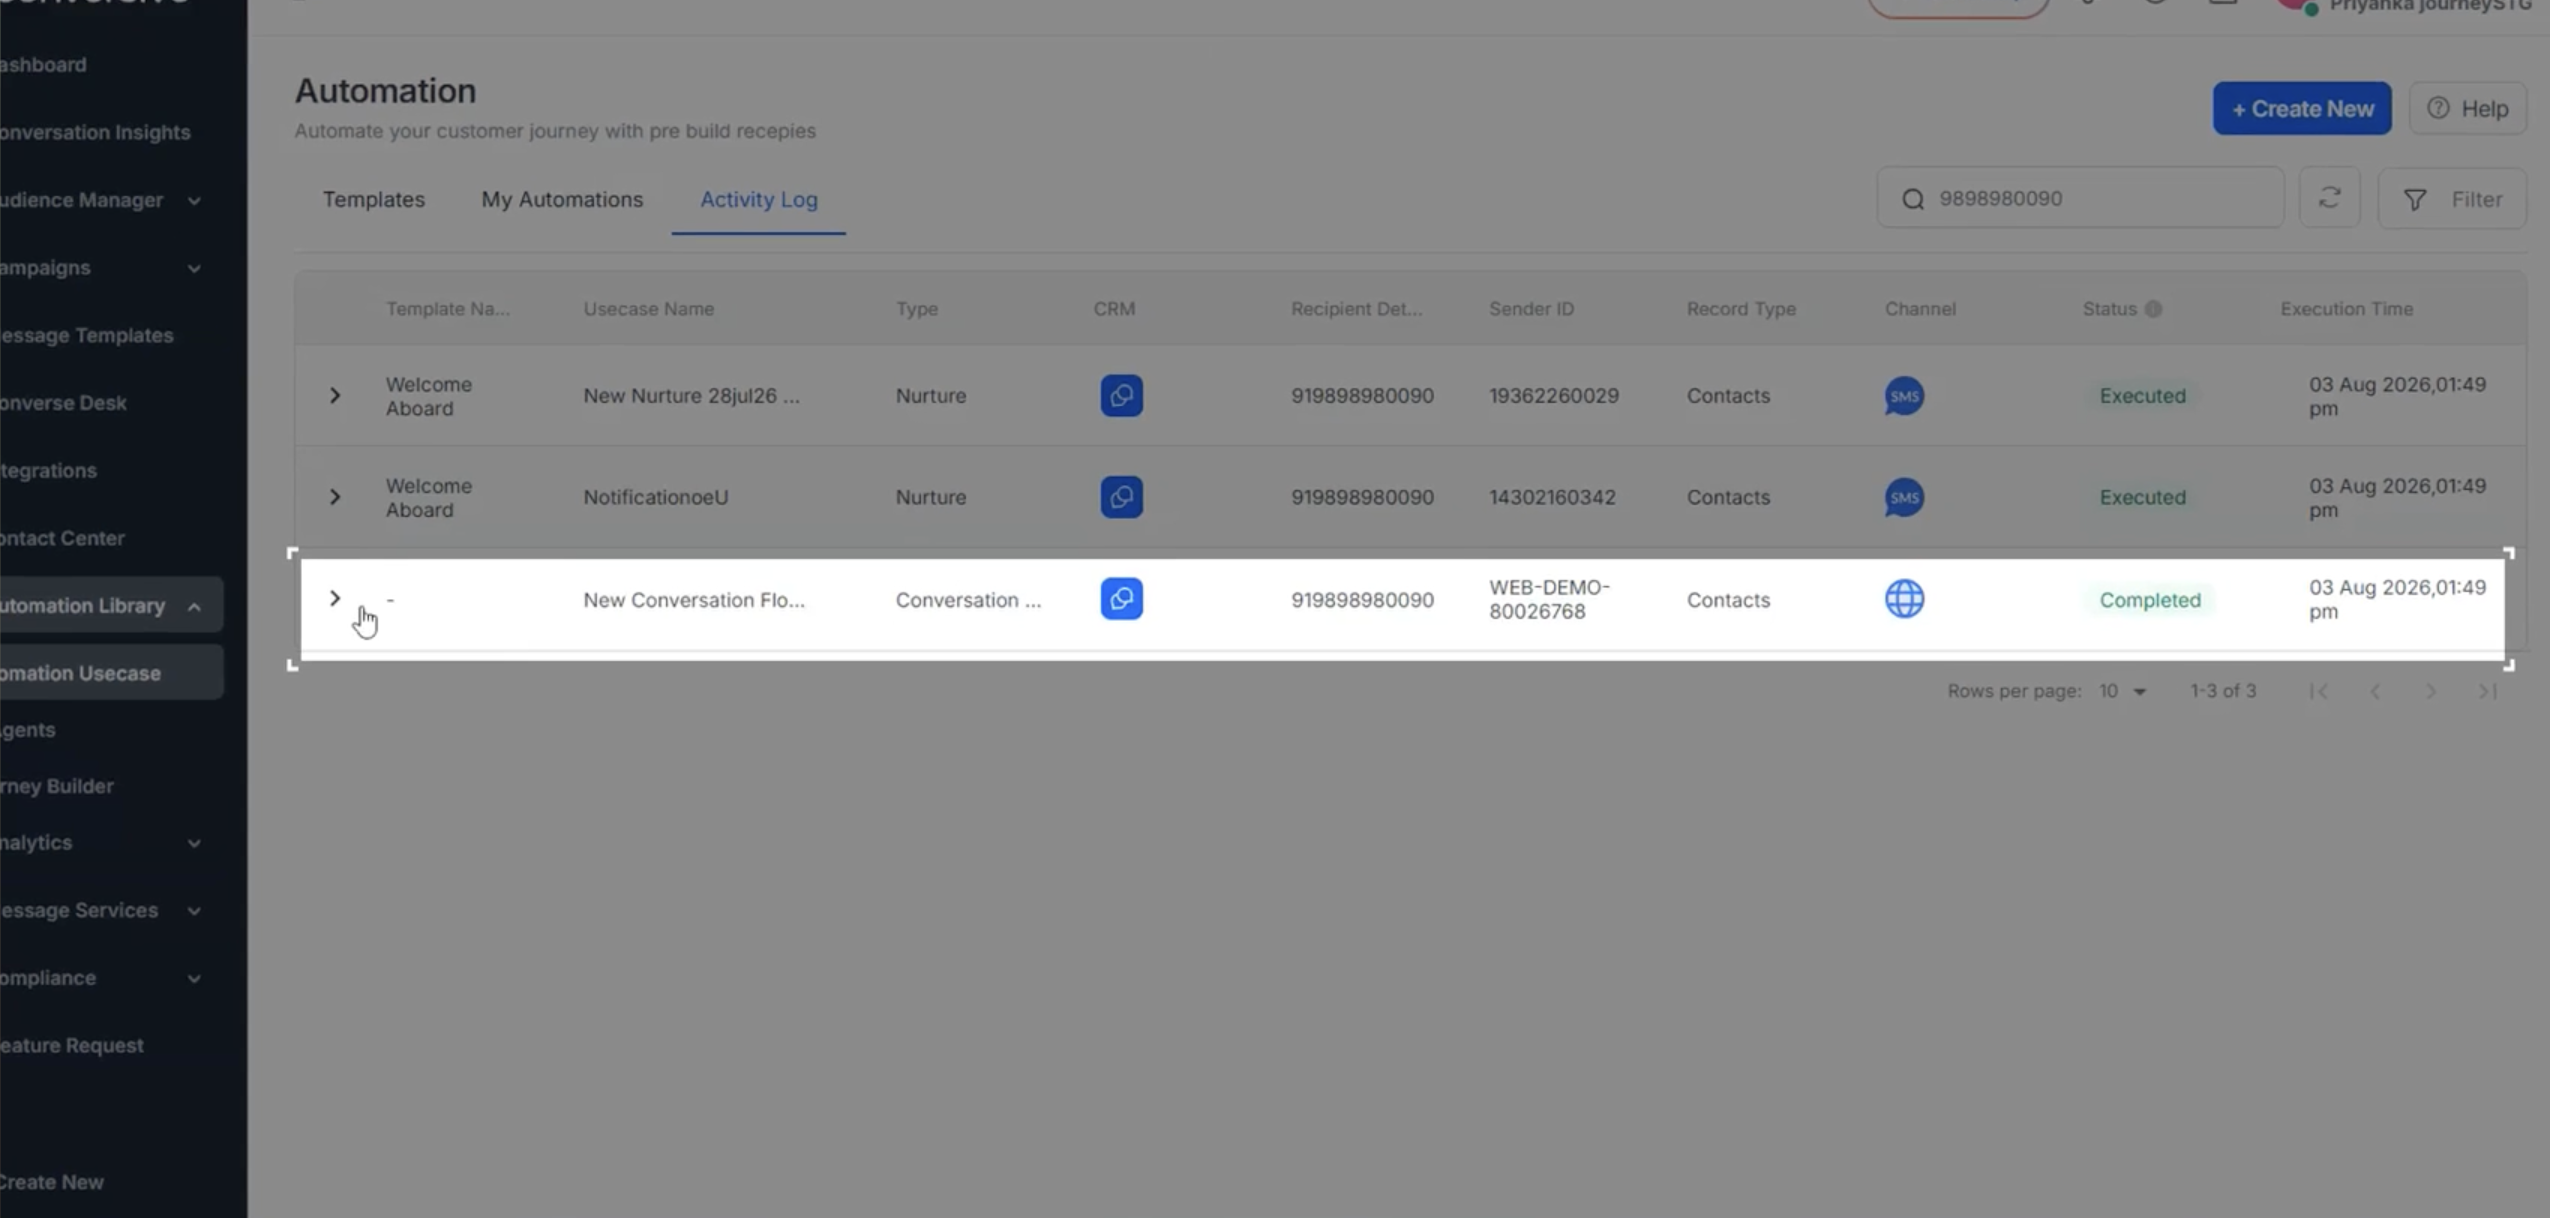
Click on the Activity Log tab in the Automation section.
-
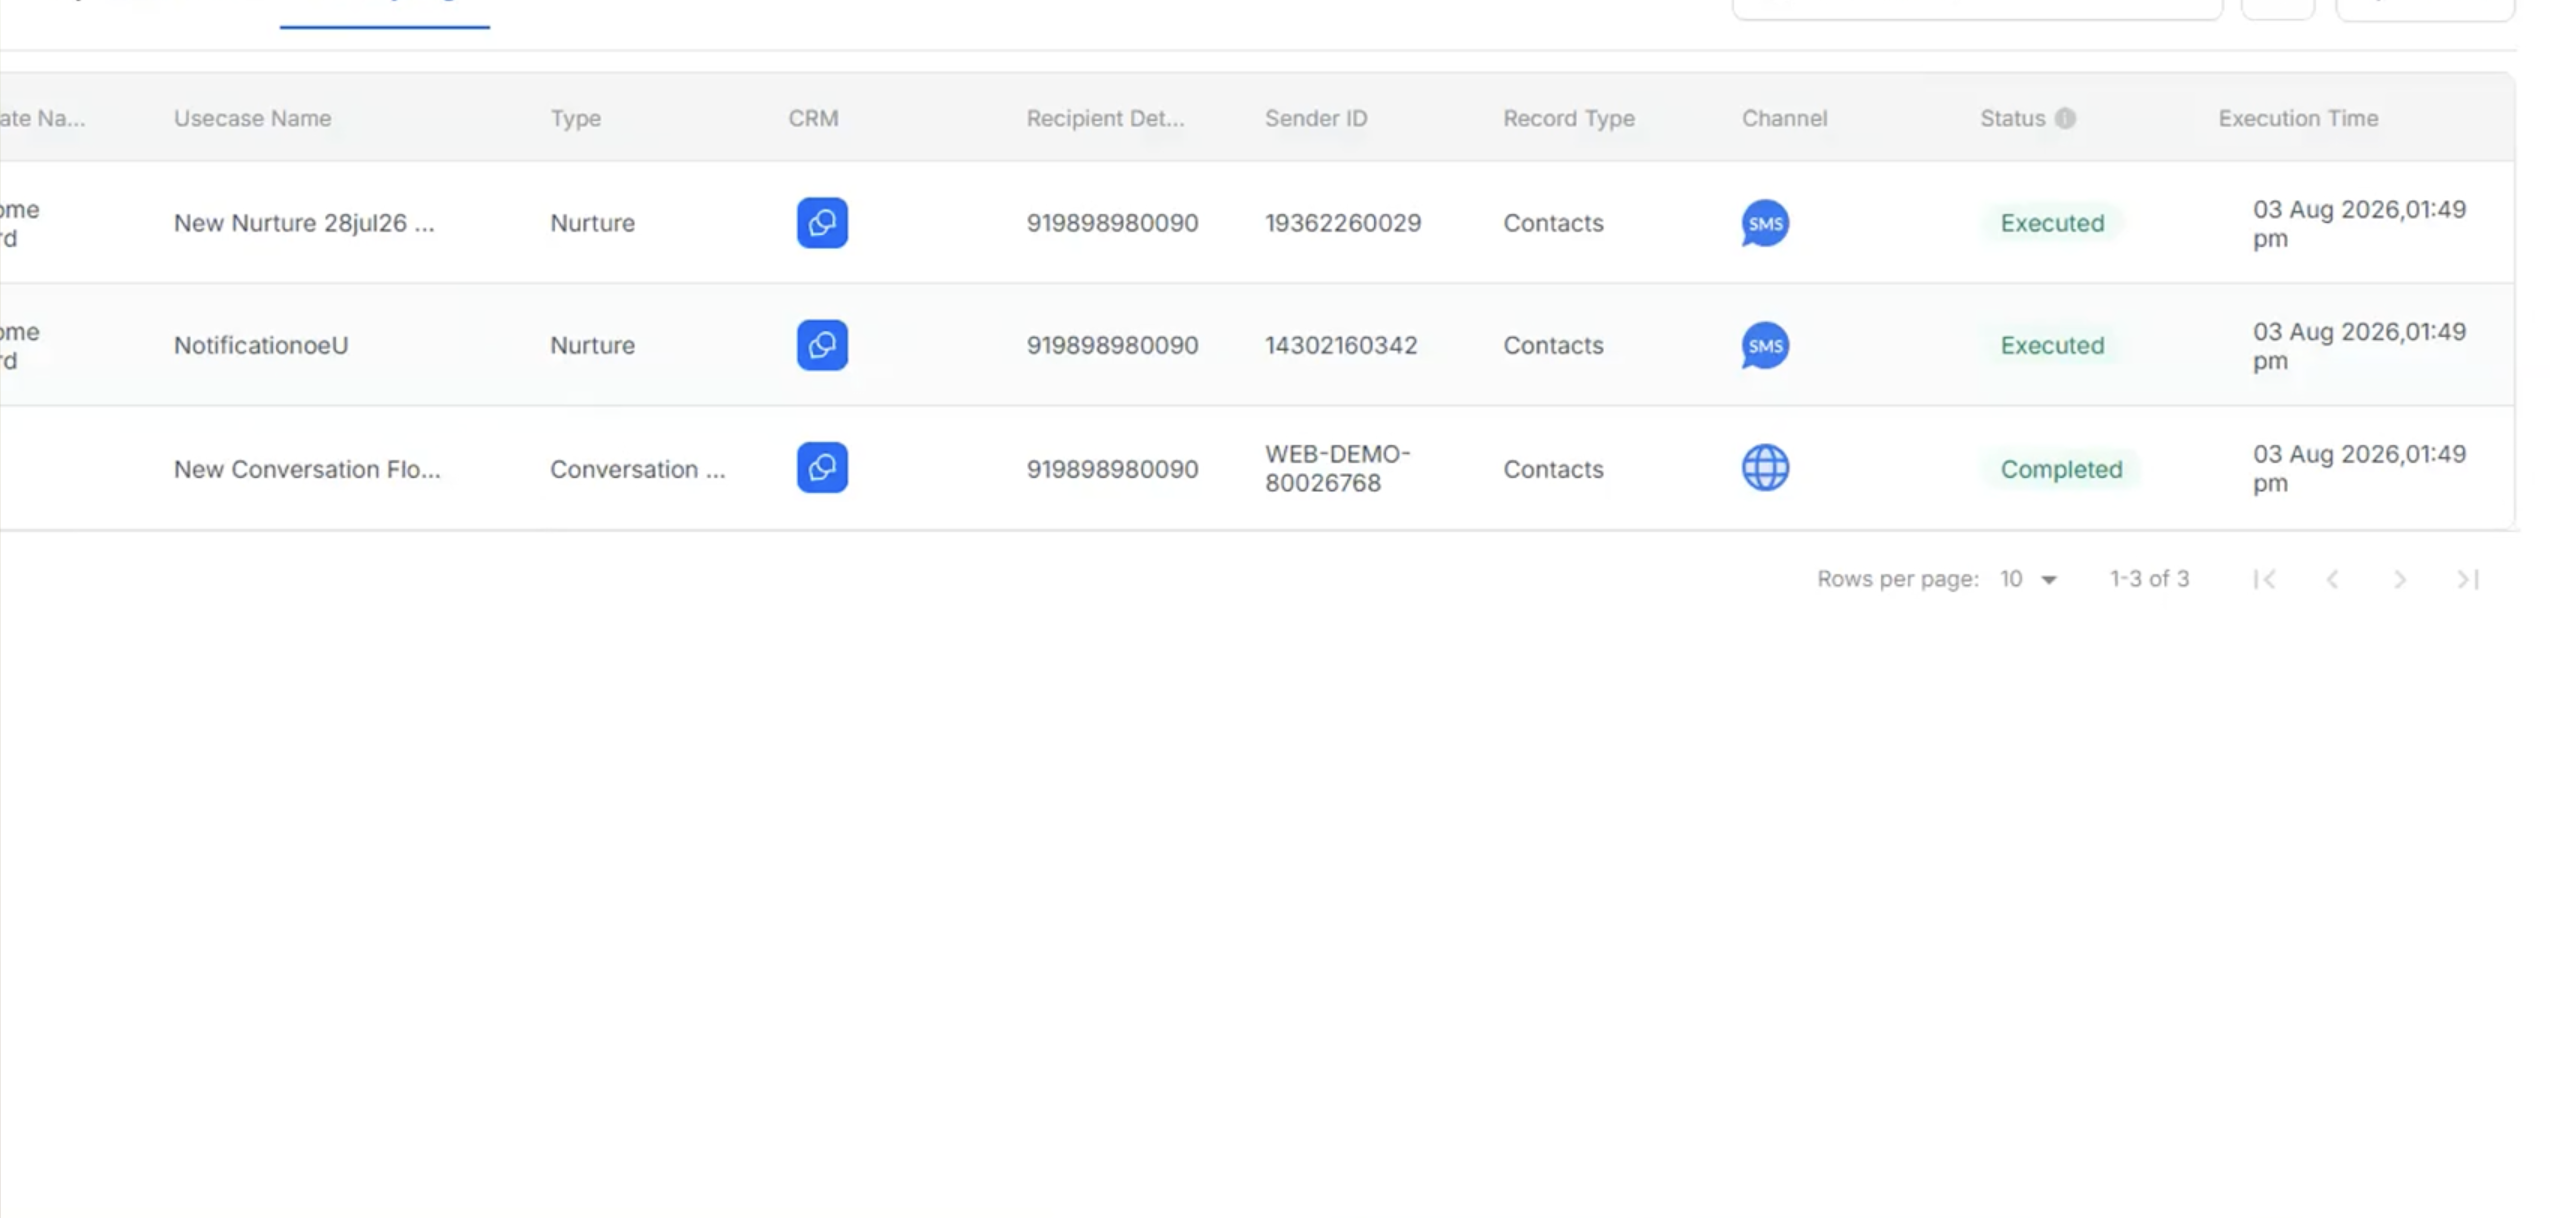
In the Activity Log, verify that the lead capture flow has been executed successfully.
-
Expand the details of the selected automation entry for further information.