Conversive with Jobber
Managing customer information and communications across Jobber and Conversive can create unnecessary manual work and make it difficult to maintain a complete view of customer interactions. Conversive now integrates with Jobber, enabling businesses to connect customer and lead data, synchronize message history, and trigger automated messaging based on Jobber events.
This guide provides a step-by-step process to integrate Jobber and manage client communications effectively.
Integration Steps
-
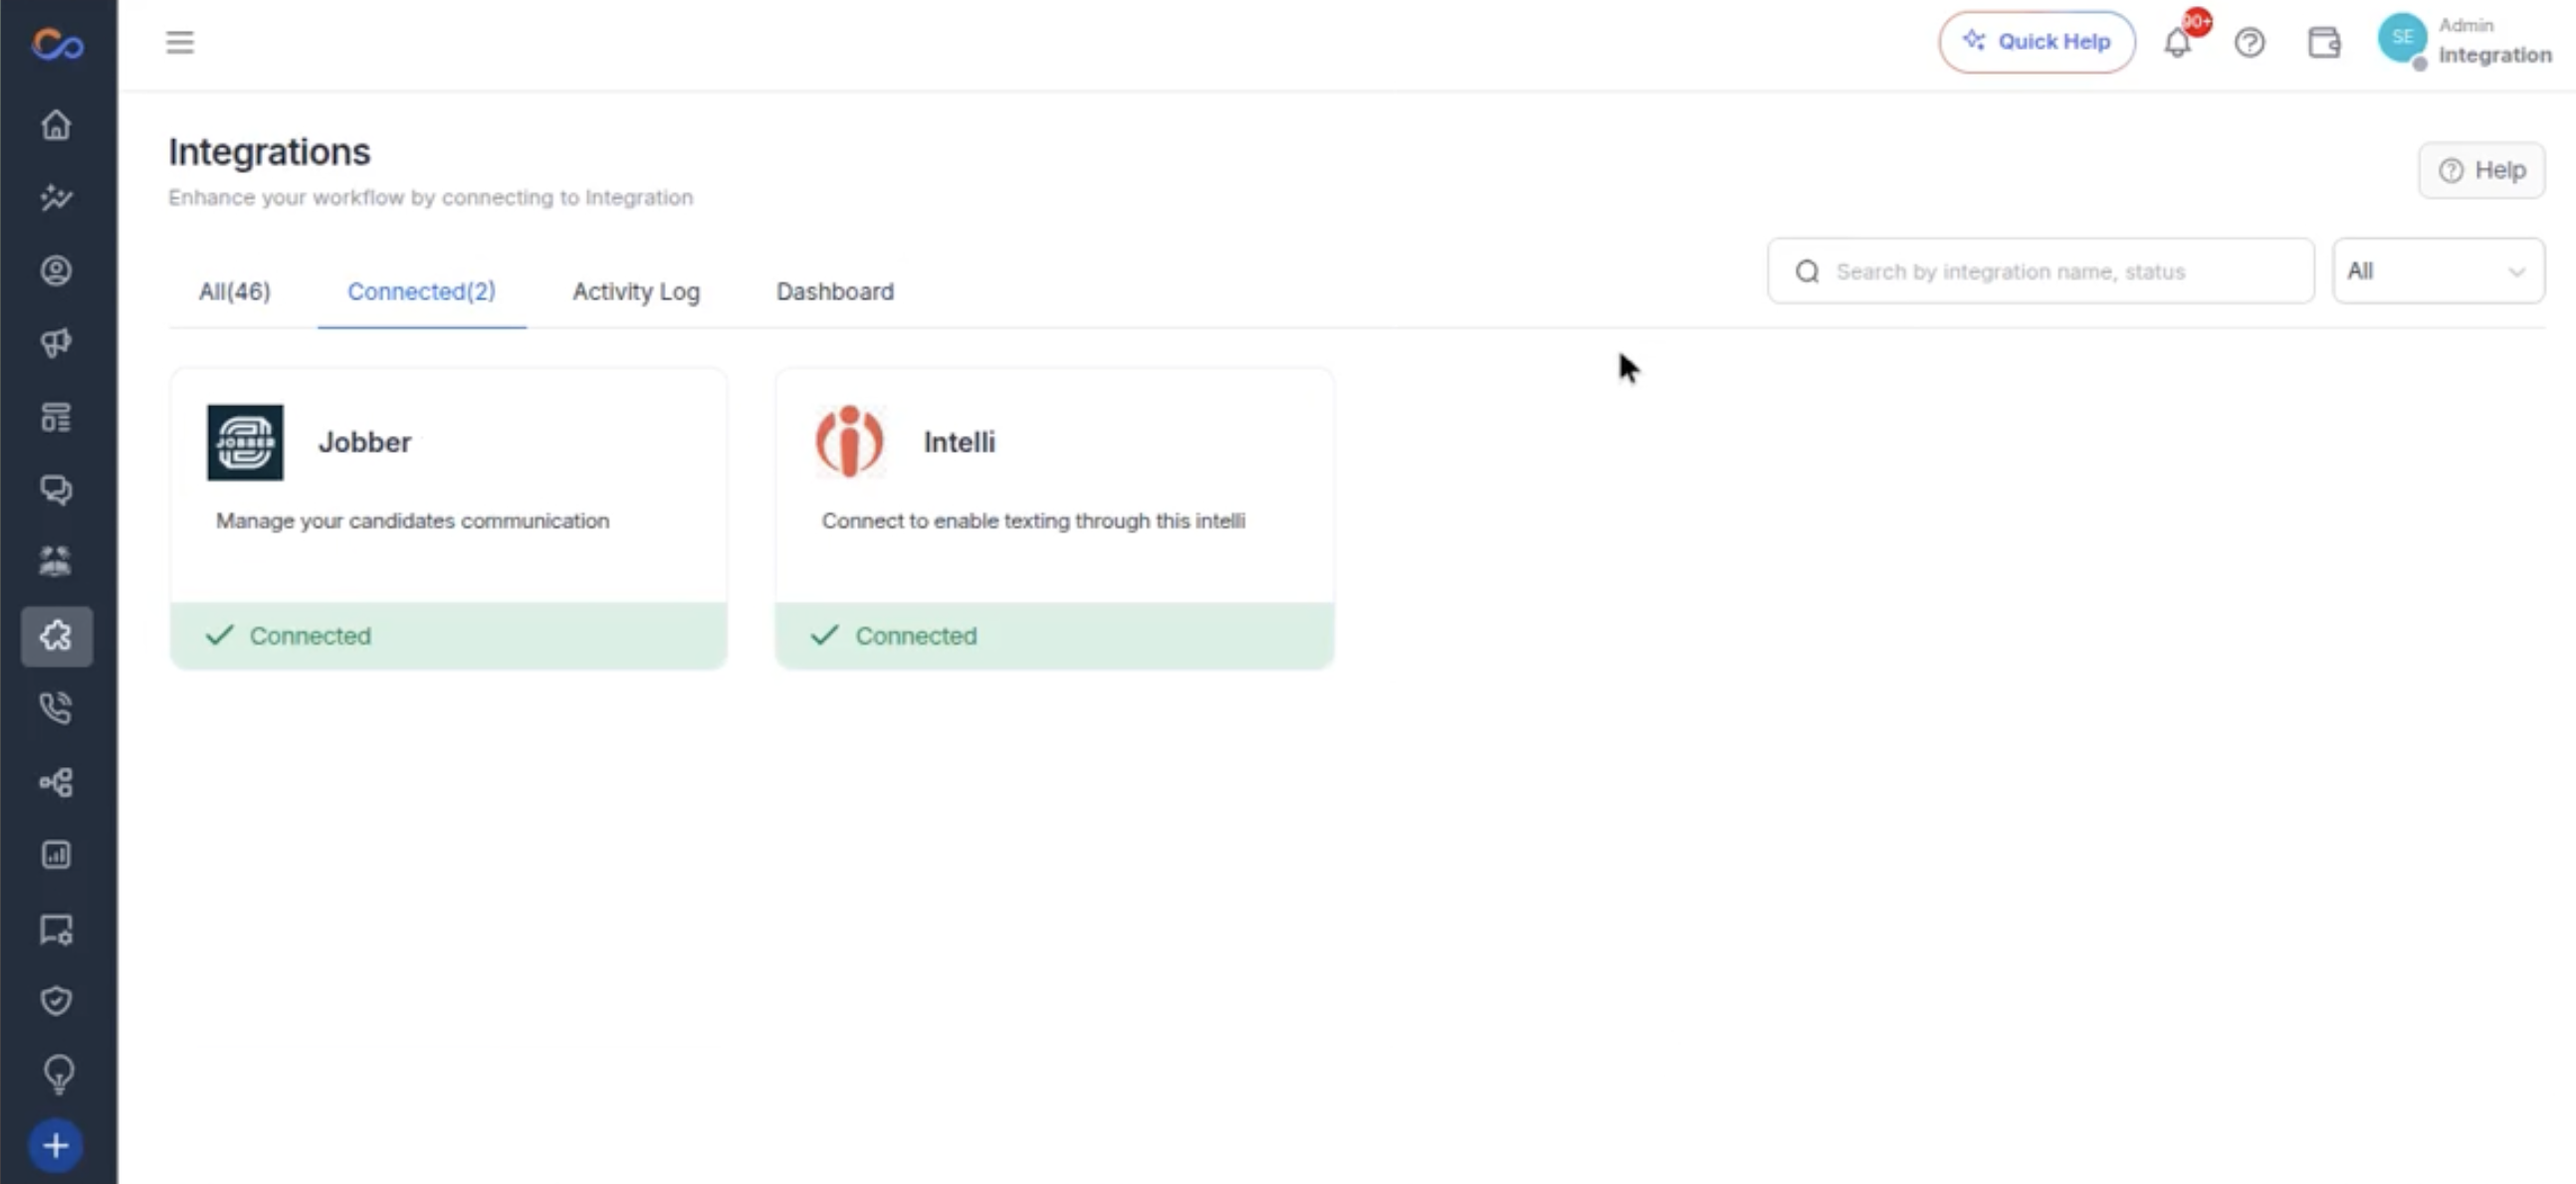
Click on the Integrations option in the navigation bar.
-
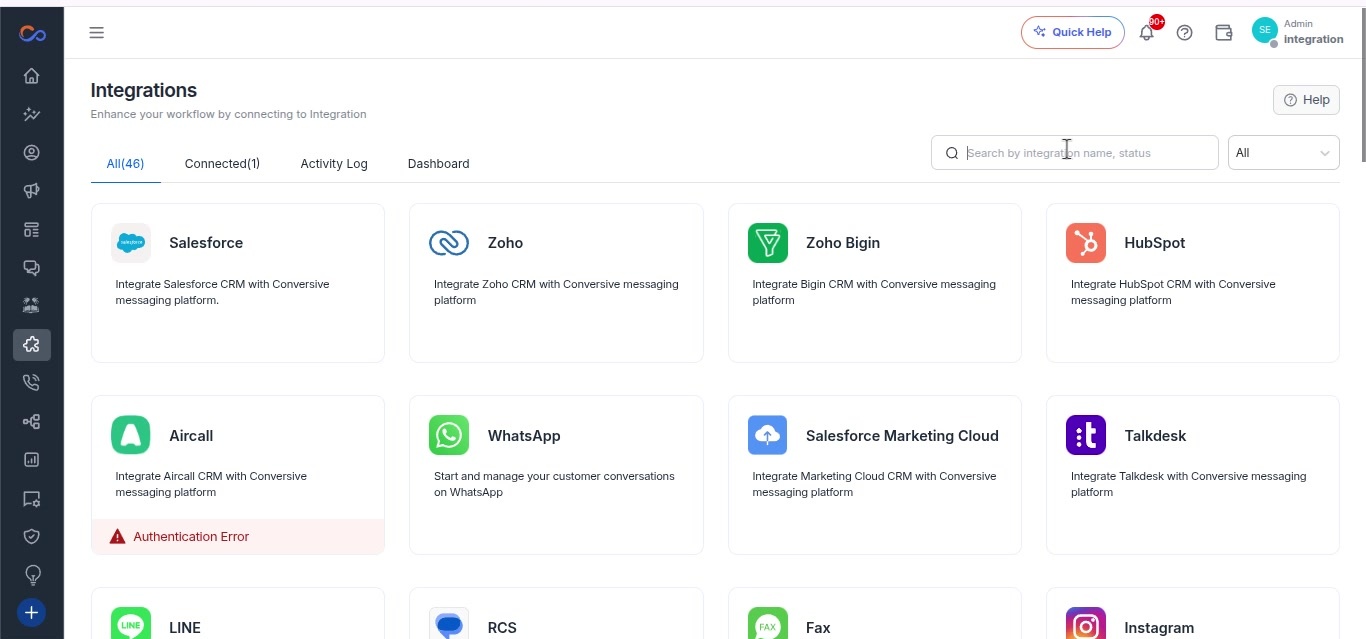
Hover over the Integrations option in the navigation bar.
-
Select the Connected tab in the Integration section.
-
Click on the Alt tab in the Integration section.
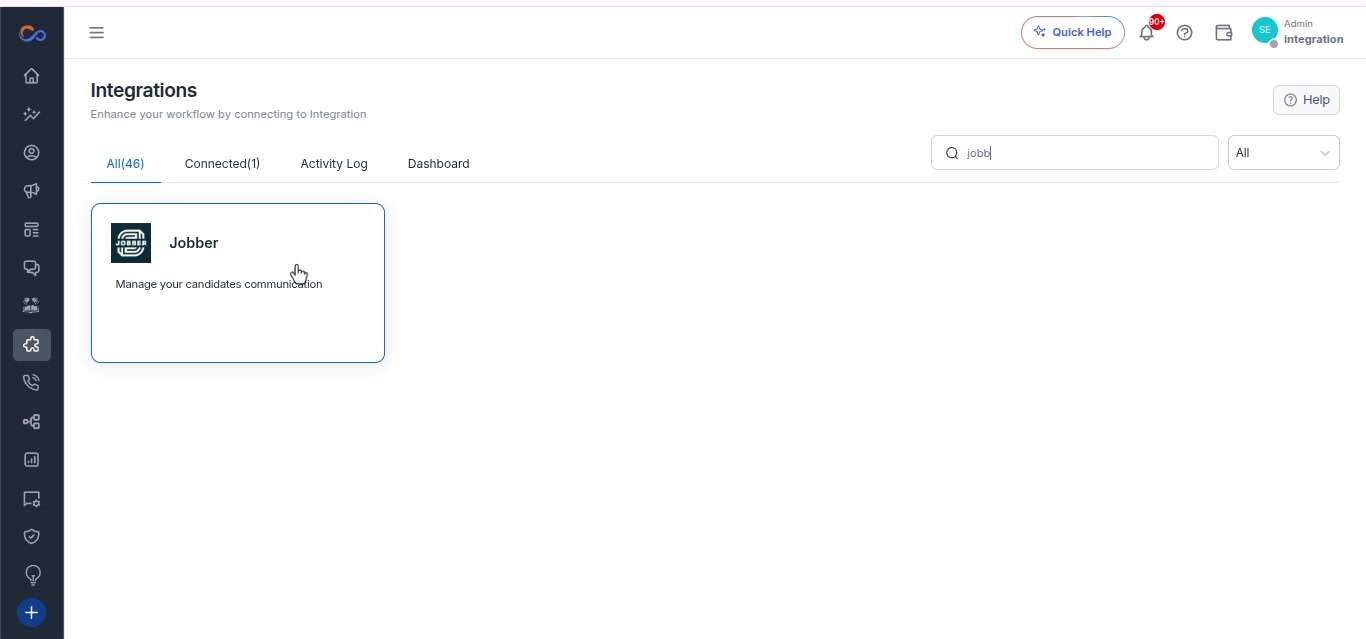
-
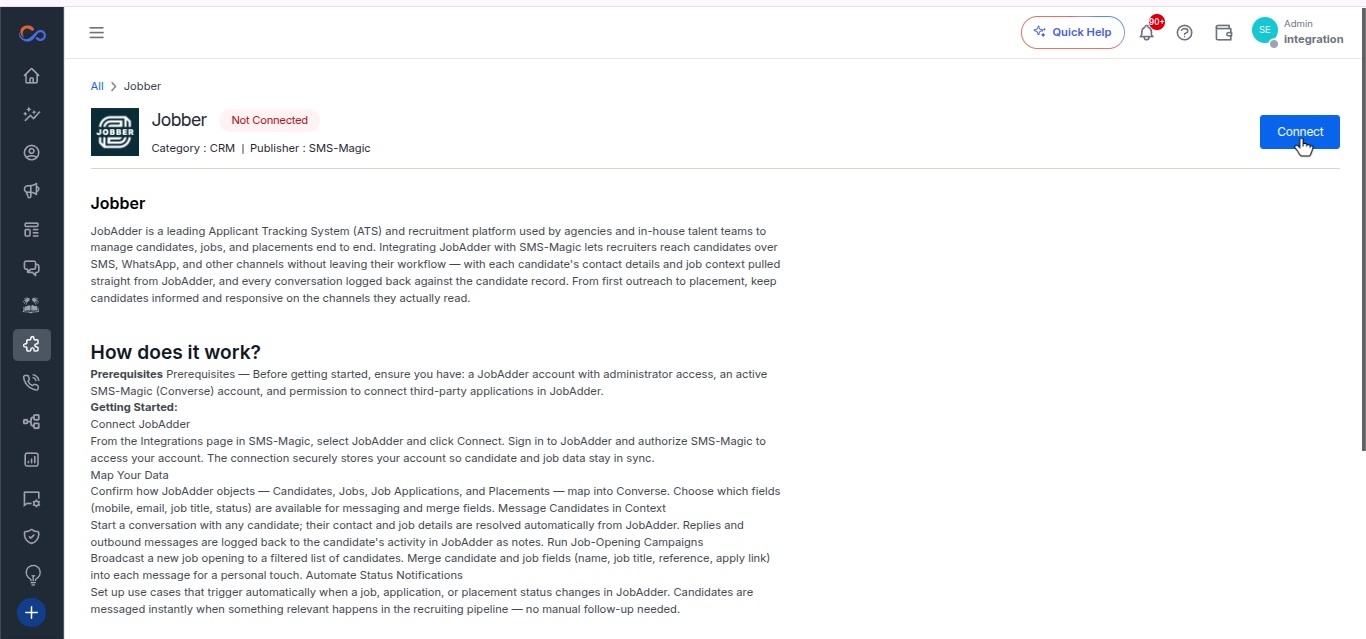
Click the Connect button on the Jobber integration page.
-
In the modal, click the Authorize button.
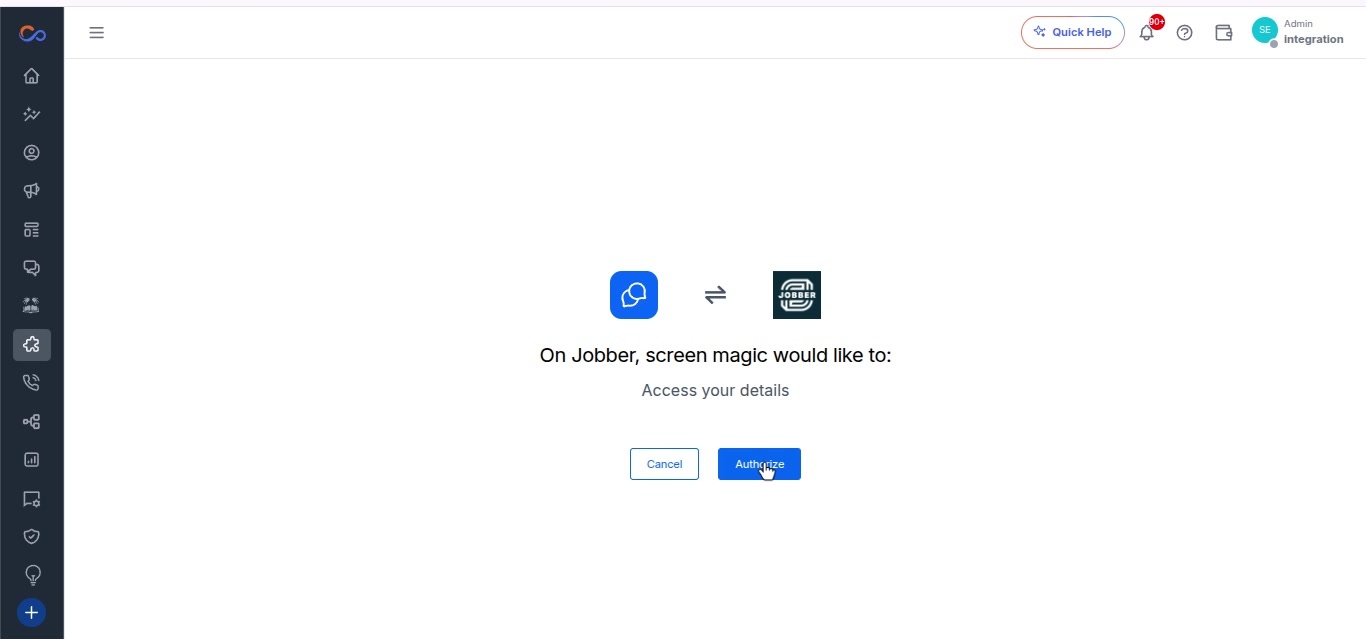
-
Select Production from the CRM server options.
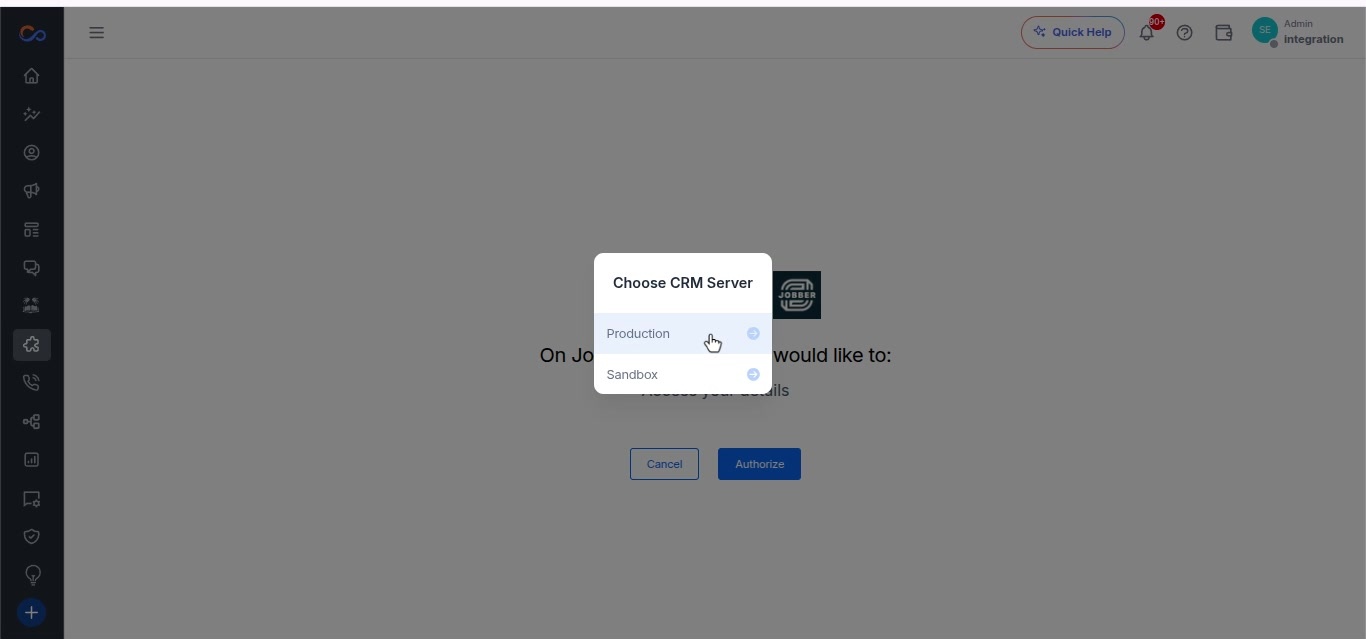
-
Click the Edit button to modify integration settings.
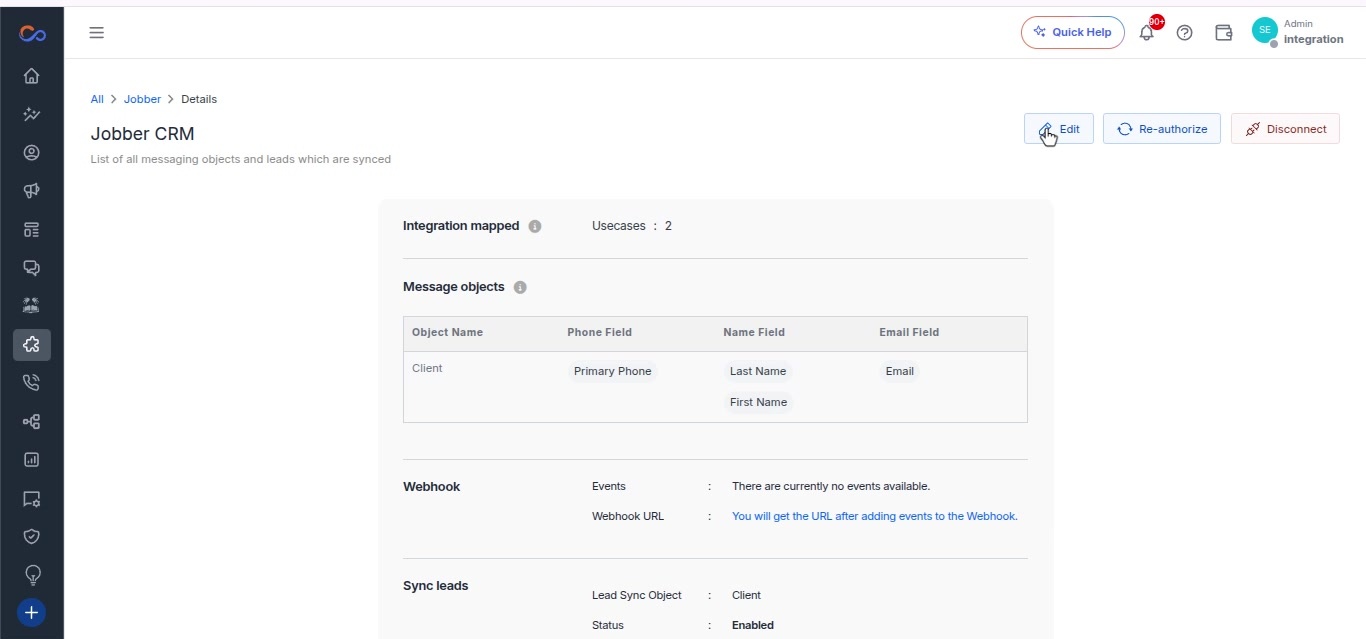
-
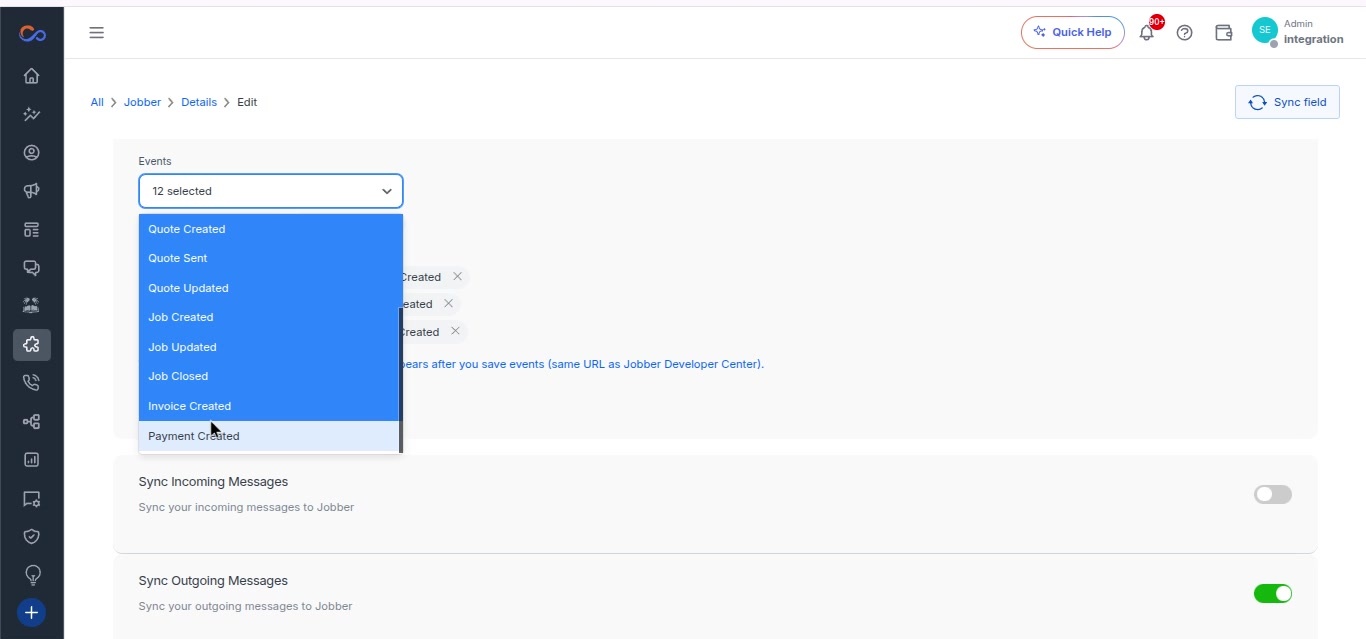
In the form, click on the Select Events drop-down menu.
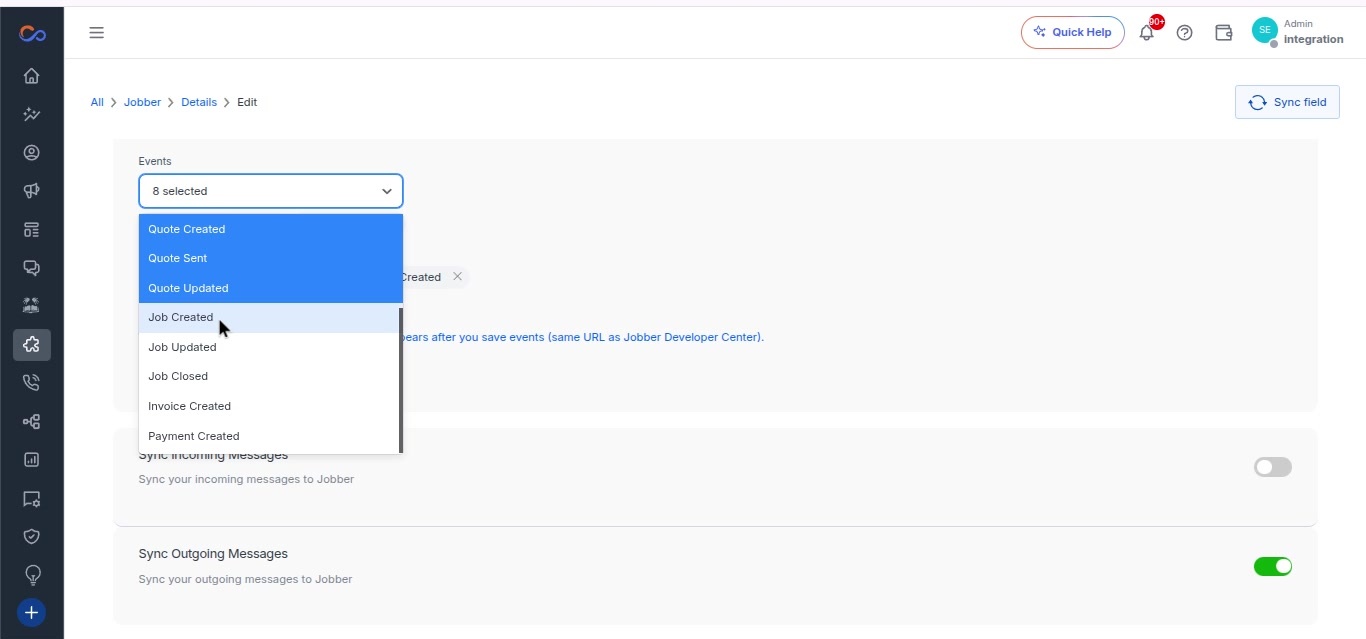
-
Choose the following events from the drop-down list:
- Client/Lead Created
- Client Updated
- Property Created
- Property Updated
- Request Created/Lead Received
- Quote Created
- Quote Sent
- Quote Updated
- Job Created
- Job Updated
- Job Closed
- Invoice Created
- Payment Created
-
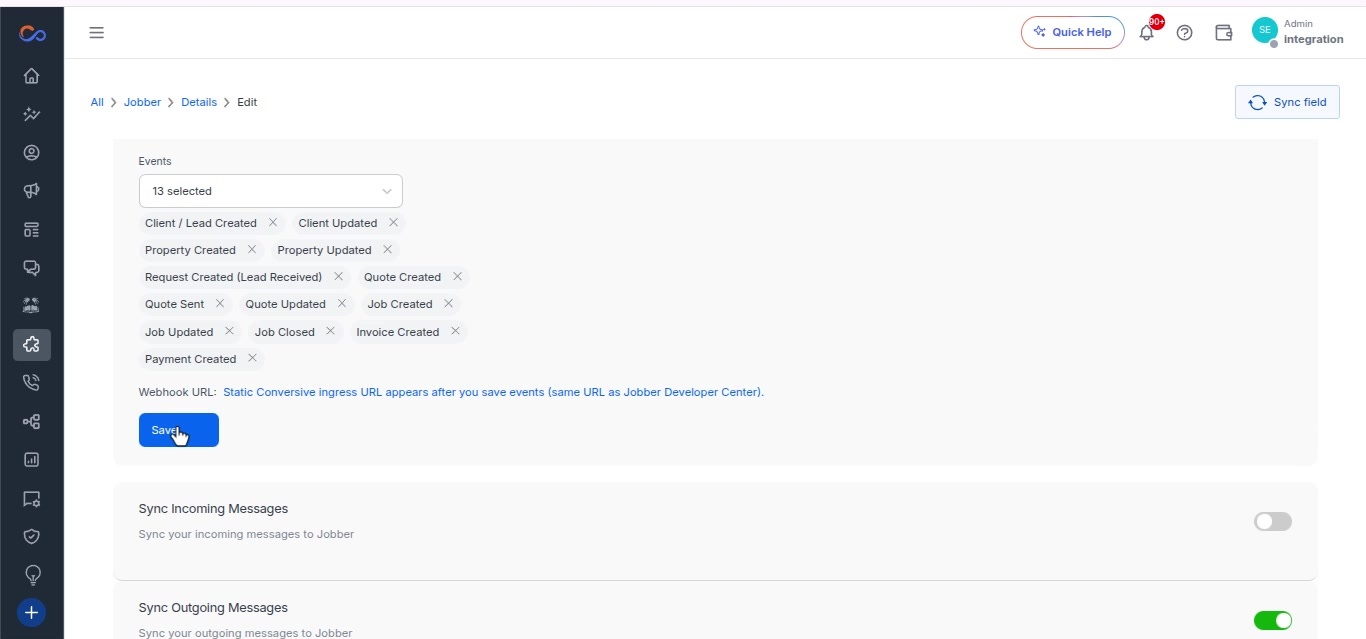
Ensure 13 Selected is displayed.
-
Click the Save button in the form to save the selected events.
-
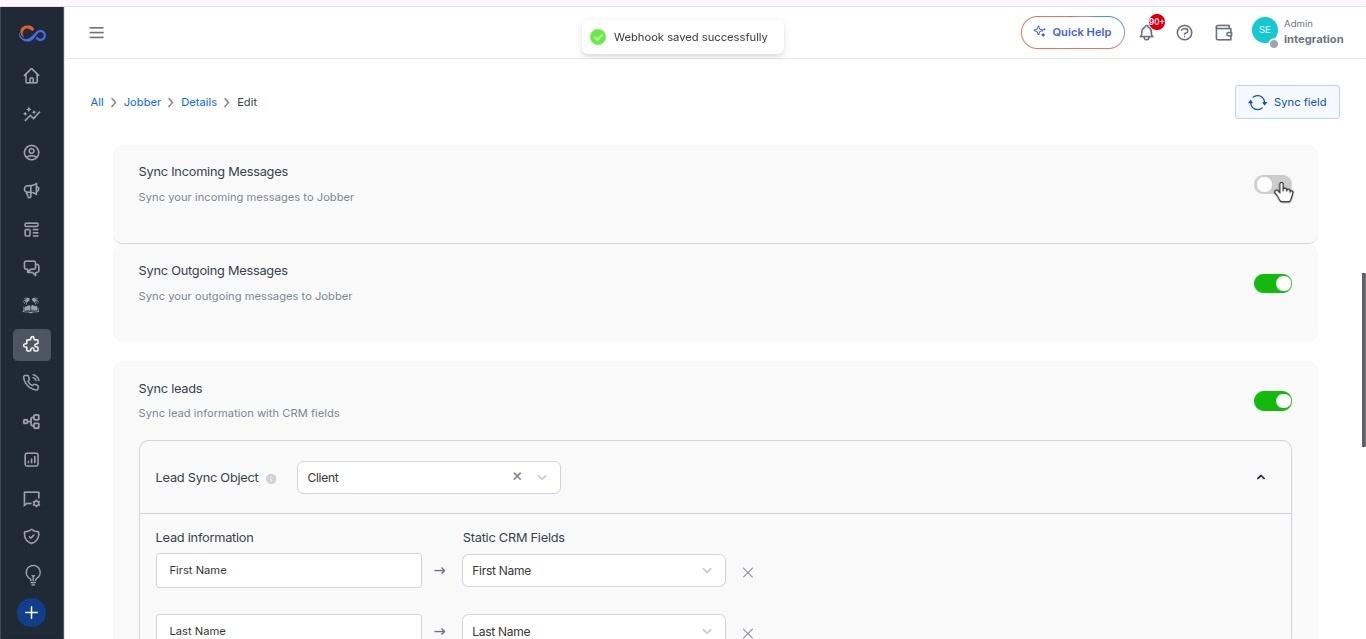
Toggle the switch to enable syncing of incoming messages.
-
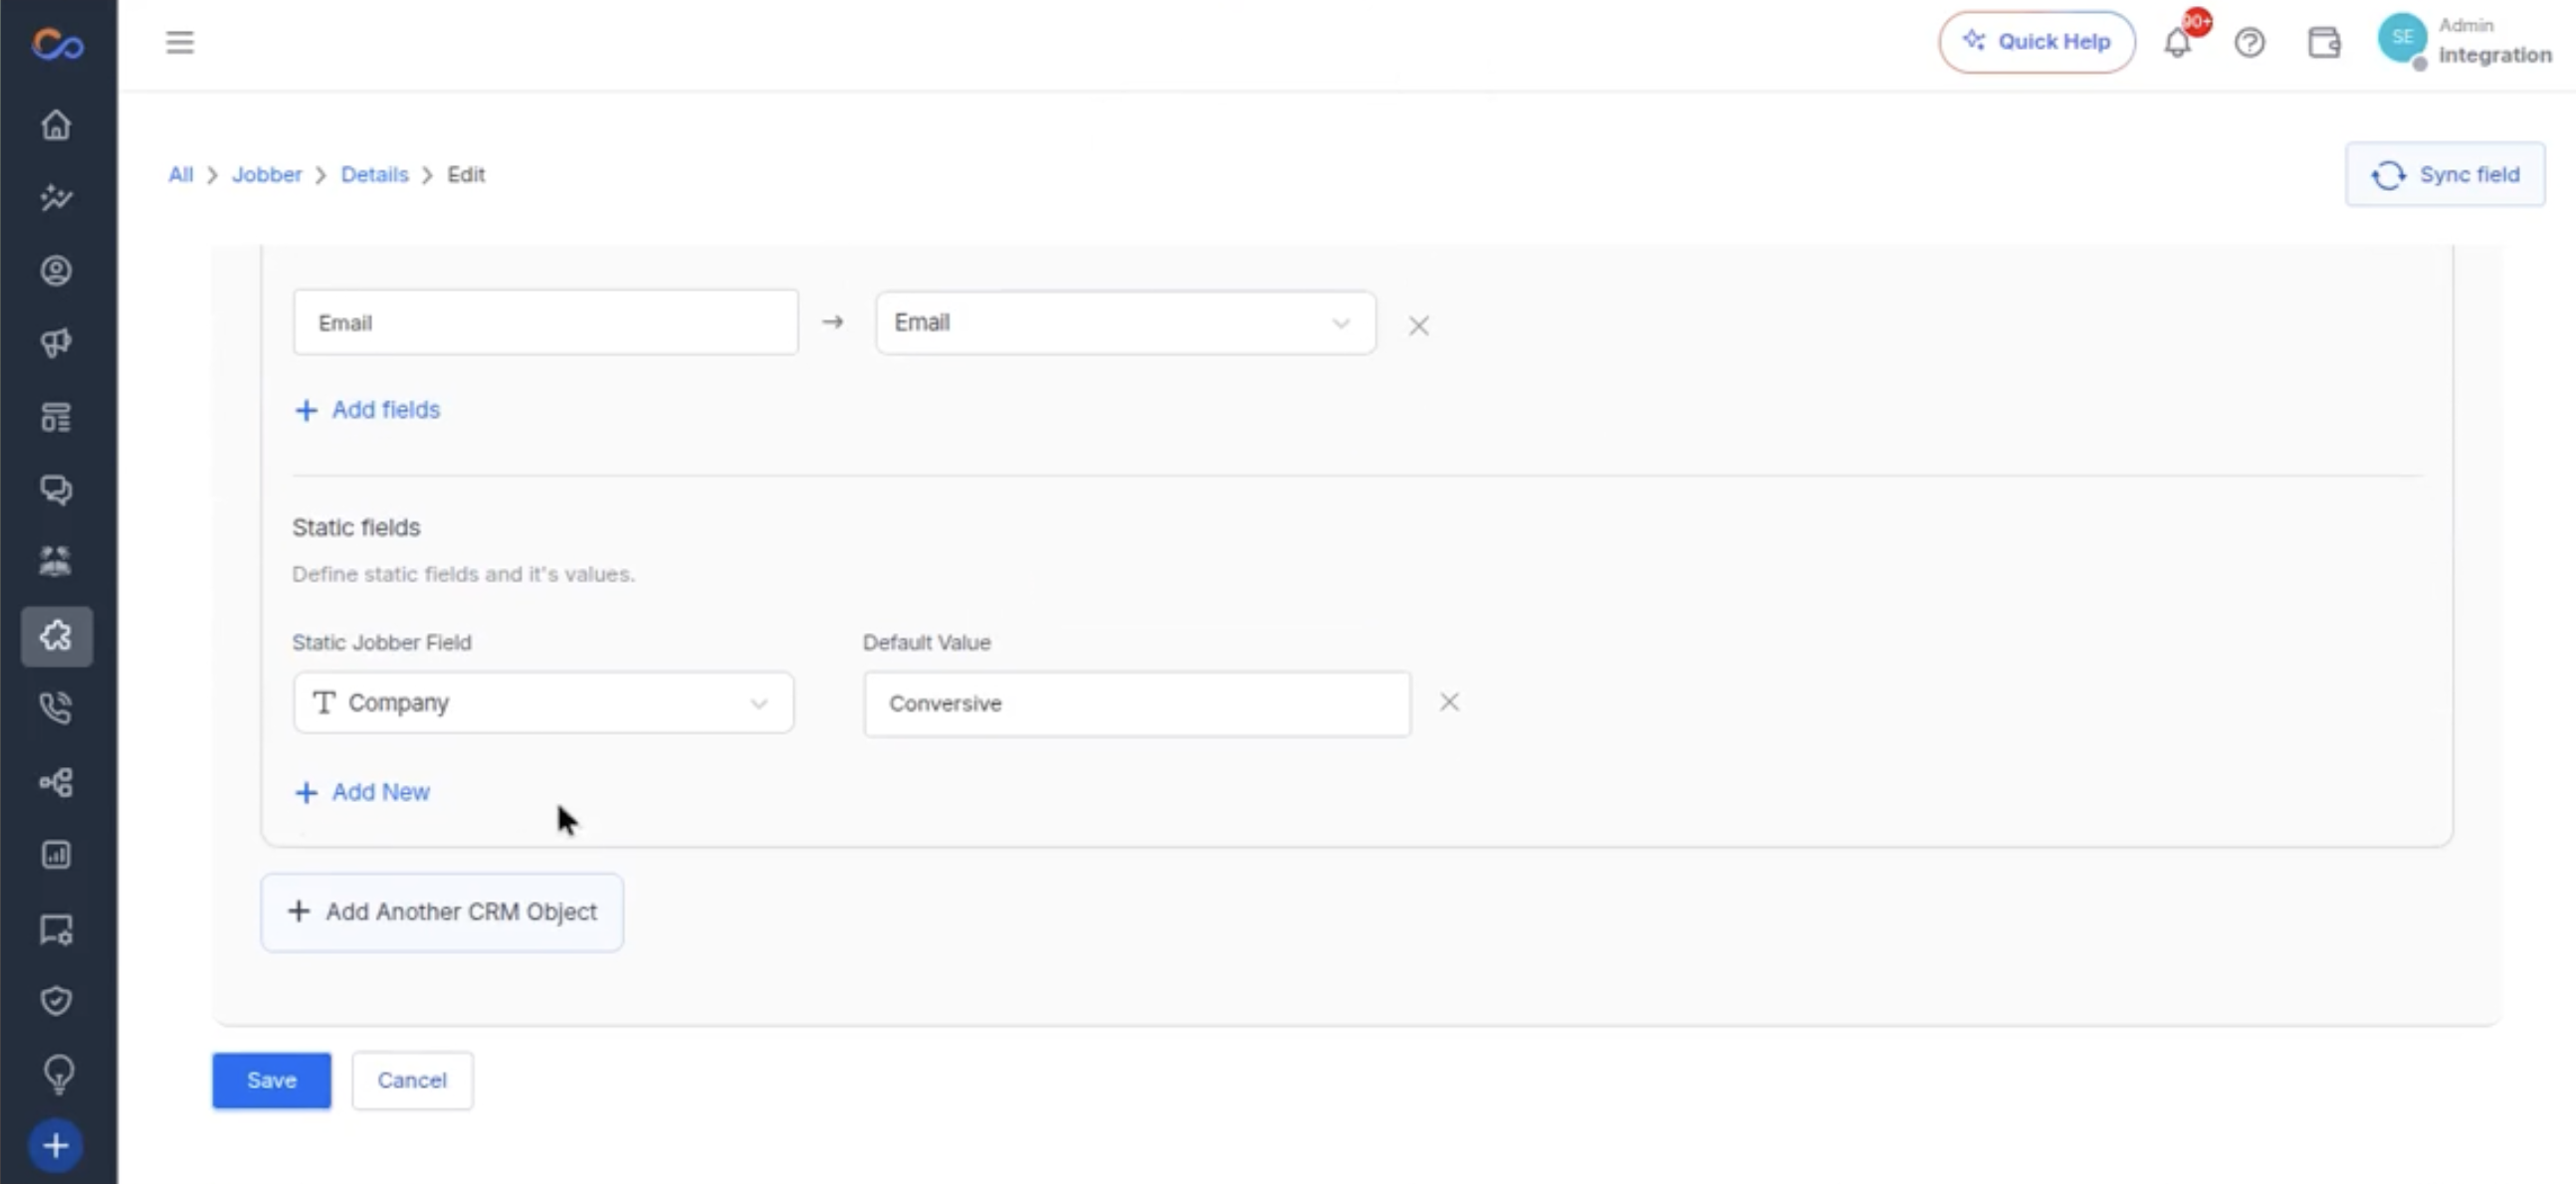
Click the Save button in the form to save the static field settings.
-
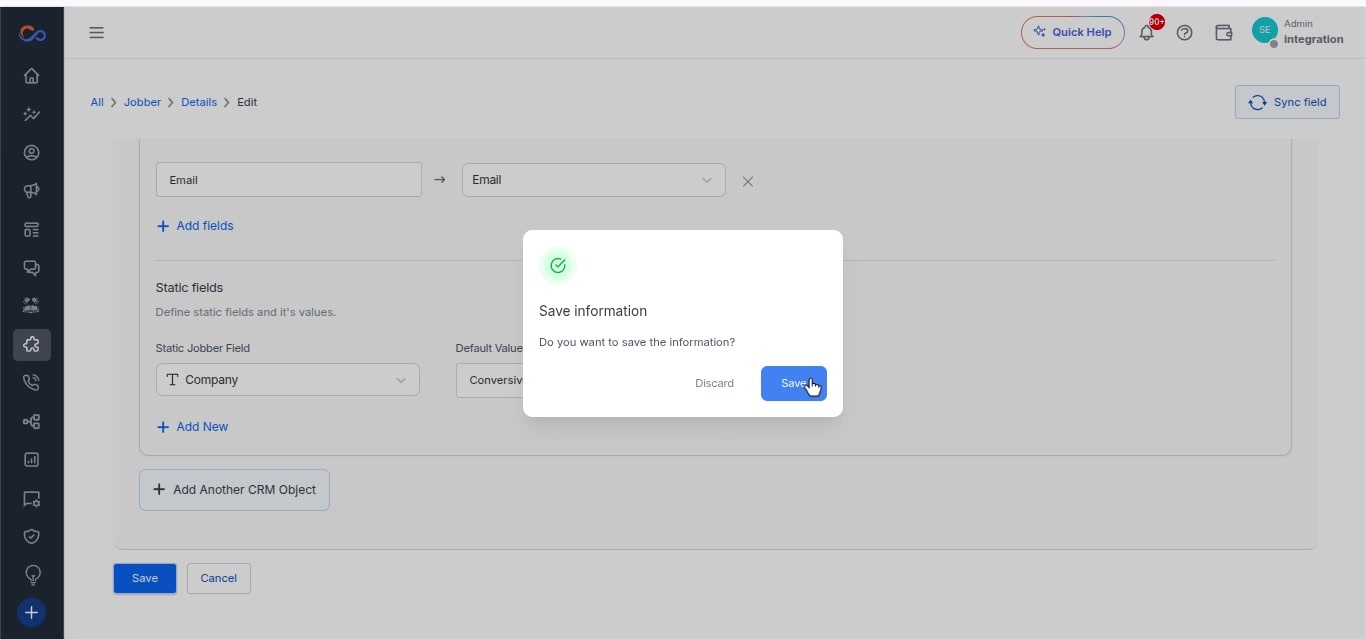
In the modal, click Save to confirm saving the information.
-
Click the All link in the navigation bar to return to the main page.
-
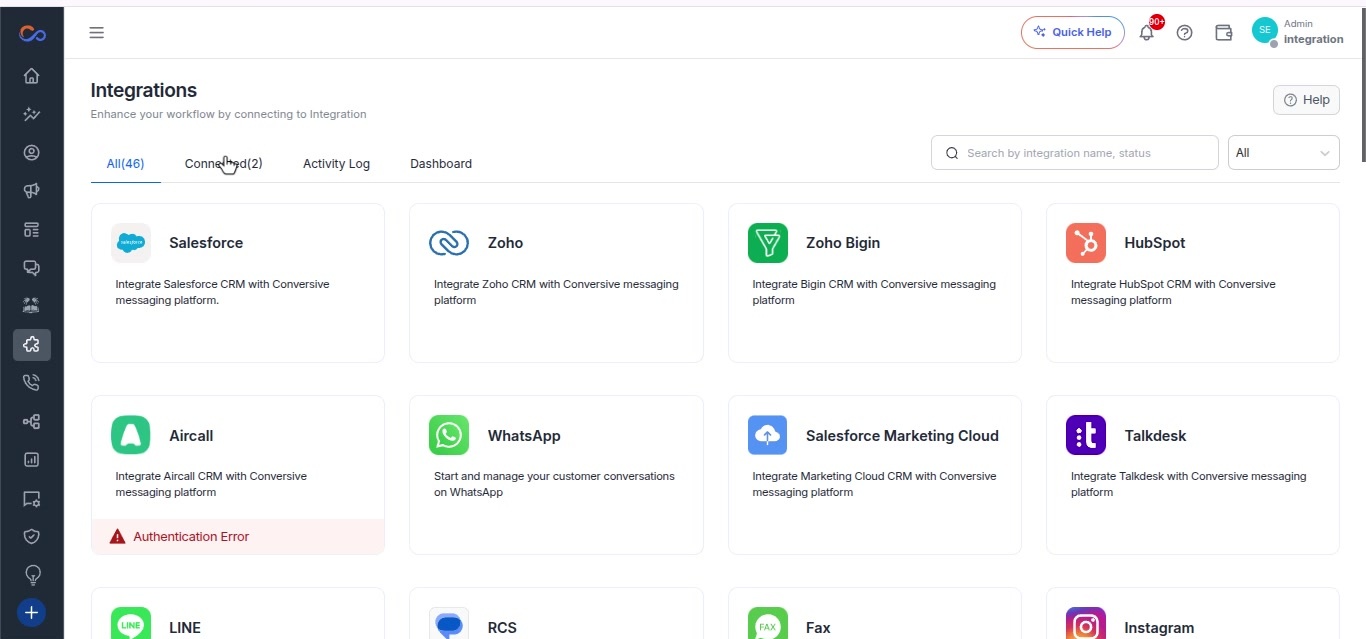
Click on the Connected tab in the integration section of the navigation bar.