Automate Conversations with Usecase Automation
How to Automate Conversations with Usecase Automation for HubSpot?
Enhance communication efficiency with our Usecase Automation feature. Activate tailored nurture messages, ensure timely notifications for contacts, and reduce no-shows with automated reminders. Streamline your processes and boost engagement effortlessly.
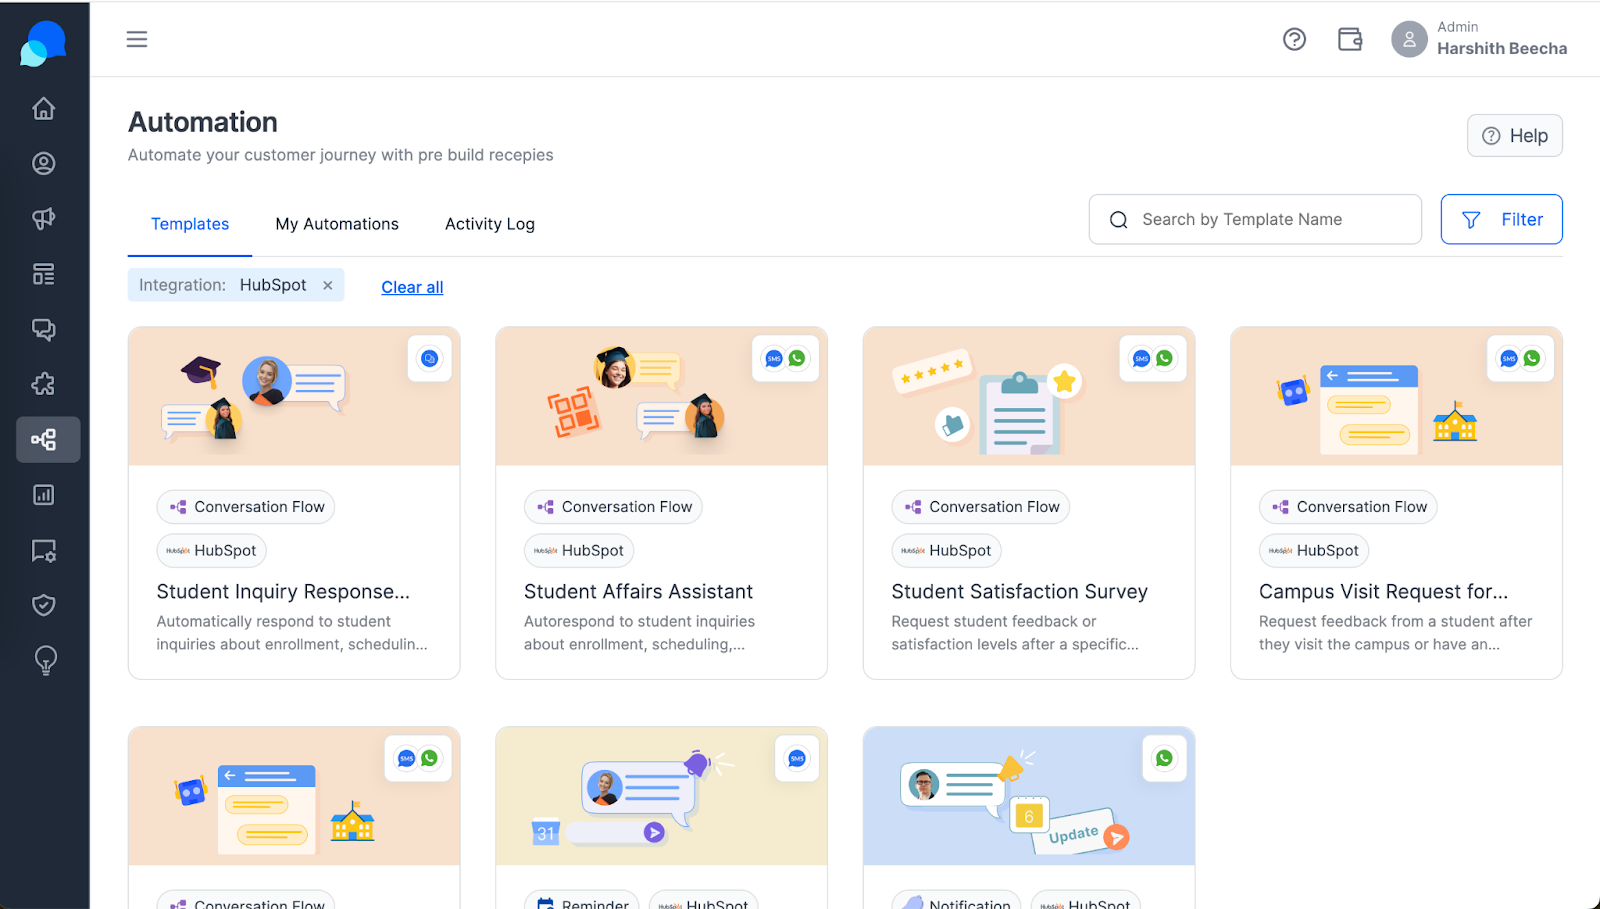
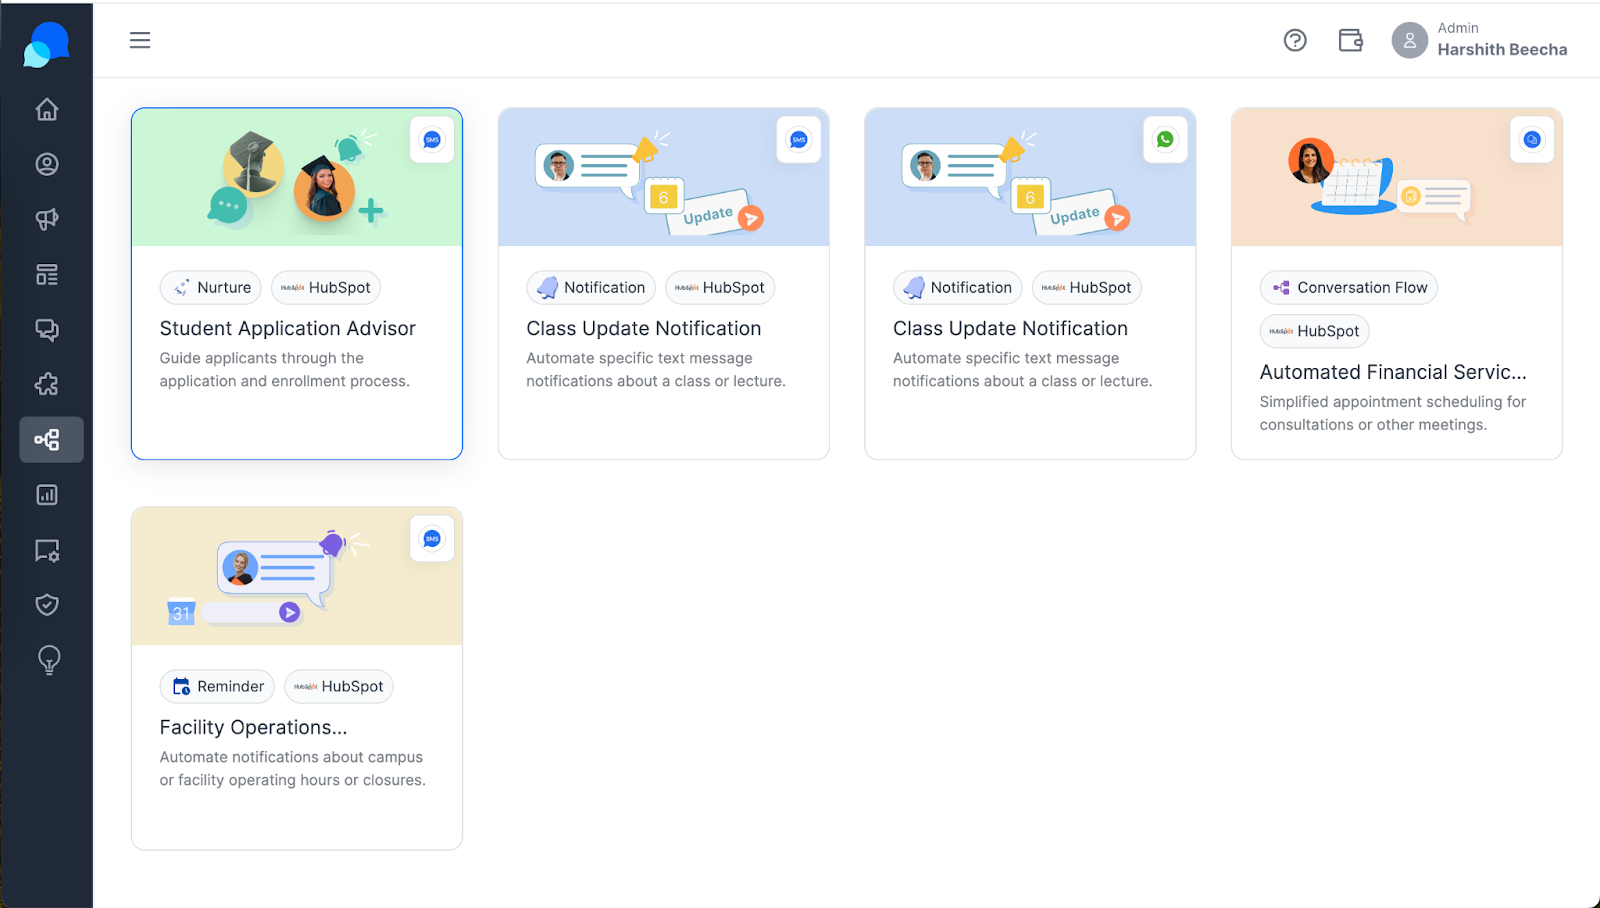
View Usecase Template: Explore a curated list of automation use cases designed to enhance your business operations. Each template offers a unique solution to common business challenges, enabling efficient scaling and optimized resource management.
Navigate to the ‘Usecase Template’ section in the dashboard.
Browse through the list to identify use cases that align with your business needs.
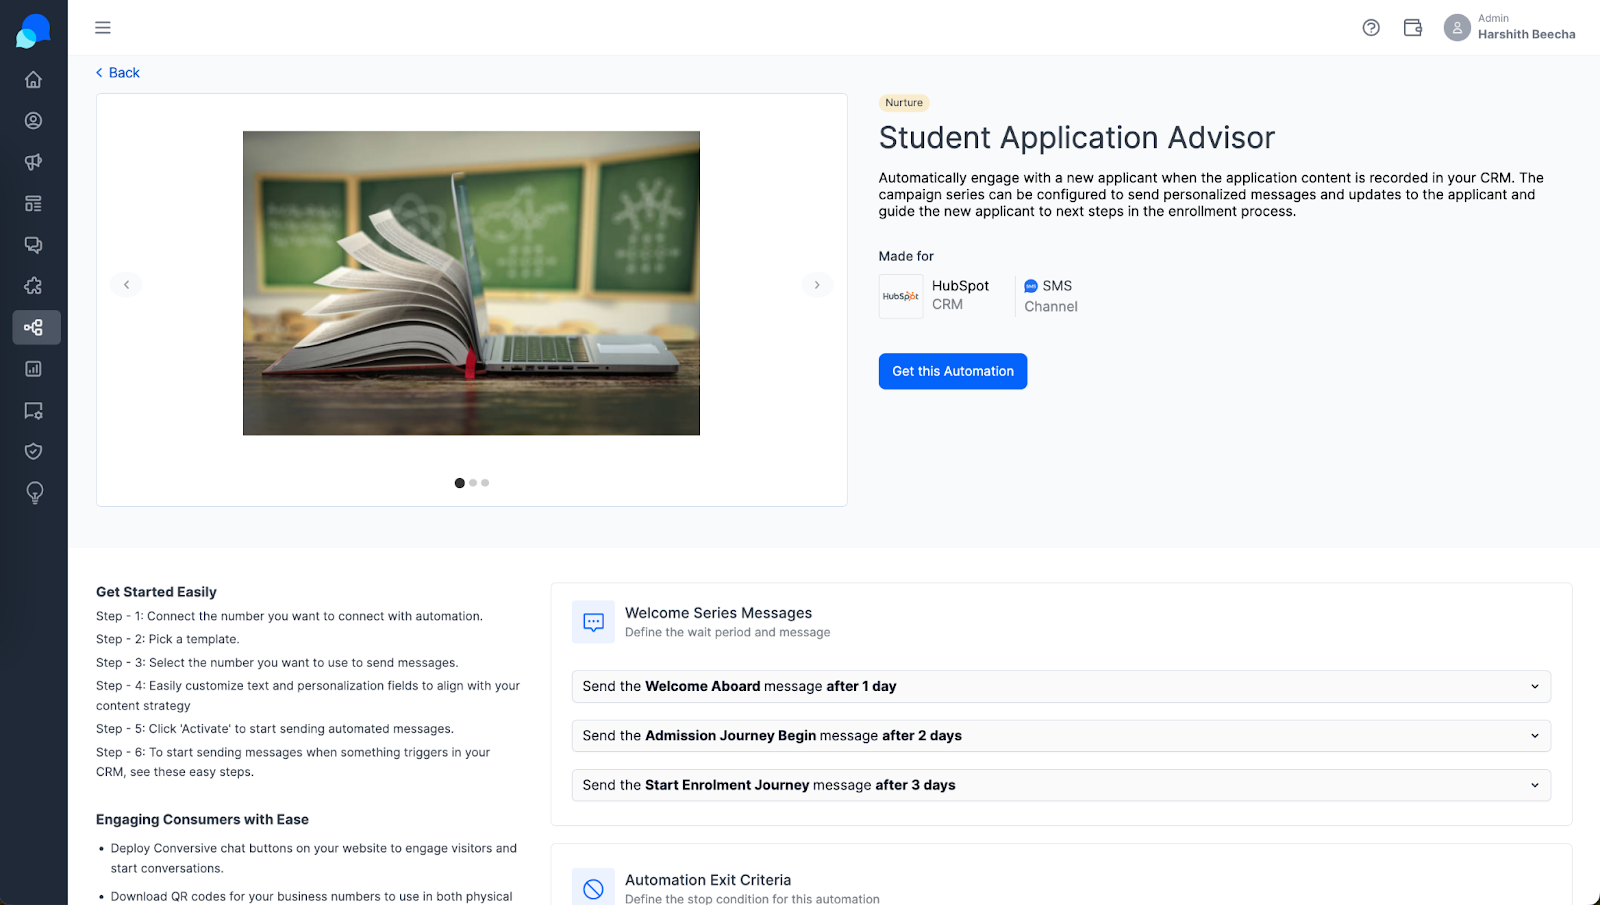
Usecase Preview: Get an in-depth look at the specific functionalities and benefits of each usecase before integration. This preview helps ensure that the usecase aligns with your business objectives, demonstrating potential impacts and efficiency gains.
Click on a usecase to open its detailed preview.
Click ‘Get this Automation’ to copy the usecase to your account, allowing for further customization and setup.
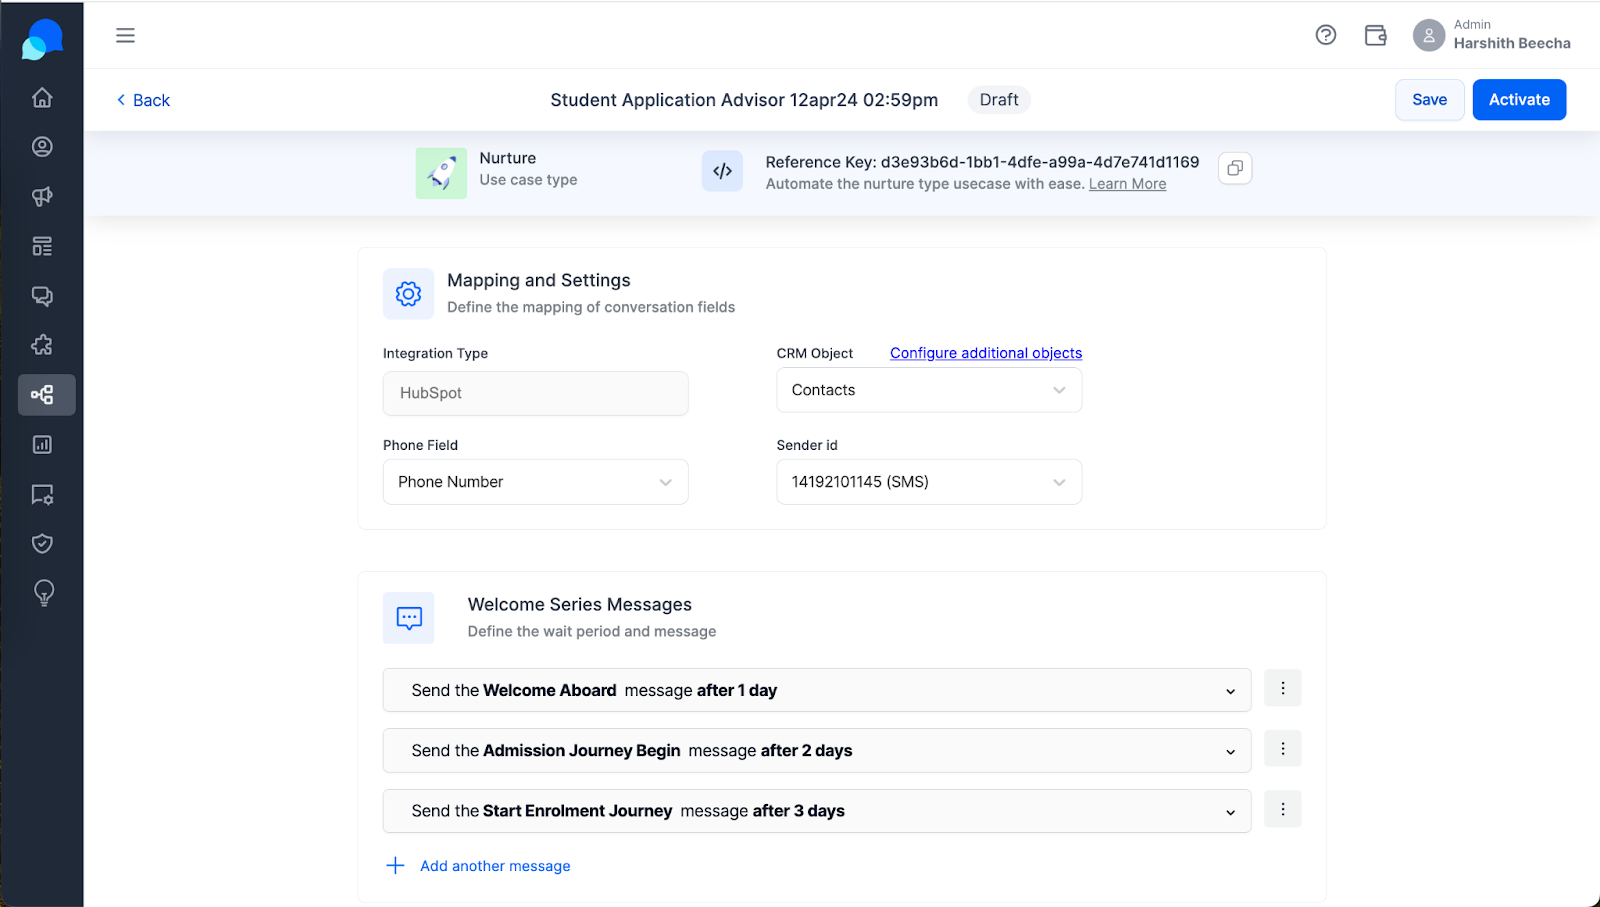
Usecase Setup and Configuration: Customize your chosen use case to perfectly fit your business context. This interface allows you to tailor message content, timing, and sender details, ensuring that the automation feels personal and on-brand.
Provide the ‘Sender ID’ and finalize the message template.
Activate the use case to start leveraging automation in your daily operations. You need to use the reference key in your workflow and trigger the usecase based on your requirements.
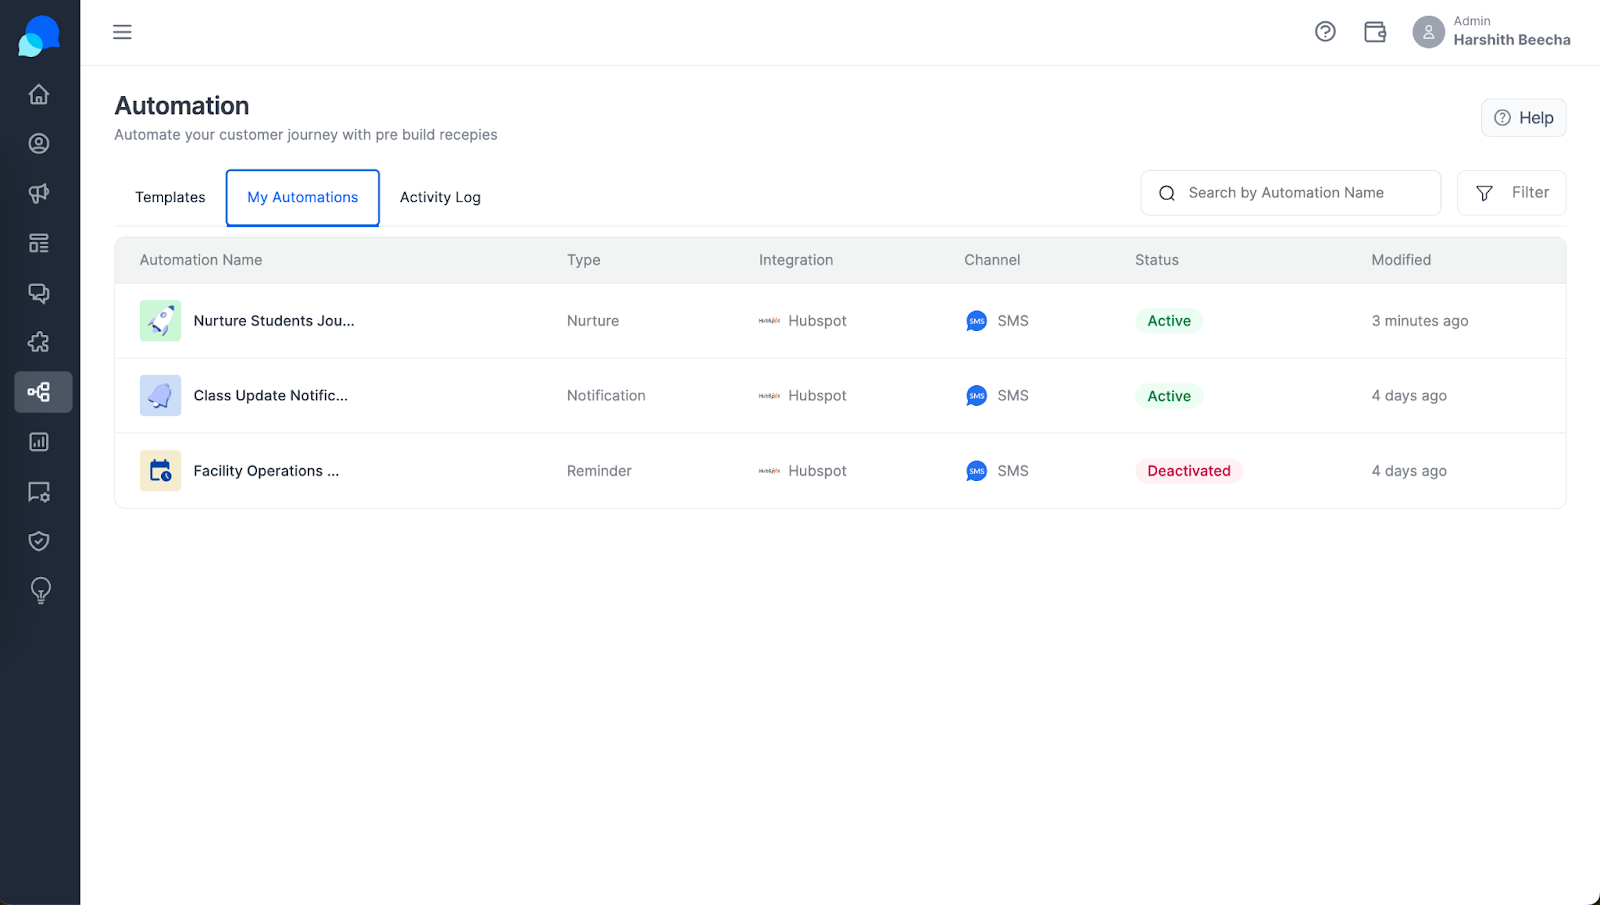
My Automation: View and manage all use cases currently integrated with your account. This centralised location allows for easy monitoring and modification of your automated solutions.
Click on ‘My Automation’ under the usecase section to access your list of usecase.
Review and manage your usecases as needed to ensure they continue to meet your evolving business requirements.
Let’s automate those chats and make sure your customers always get timely and relevant replies, even when you’re off doing other important stuff.
In this process, the usecase which is activated needs to be triggered from the CRM. The usecase provides the skeleton and message sequence, but the business scenario resides in your CRM, so you need to trigger this based on your specific business scenario. In this example, we are sending a nurture sequence when a lead is created in HubSpot.
Prerequisites: You need to have a Hubspot Marketing Hub Professional and Above Plan to create Workflows in the Hubspot.
Step 1: Visit HubSpot Workflow
Ensure that your HubSpot instance supports the webhook option and workflow functionality.
Example Use Case: Trigger the Nurture Use Case when a lead is created in HubSpot.
- Set the appropriate condition to start the trigger.
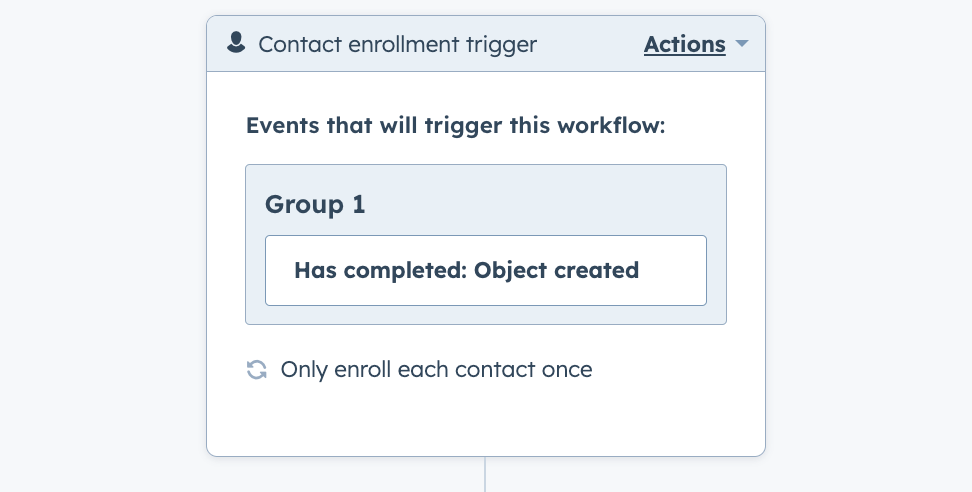
Add an action in the workflow:
- Action: Send a Webhook
- Method: POST
- Webhook URL: Webhook URL: https://app.beconversive.com/api/v2/converse_app/tasks (modify according to your server
- US - https://app.beconversive.com/api/v2/converse_app/tasks
- EU - https://eu-app.beconversive.com/api/v2/converse_app/tasks
- AUS - https://aus-app.beconversive.com/api/v2/converse_app/tasks
Step 2: Trigger Action Configuration
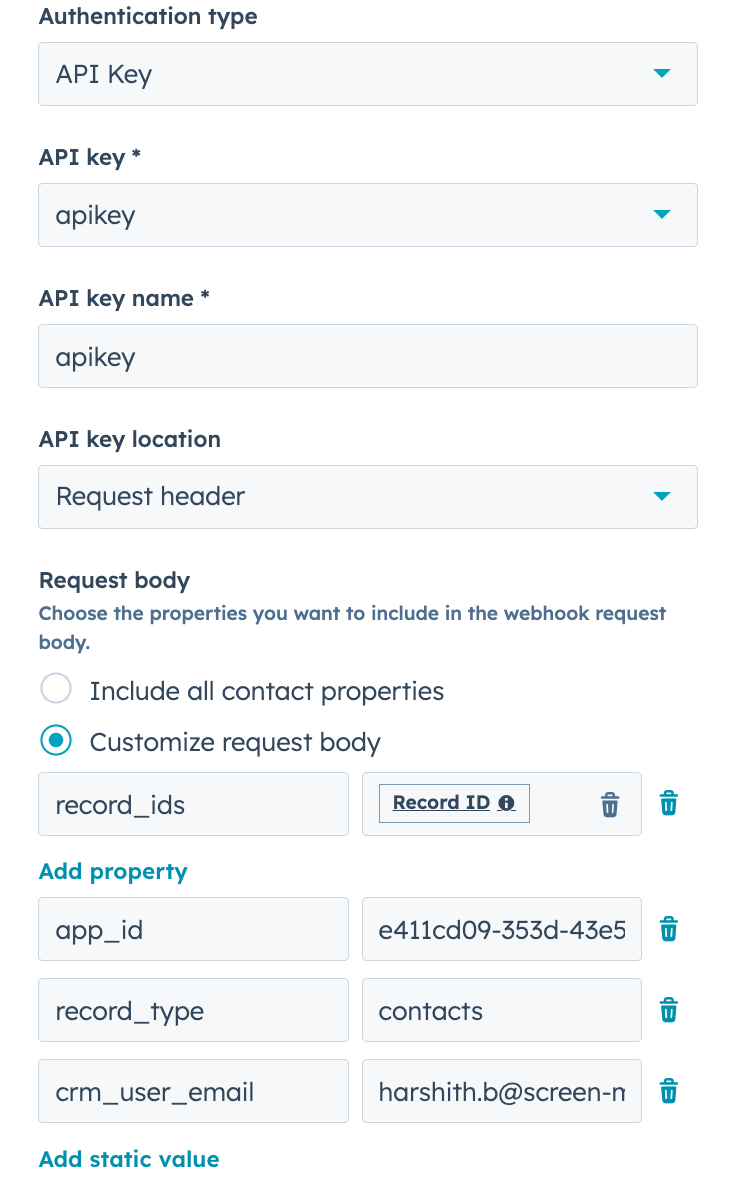
- Authorization Type:
- API Key
- Create an API Key:
- API Key Name: apikey
- API Secret:
<APIKEY>(Find the API Key from Account Settings option) - API Key Location: Request header
- Customize the Request Body:
- record_ids: Record_ID
- app_id:
<APPID>(Find this App ID in the Use Case Automation you have created) - record_type: contacts (Object Name - This is same Object Name which is setup while creating the usecase)
- crm_user_email:
<EMAIL>(Provide the username who has created the usecase in conversive product)
Step 3: Flow Activation
- Save the webhook.
- Activate the workflow to utilize the trigger.
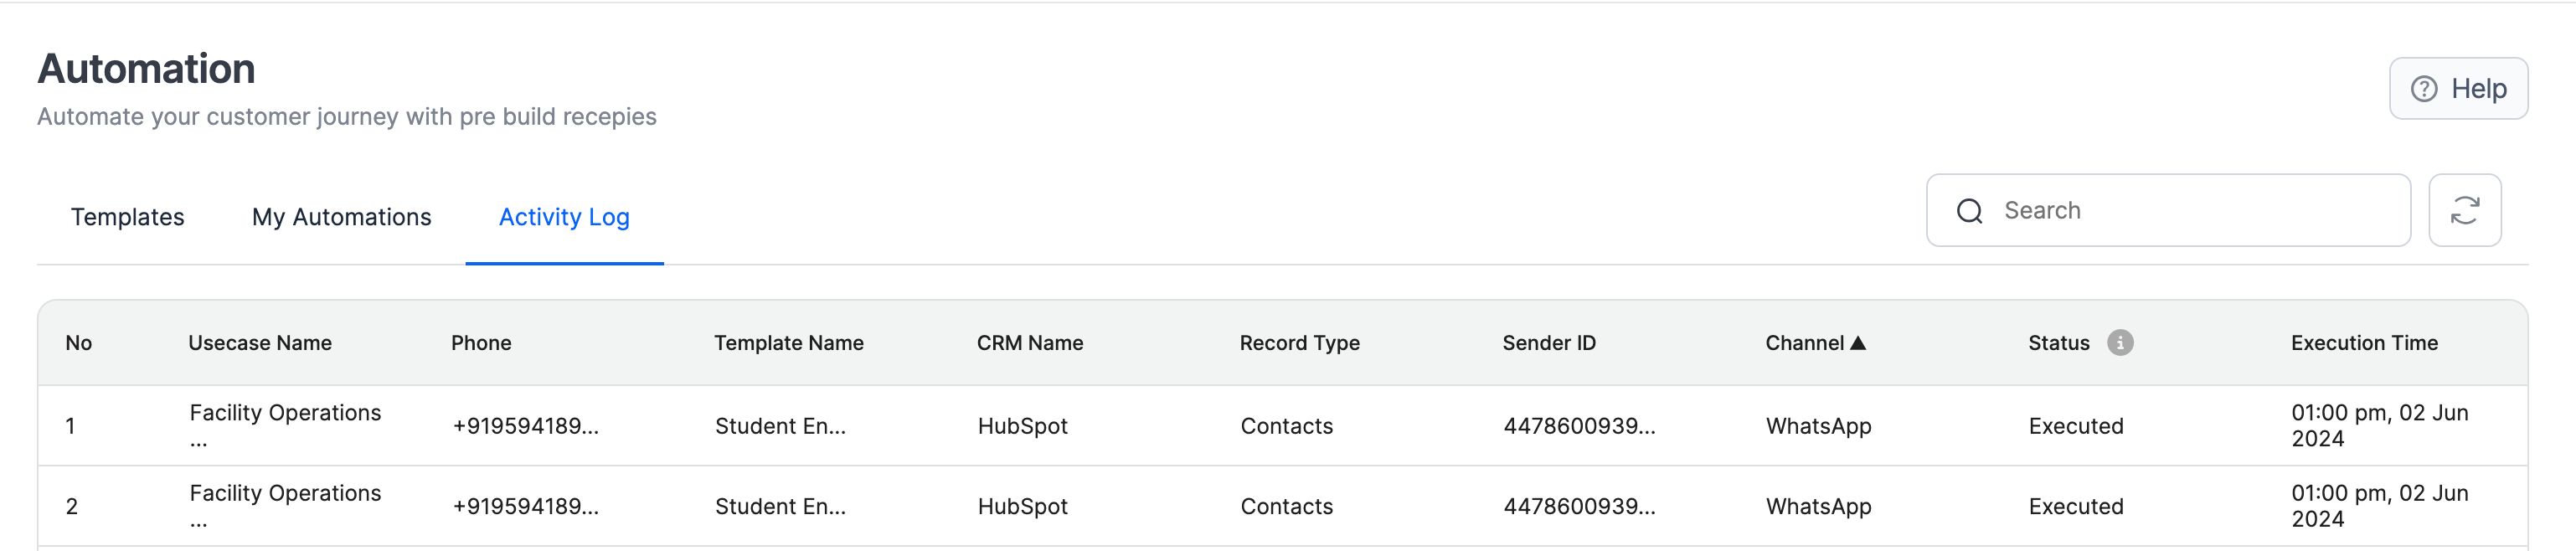
Step 4: Visit Activity Log
- Now as per usecase when a lead is created then webhook will be called and it will create an entry in Activity Log.
- You can visit Activity Log to see the respective record.